Virtual Setup Animation: A Quick Guide
07/11/2023The Virtual setup Animation is a feature that generates an animated file from the treatment planning, virtual setups. It includes extractions, teeth movements and Inter-proximal reduction (IPR).
How to use
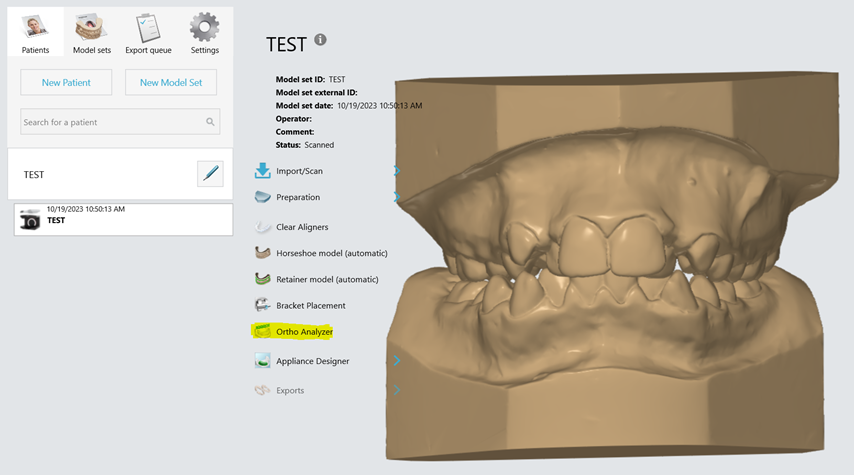
Step 1: Open the case.
Step 2: Go to Virtual setup tab.

Step 3: Complete the treatment planning.
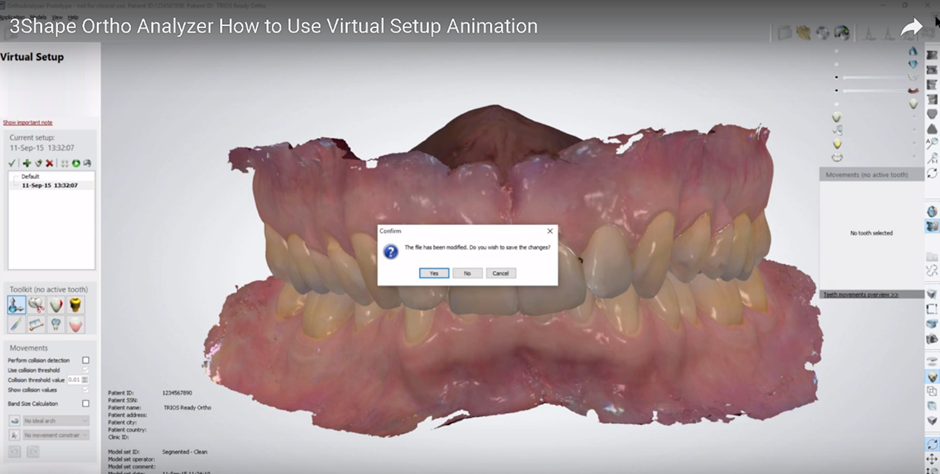
Step 4: To generate the animation click the green play button (shown below), in the menu on the left side of the screen. The animation will start loading and be shown on the screen.

Step 5: Once the animation has finished you will see a message window stating that it has been generated and where it can be visualized.

How to visualize the animation
Step 6: Save the changes on the model set.
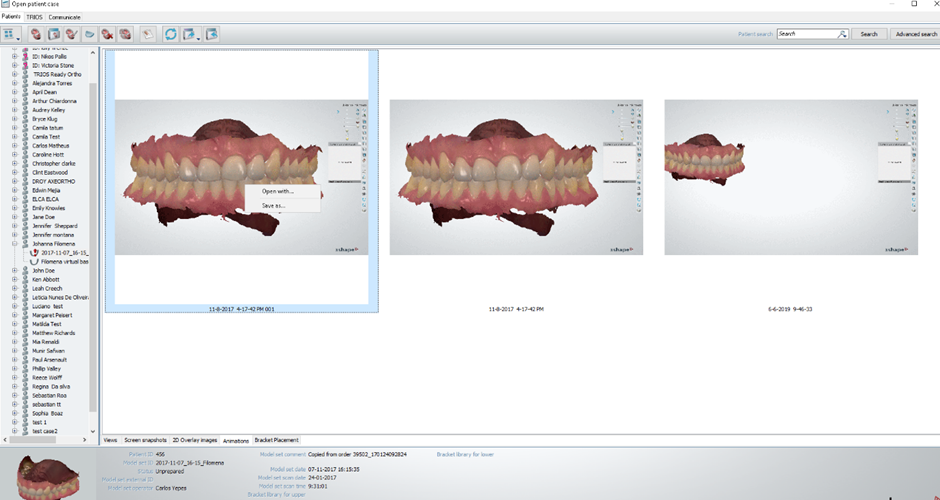
Step 7: Open the patient browser, scroll to the model that was used.

In the preview, you will have a new tab at the bottom labeled “Animations”, here you can find the generated file. The resulting animation is a continuous loop of the whole treatment plan.

Double clicking on the file will duplicate it.

To save the animation in your preferred location, right click directly on the animation and you will have option to “save as” on your local PC.
You can find a video guide here: 3Shape Ortho Analyzer How to Use Virtual Setup Animation