Splint Studio and Dental System Workflow Integration
08/11/2023This article will provide the steps to perform the integration between Splint Studio and Dental System.
Steps for integrating Splint Studio with Dental System
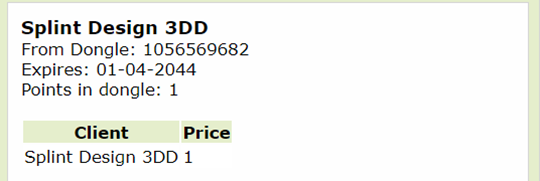
- Confirm that the Splint Design license is active on your license package; you can check your current licenses and their respective expiration by going to http://localhost:27027/ on any Internet Browser on the server PC (the one that has the Dongle attached), or by checking on your software (For 3shape Unite you can view them by clicking on More -> Settings -> Installed Apps & Subscriptions -> Subscription management and for lab software go to Dental Manager -> Dongle management)
On Unite:
On Localhost:
- Confirm that the Splint Studio plugin is properly set up on Dental Desktop (3Shape Unite), by checking the store in the “Installed Apps” tab.(More -> Settings -> Installed Apps & Subscriptions -> Installed Apps)

- Verify you are using Dental System 2019 or above.
- Once the steps above have been confirmed, open Dental System Control Panel and click on “System Settings”.

- Scroll down until finding the “Splint Studio” path.

- Copy and paste the local (C:) C:\Program Files\3Shape\Dental Desktop) or network(\\ServerName\3Shape Dental System\Dental Desktop) path.
- Save changes and restart Dental Manager.
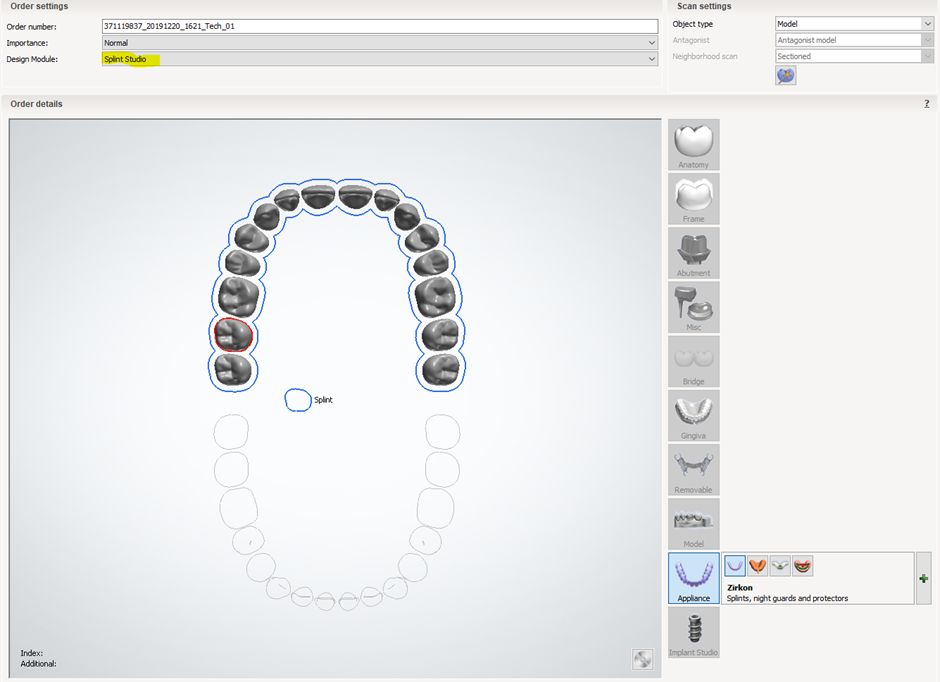
- After the above steps have been followed correctly, “Splint Studio” will be shown on both the Dental System order form and Dental Manager (right click on the Splint order) as seen below.


After performing the Splint Studio Integration, you will need to decide with which software you would like to scan the order since you can either scan with ScanitDental (Desktop Scanner) or with Dental Desktop (TRIOS scanner).
For Dental System 2023 and higher versions, it is not necessary to set any path in Dental system control panel since it is done automatically by detecting 3shape unite.