
Using Copy Denture scans as an impression to design new denture
08/01/2024It is possible to use Copy Denture scans to design new dentures. Aligned scans received during the Copy Denture scanning workflow are required. For Copy Denture scanning, please refer to Copy Dentures – Order Creation and Copy Denture – Scanning sections in the Technical Documentation.
The following steps need to be followed to design new dentures out of Copy Denture scans.
Step 1: Create an order and define the required denture type in the order form.
Digital Impression should be selected as Object type, Figure 1.
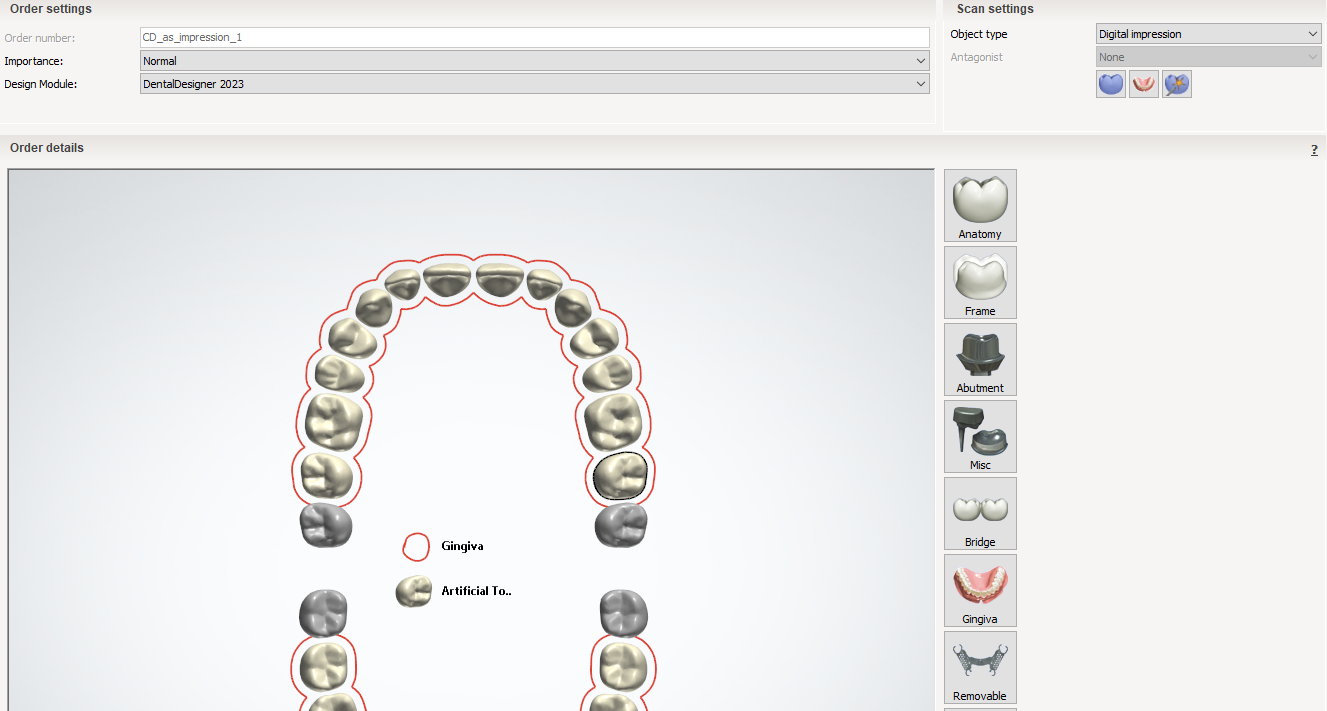
Figure 1. Order form for designing the new denture out of Copy Denture scans
Step 2. Import the scans. The scan of the upper denture should be imported as the upper scan, and the scan of the lower denture – for the lower scan correspondingly. And for the wax rim, the scan of the upper denture should be imported again.
Note: the scans should be aligned at the scanning step, please check the alignment before design (can be done in 3Shape 3D Viewer – open upper and lower jaws scans and analyze the cross-sections of these scans in several planes). Scans re-alignment will not be possible during design.
Step 3: Start designing. Go to Refine upper jaw scan, then to Refine lower jaw scan. The settings are shown in Figure 2. Since the scans are closed, the “Improve scan borders” checkbox should be unselected. The checkbox “Impression” should be checked.
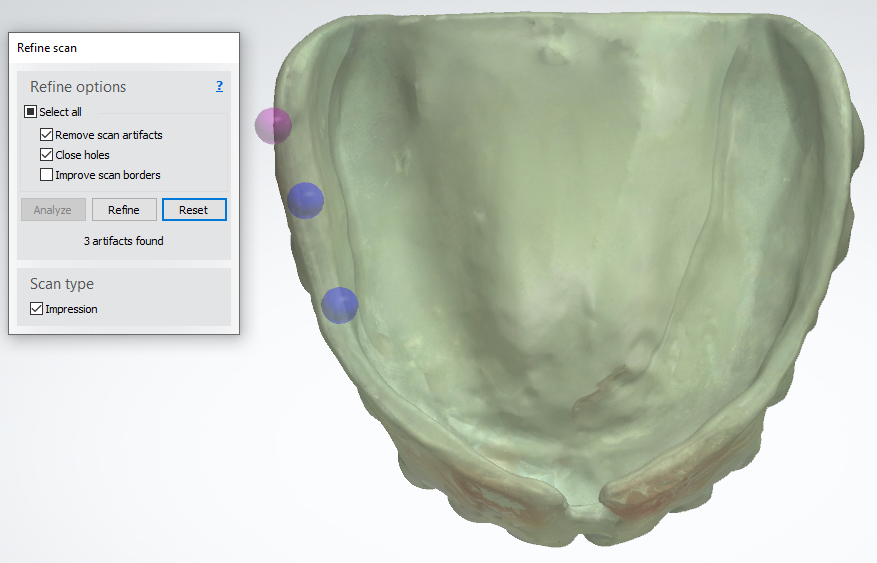
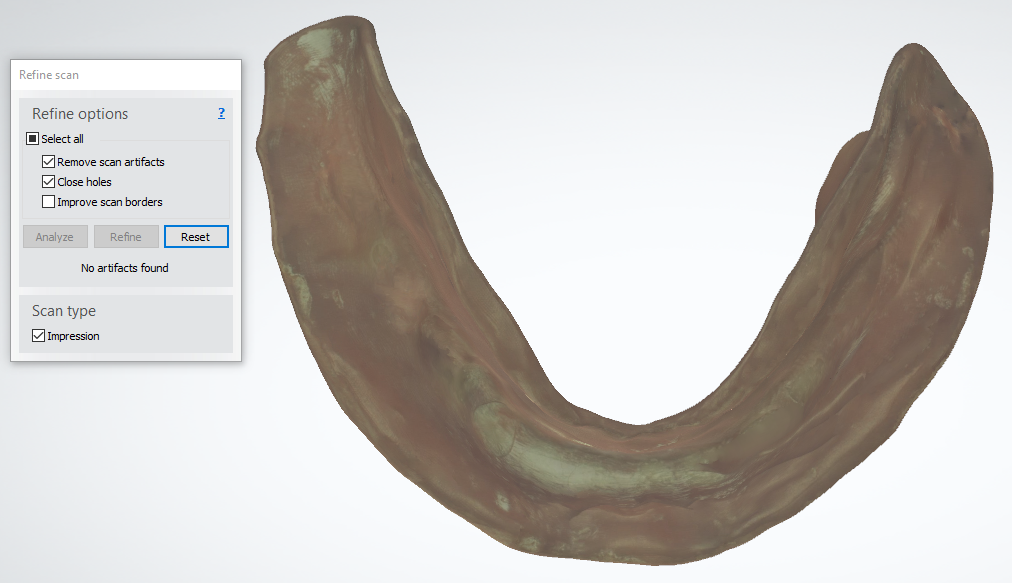
Figure 2. Refine settings
Step 4. Move to the Occlusal alignment step and set the occlusal plane, Figure 3. The upper jaw scan imported as wax rim needs to be used for it, place the points on the molars and on the upper anteriors and then adjust the occlusal plane.
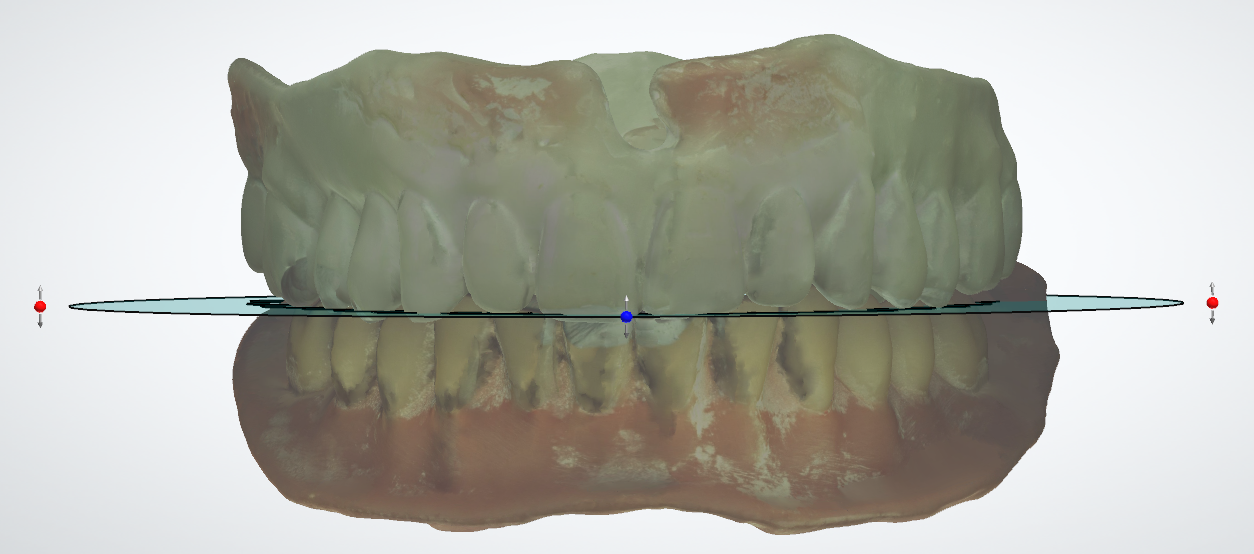
Figure 3. Occlusal alignment step
Step 5. Move to Trim the upper jaw step and draw the trimming spline, Figure 4.
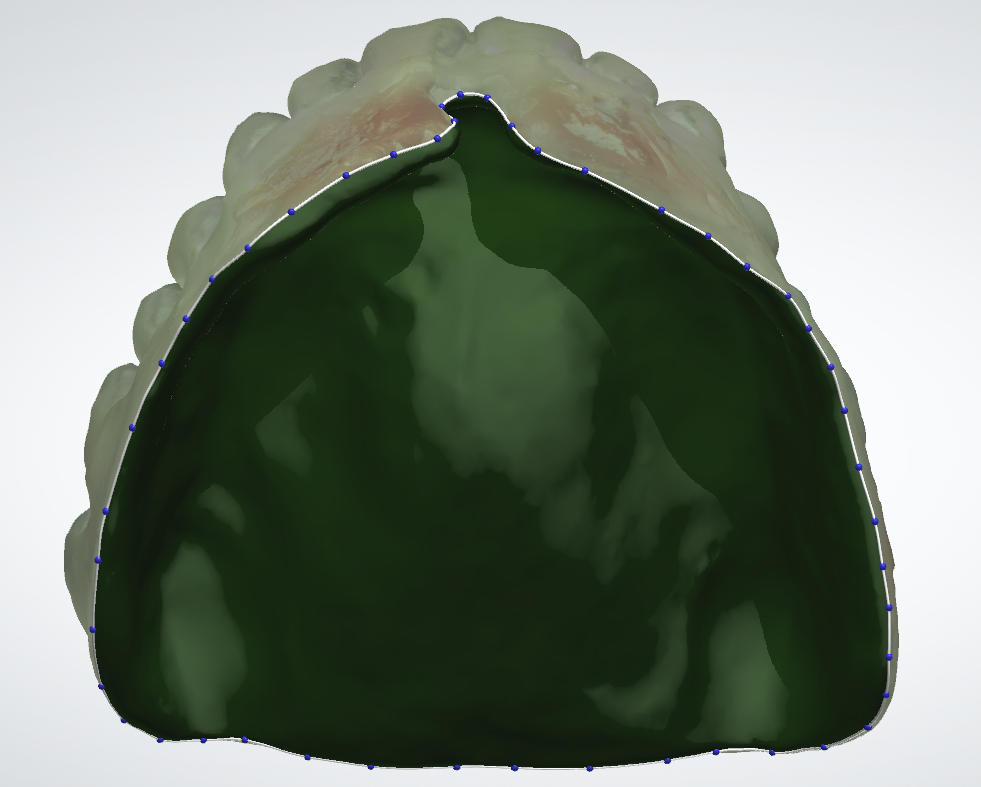
Figure 4. Trimming the upper jaw
Step 6. Move to Trim the lower jaw step and draw the trimming spline, Figure 5.
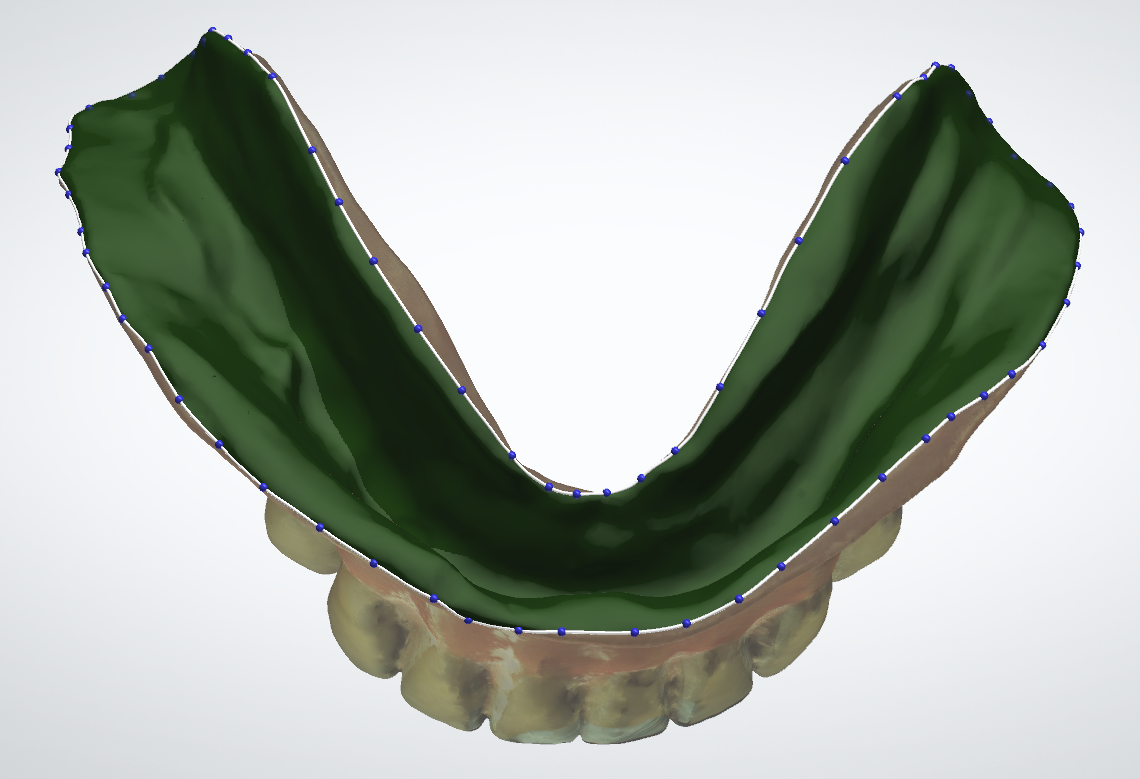
Figure 5. Trimming the lower jaw
Step 7. Move to Sculpt upper jaw and to Sculpt lower jaw steps and apply sculpt operations if required. The sculpt operations may be required in the case of scan artifacts, bad triangulation, etc.,
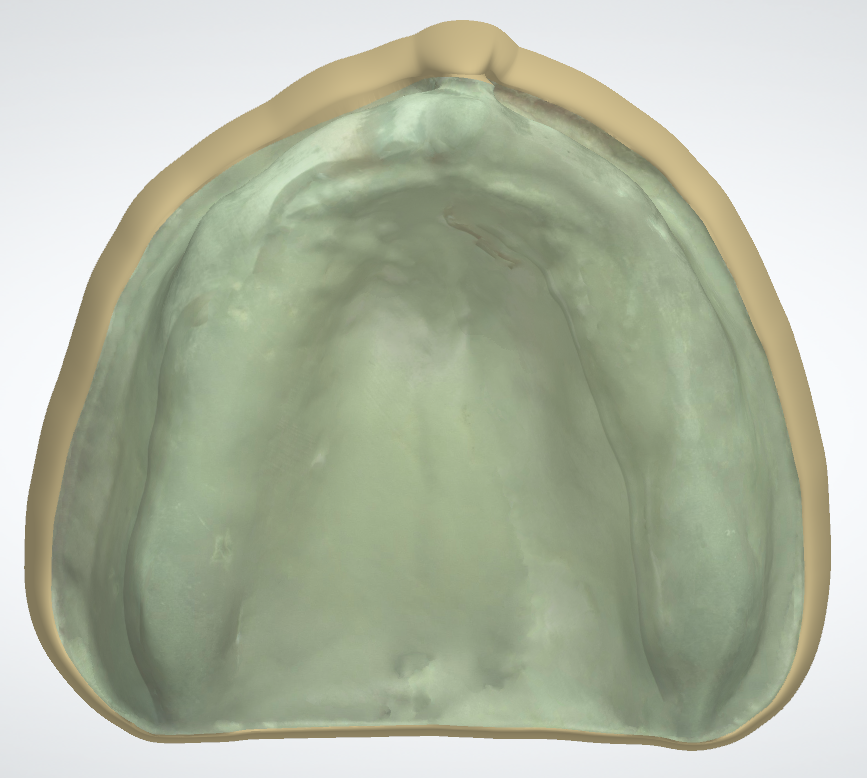
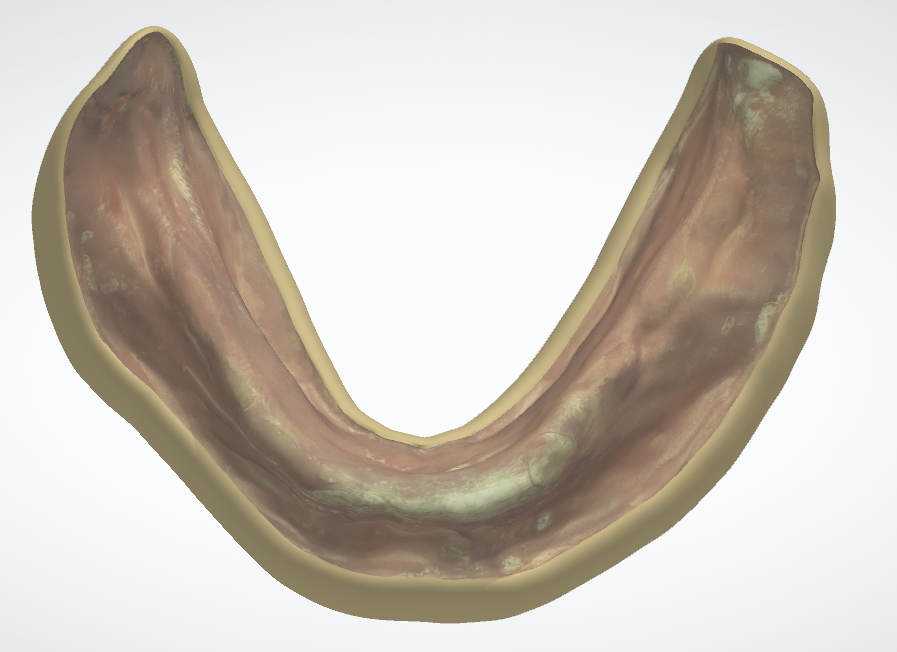
Figure 6. Models view at the Sculpt step
After this, please press “Next” and move to Model Analysis. Here, the user can start designing the denture in a conventional way – the workflow is the same as described in the Full Dentures section of Technical Documentation.
Note: It is possible to use the original scans as a guide for teeth placement at the Smile Composer step. Use the sliders “Original scan upper” and “Original scan lower” to switch on the visibility of original scans, Figure 7.
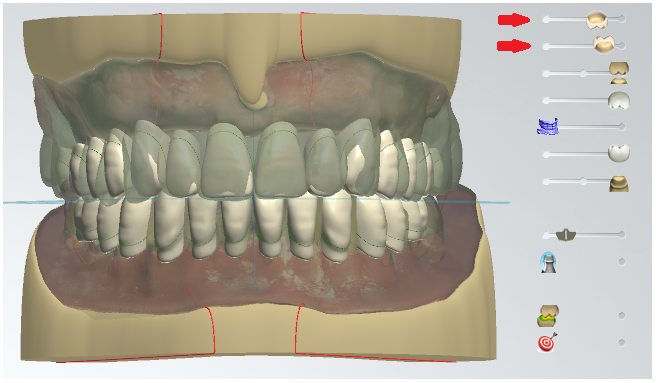
Figure 7. Original scans as a guide at the Smile Composer step
The example of designed dentures is shown in the Figure 8.
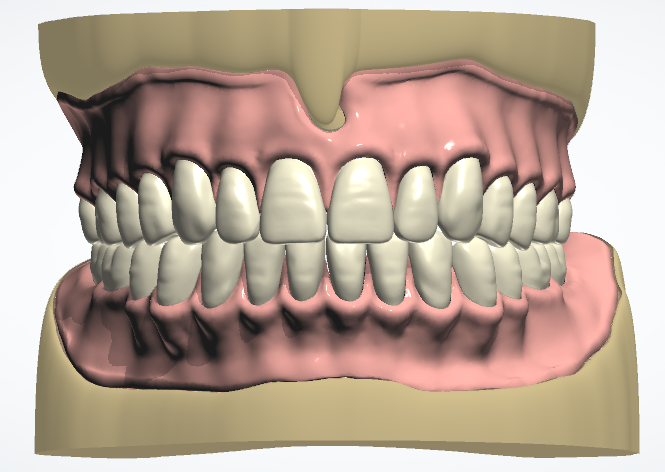
Figure 8. Designed dentures