Exporting Lab Scans in STL, DCM, or PLY Format
09/11/2023Desktop scans created with ScanIt Dental can be exported in multiple formats for use in 3Shape software or third-party applications.
Supported Export Formats
- DCM – Native 3Shape scan format used by applications such as Dental System, Ortho System, and Implant Studio. Preserves the original scan colors.
- STL – Standard 3D mesh format supported by 3Shape and many third-party applications. The exported model is monochrome while maintaining the original scan quality.
- PLY – Similar to STL, but preserves adapted colors. Supported by third-party applications. Available in Dental System 2021 and later.
Exporting STL files from 3Shape ScanItDental:
Step 1: Scan the order in ScanIt Dental.
Step 2: In Dental Manager, right-click the scanned order.
Step 3: Select "Advanced".
Step 4: Click "Export Scan".
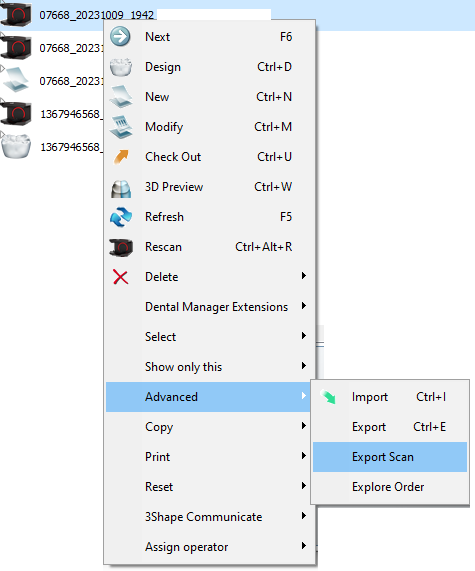
If the "Export Scan" option is not available, verify that the ScanIt Restoration STL Output option is enabled on the dongle. If necessary, contact your reseller or 3Shape Support to request activation (subject to your subscription terms and conditions).
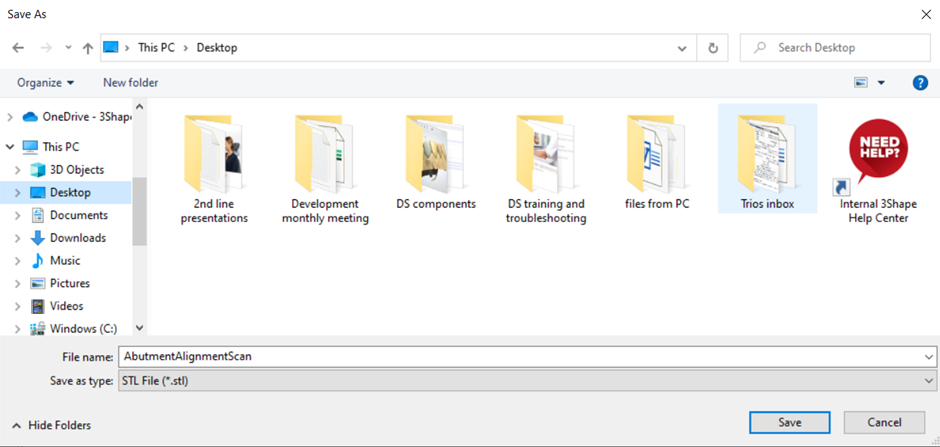
Step 5: In the "Save as type" field, select one of the supported formats:
- DCM (*.dcm)
- STL (*.stl)
- PLY (*.ply) (Dental System 2021 and later)
Step 6: Enter a file name.
Step 7: Choose the destination folder.
Step 8: Click "Save".
Exporting TRIOS Scans
TRIOS scans can also be exported in STL, DCM, and PLY formats.
Note: The TRIOS Scan STL Export option must be enabled on the dongle to export TRIOS scans in STL format.
If the "Export Scan" option is unavailable, contact your reseller or 3Shape Support to verify that the required license is enabled.
Step 1: In Dental Manager, right-click the TRIOS order.
Step 2: Select "Advanced".
Step 3: Click "Export Scan".
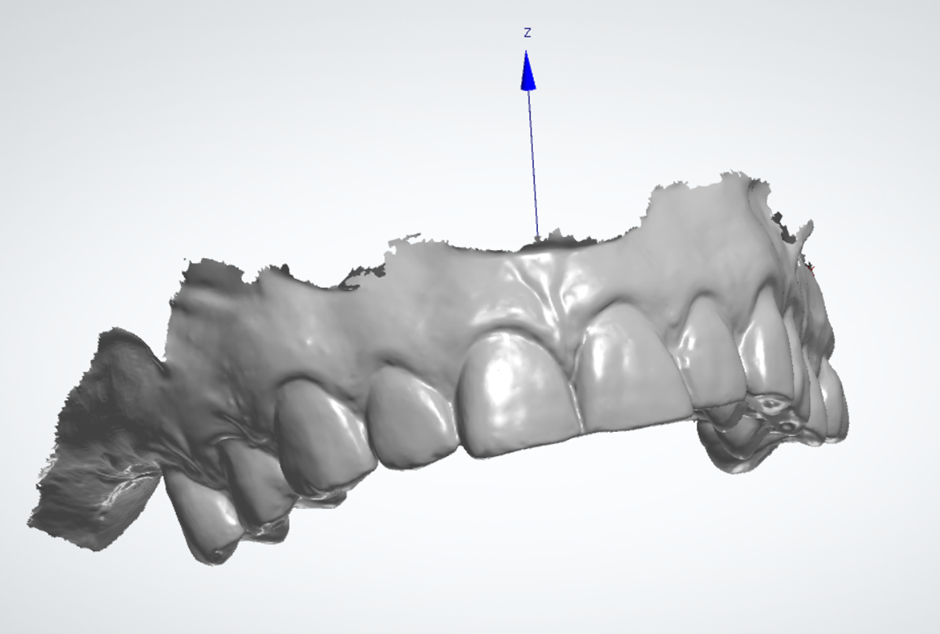
Step 4: When prompted with "Save model in Y-axis or Z-axis?", select the desired orientation.
- Y-axis – Standard export orientation.
- Z-axis – Use this option if the destination software requires a different model orientation (this option can be used if the 3rd party software for which the scans will be used corresponds another scan direction).
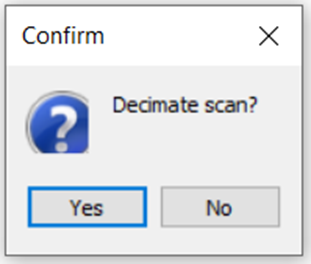
Step 5: When prompted with "Decimate scan?", choose whether to reduce the mesh size.
- Select Yes to reduce the mesh size and specify the desired decimation percentage.
- Select No to export the scan in its original resolution.

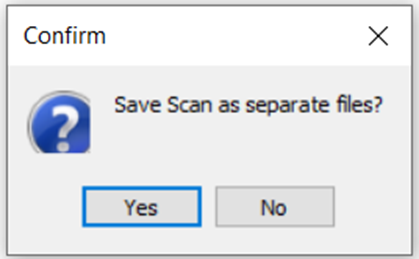
Step 6: Choose whether to export each scan as a separate file.
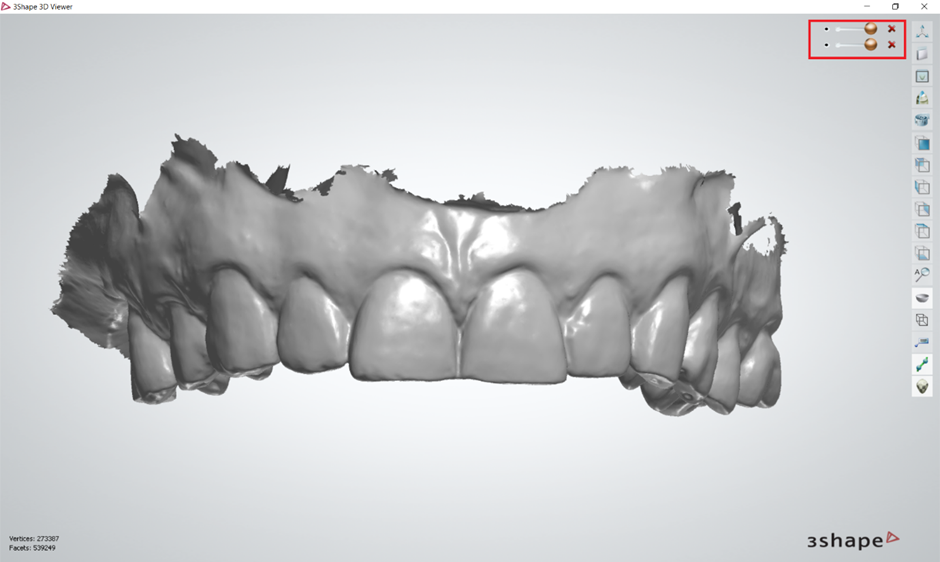
- Select Yes to export each scan as an individual file. This includes: preparation scan (this is the jaw where the restoration is located, can be upper or lower), antagonist scan (the jaw opposite to the one where the restoration is located), bite scans (occlusion). Any other scans contained within the order, such as pre-preparation or scan body scans will also be saved separately.
- Select No to export all scans as a single file. This option can be useful when maintaining the original occlusion relationship.
Step 7: Choose the destination folder.
Step 8: Click "Save" to complete the export.
Contact 3Shape Support if you have any further questions.
For full information on correct usage consult the official Safety and Setup Guide and the most current Manual.