Onboarding to 3Shape Unite 23.1 with Accounts belonging to different companies
07/11/2023Instructions
The scenario is about the case when all Users have their own 3Shape accounts, and they are related to different companies (both of them are Administrators of their own companies). Then, after the upgrade, the first user who is logged in, registers the company for the system and all other users should join the company by accepting the transfer of their companies to the particular one.
Make sure you have followed the preparations for the transfer described in the article "Unite II Basics - Preparation for Transfer".
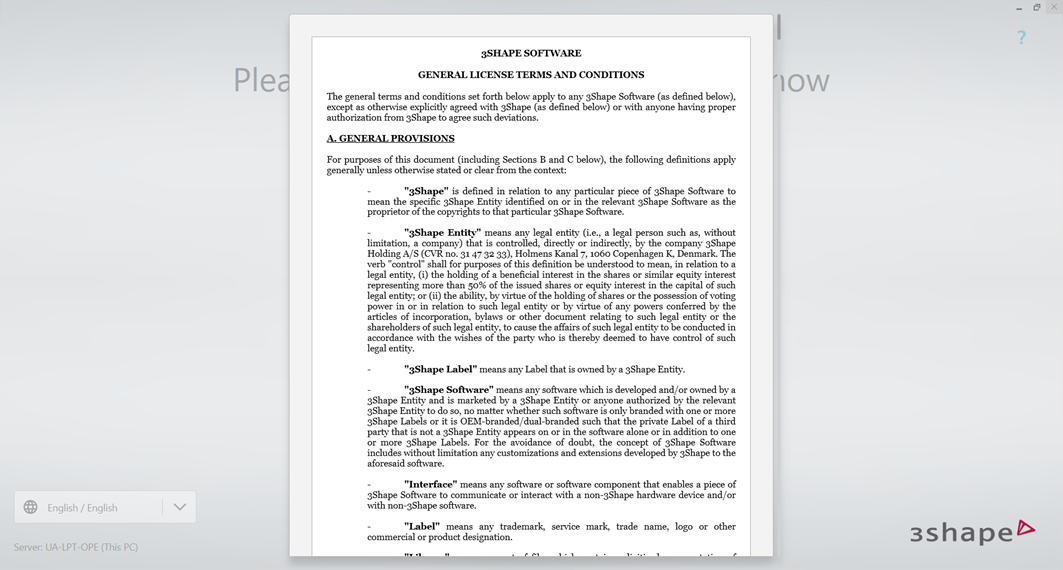
- After Unite is upgraded to the version with 3Shape Account, you need to read and accept General license terms and conditions.
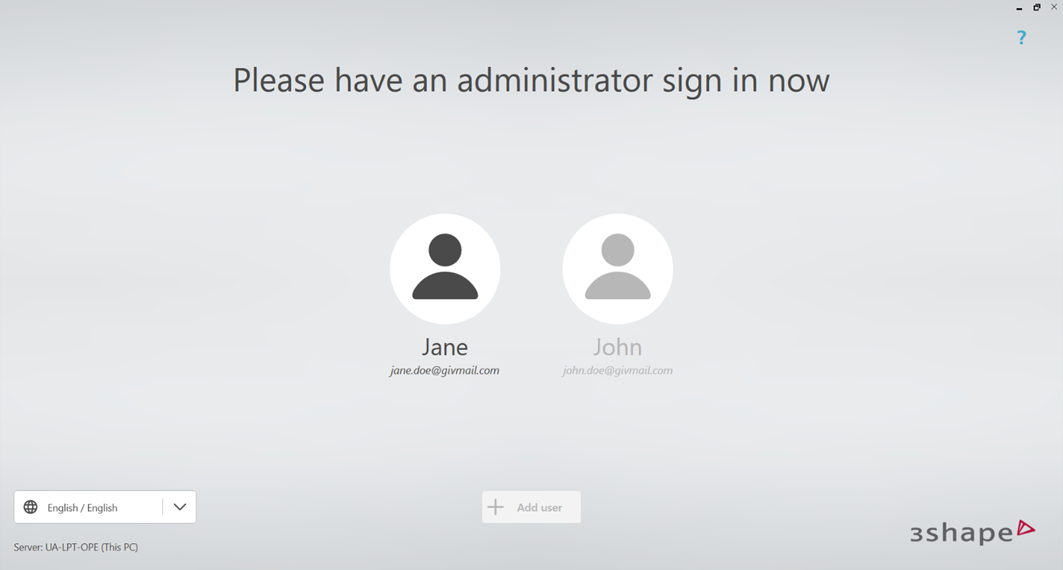
- Then all users are transferred, and you will see them on the Users screen. Here it is expected that the Company Administrator logs in first. The profile of Administrator is highlighted to guide you, so you can click on it.
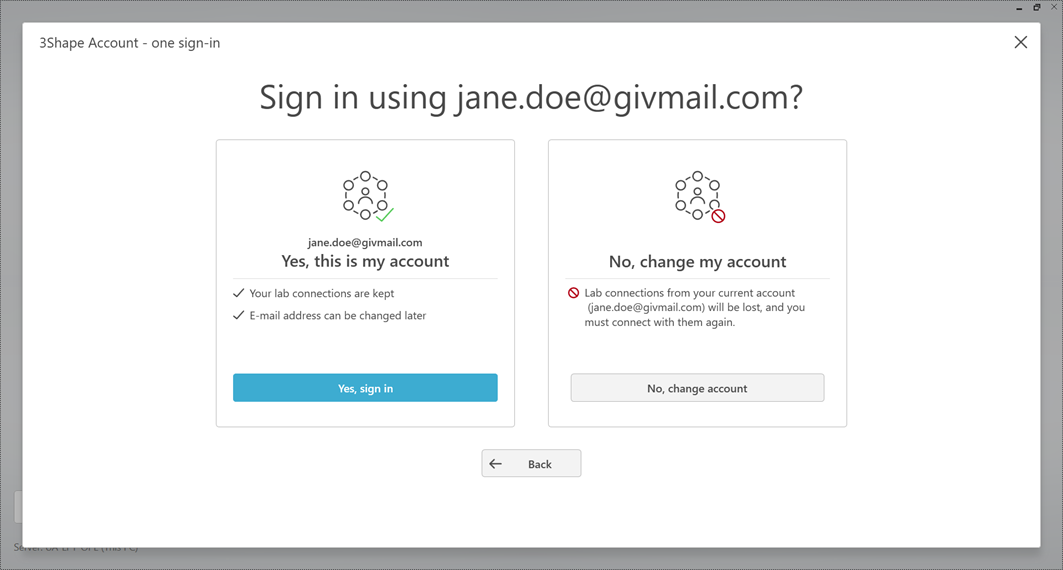
- Once you will click on the Administrator profile, you will be prompted to the screen where you will need to confirm if your account is the correct one. Please click "Sign in" if this is the right account.
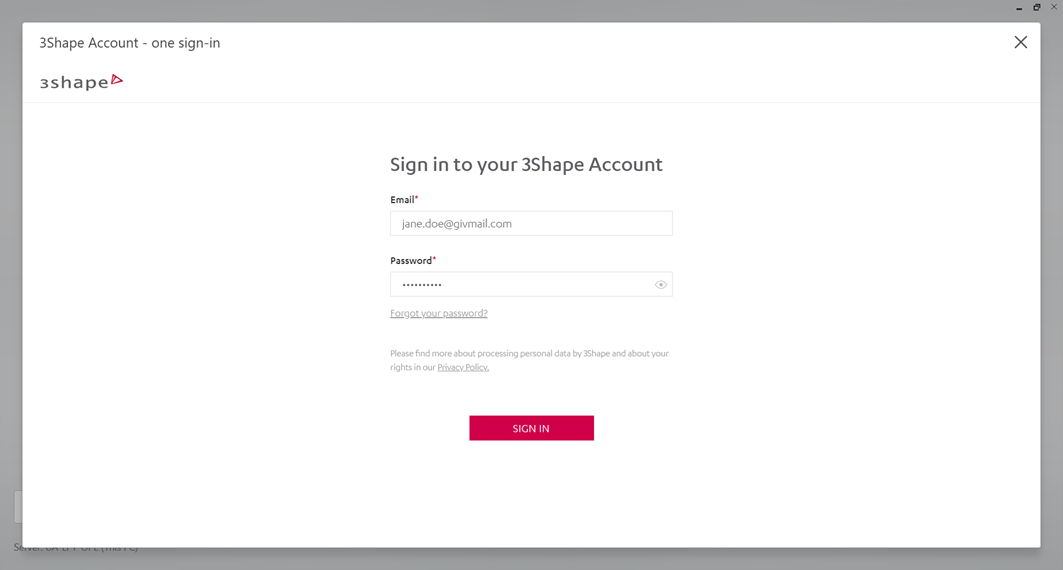
- Enter your password (the email is pre-written) and click "Sign in".
- Review the company details and click "My company data is correct".
If some data is incorrect, click "Edit" to make changes before confirming that the data is correct.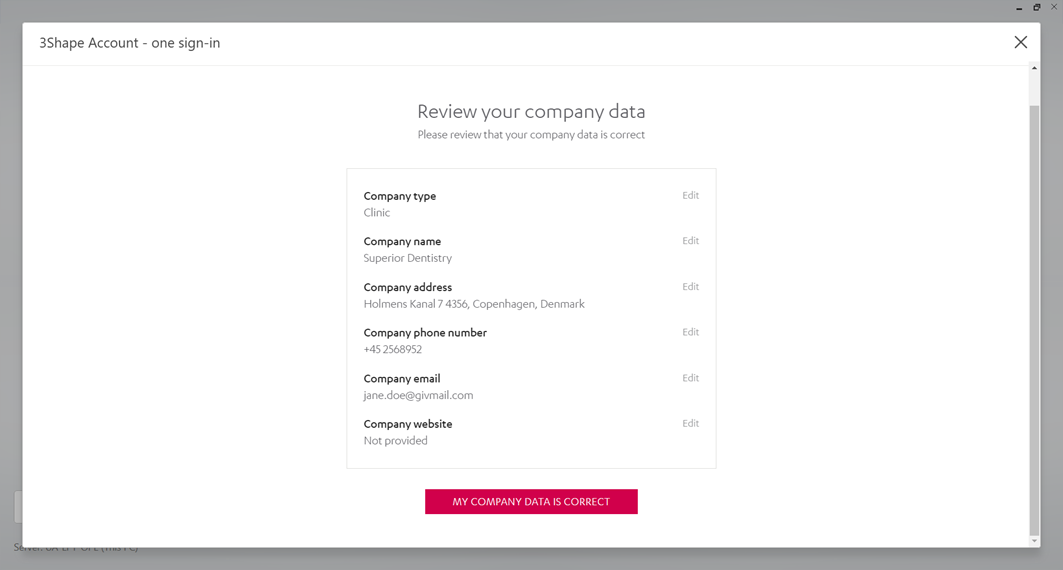
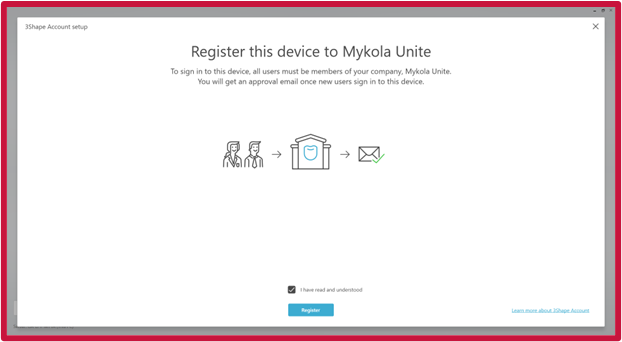
- In the next step, you will need to Register the Unite installation (which is to link the system to your 3shape Account Company). Confirm the process by clicking on "I have read and Understood"and Click on "Register" to continue.
- Set a personal 6-digit PIN CODE for the account and device and click "Save".

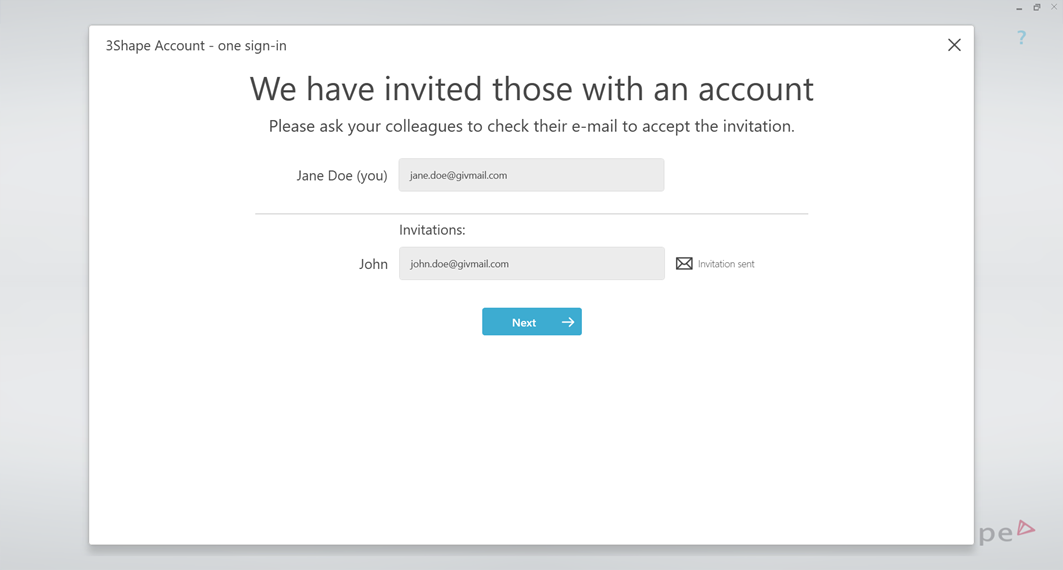
- The rest of users, who have been logged into the system previously, are invited to join the company (These are invitations to transfer their teams into this Company). Click "Next".
- Then the Unite introduction is provided.

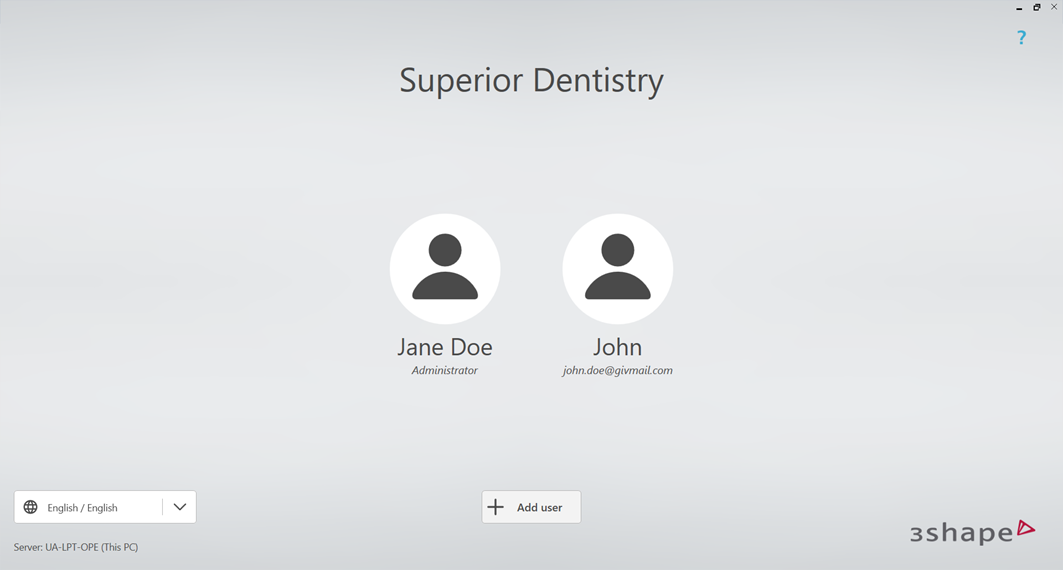
- If to sign out from the software and choose another user, you will see that the Administrator is signed in already, so the rest of users can be onboarded into 3Shape Account. Click on another avatar.
- Choose "Yes, sign in" confirming that the email can be used.

- Enter your password (the email is pre-written) and click "Sign in".

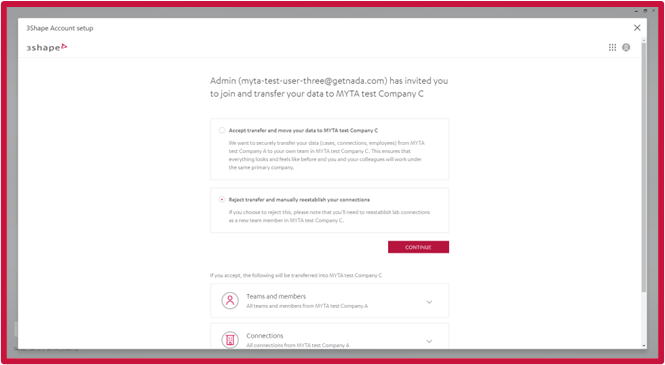
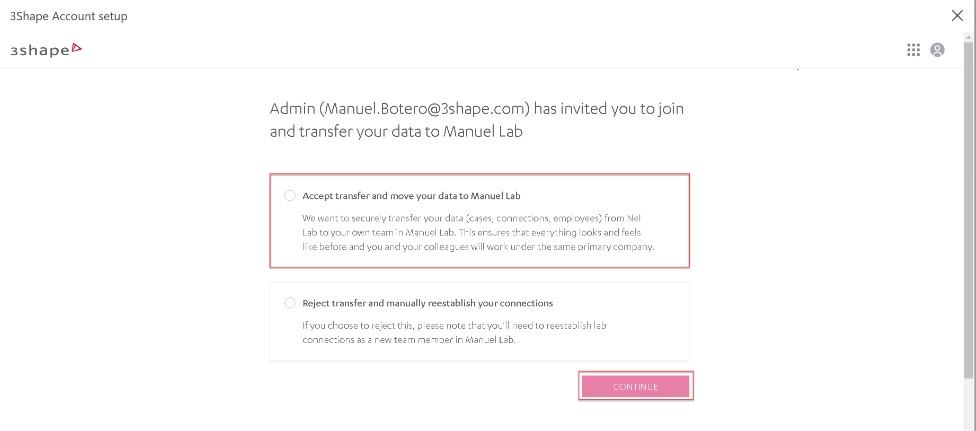
Your current company will not be deleted after the transfer, but all your cases and connections (Team) will be moved into the company that is assigned to the system. If you are not willing to have a full company transfer, then you need to Reject the transfer and join as a member for the registered company. For this flow all cases will still be assigned to your company and will not be transferred, but you will have to be assigned to a new team in the registered company and will need to re-create all your connections and integrations for the 3SCOM service or use the connections present in the assigned company (To follow this path go to step).
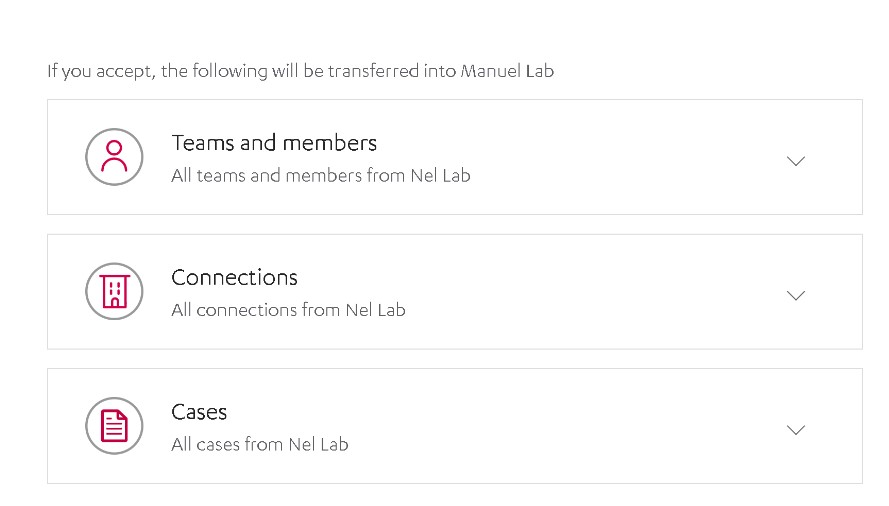
- You will be shown with a proposal to accept or reject the transfer, also you will be shown with a summary of what will be transferred (Teams, connections and cases). Select Accept and click "Continue".
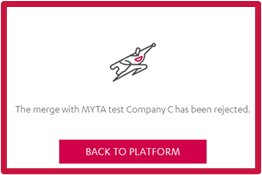
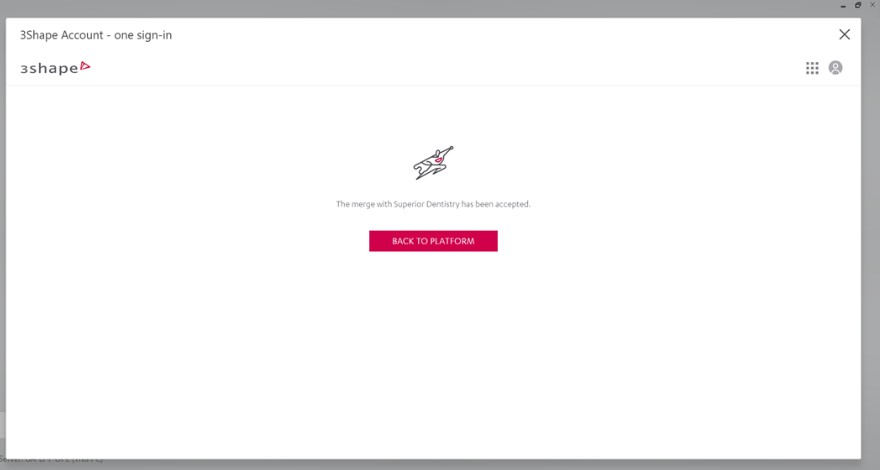
- Click "Back to platform".
- Review your personal data and click "My personal data is correct".
If some data is incorrect - click "Edit" to make changes before confirming that the data is correct.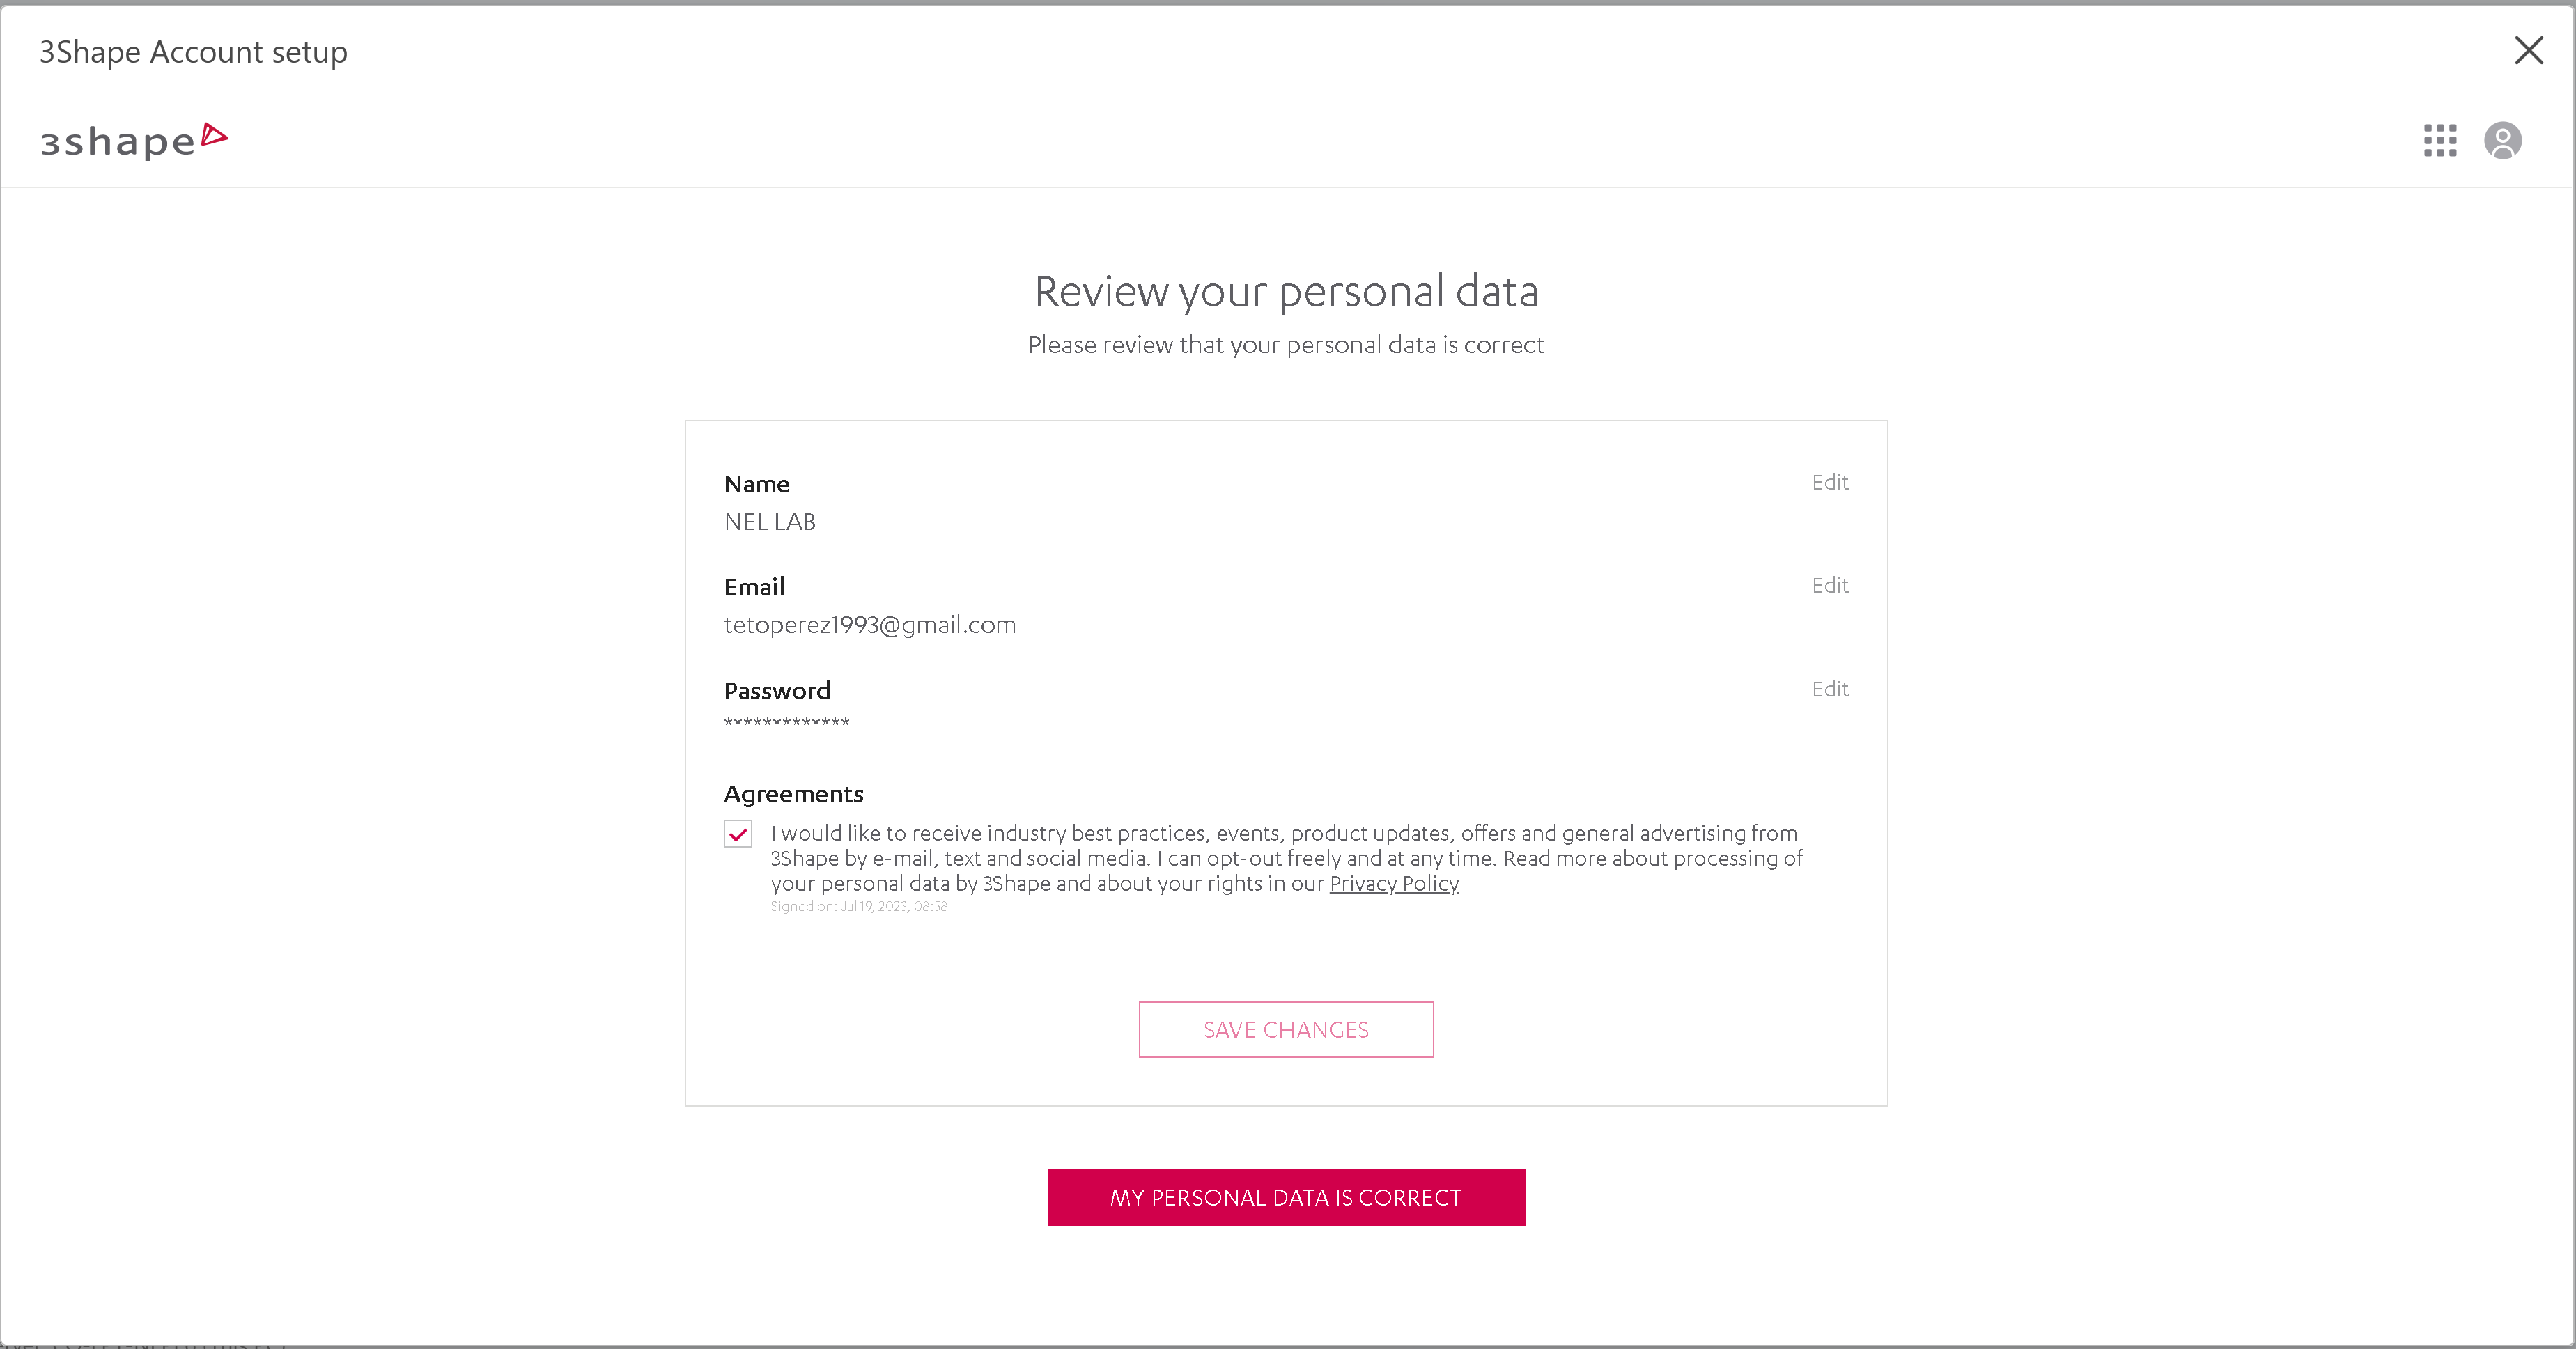
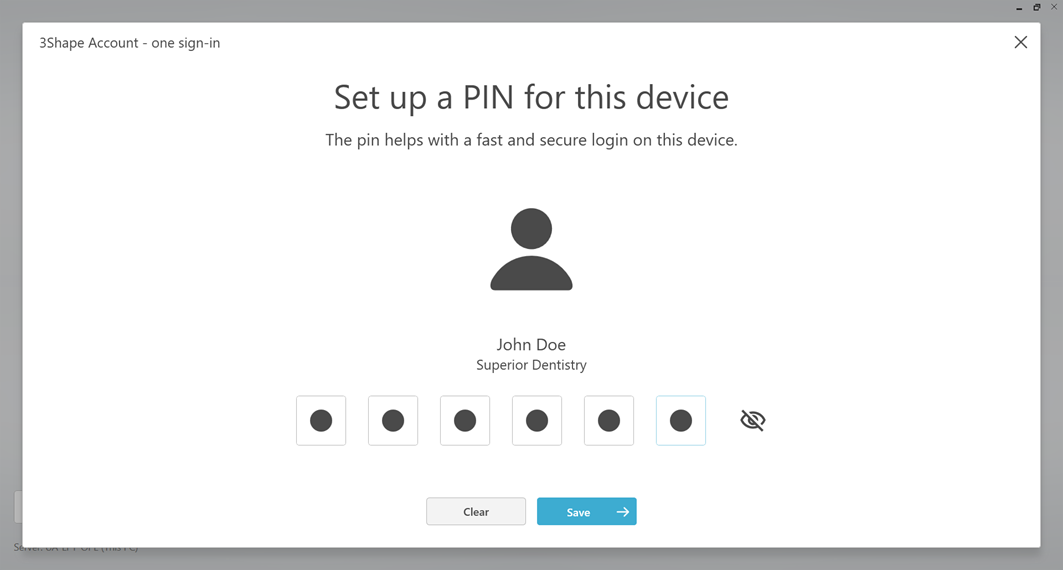
- Set up a personal 6-digit PIN CODE and click "Save".
Then the Unite introduction is provided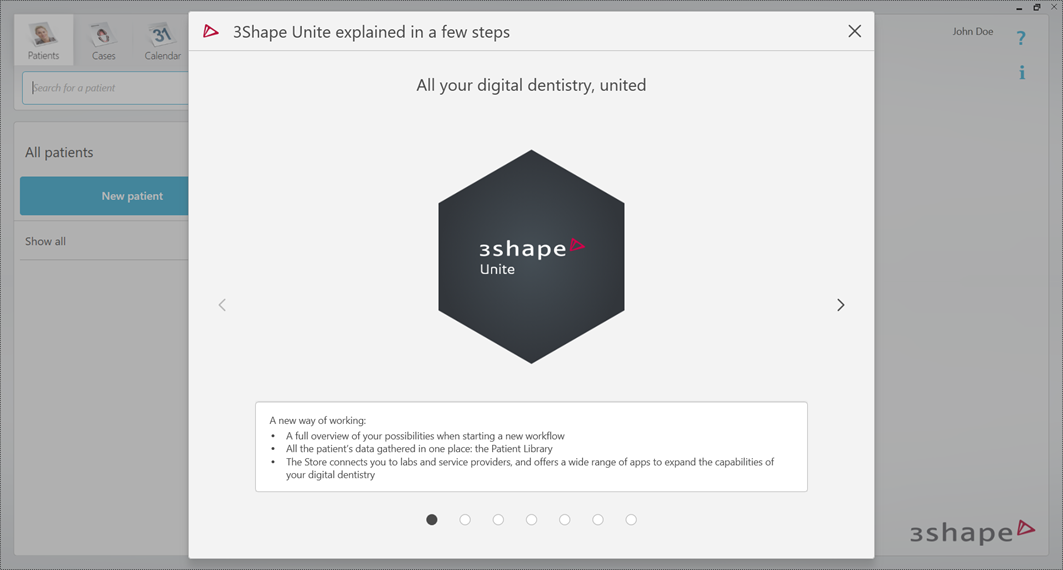
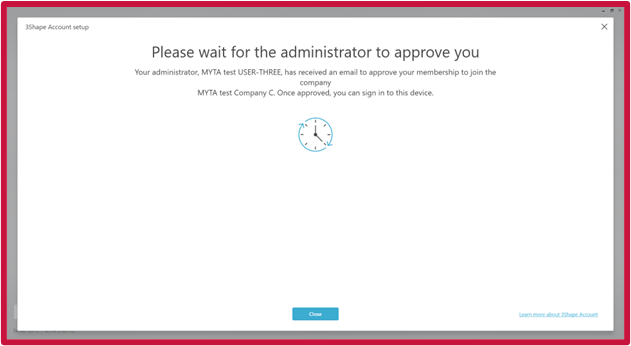
- If the transferred is rejected, then a JOIN invitation will be sent to the Administrator of the Company. Once he accepts it from the Account Portal, the user will be able to set the personal PIN and access to Unite.