How to integrate 3D printers or milling machines into Implant Studio for surgical guide production
08/11/2023Integrating a 3D printer or milling machine on 3shape Produce
Note: 3Shape Produce is available from 3Shape Unite 1.7.40.2 forward
To use your 3D printer or milling machine with Implant Studio you need to follow the next steps once you have completed your design:
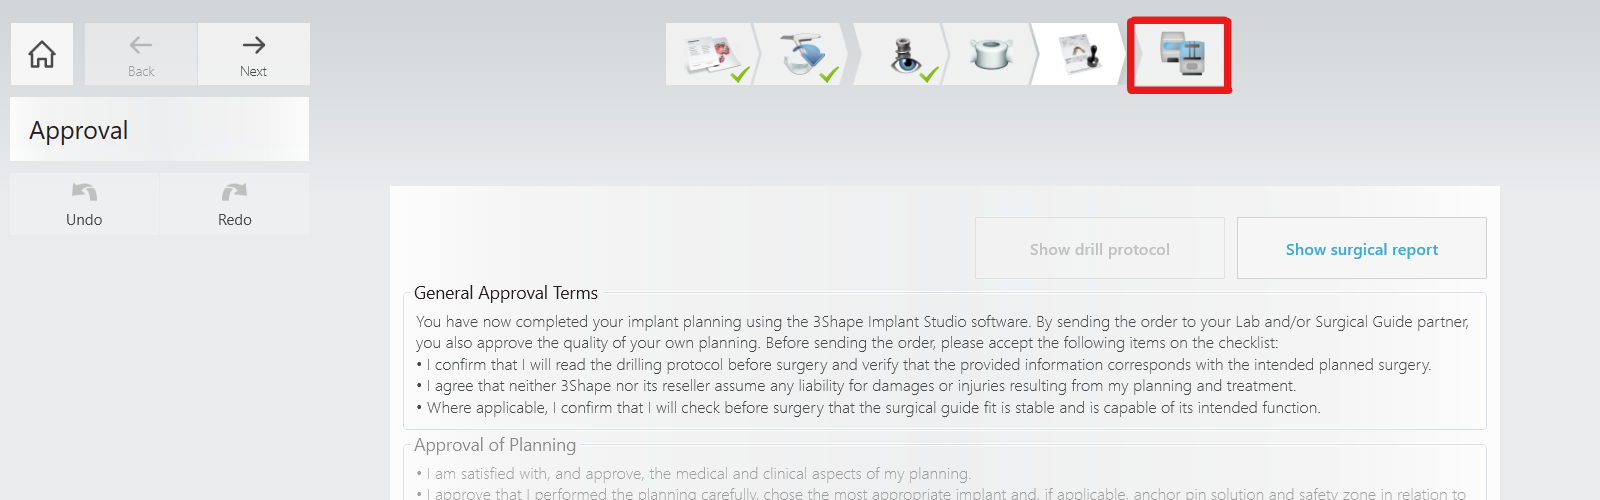
- After the approval step, you will have a new option “Produce” before completing your design.
- If this is the first time you access “Produce”, you will need to set up the machine by selecting the option “Machine setup”.
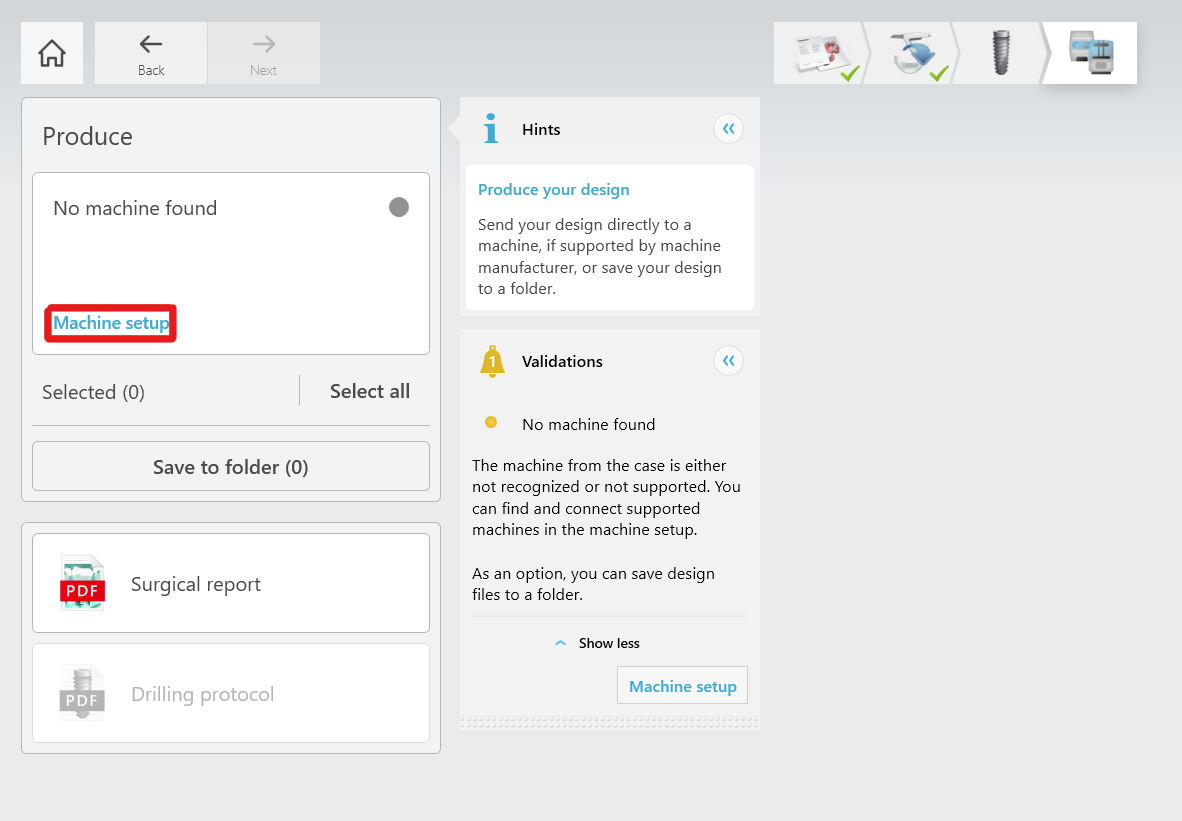
- In this new tab, you will be able to see all the machines you can integrate with 3Shape produce, In the description of each machine you will find a link to the manufacturing software, with instructions on how to install it. Click and follow the link to connect to 3Shape Produce and the selected machine, additionally, if a machine is already on your network and has the requirements it will show at the top of the list.

- Once the machine is available for connection the option “Setup” will appear, and you need to click on it.
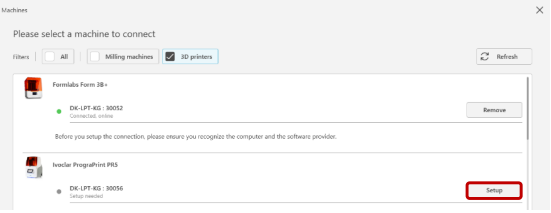
- Once you successfully complete the setup, the machine will be selected in the Machine section and you will be able to select it for your future designs.
Note: the machine status will be shown with the circle above the icon of the machine you selected.
Green: the machine is set up and available.
Orange: the machine is set up but not available in the network or the manufacturing software is not running.
Grey/No machine: The machine is not set up.
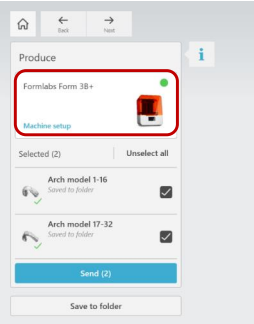
Note: You can connect more than one machine, you will be able to change between them and see their status by pressing “Change machine”.

Integrating a 3D printer with Implant Studio for surgical guide production (Before Produce)
Note: These steps are only available for Unite before version 1.7.40.2 and Avobe 1.6.9.0.
To use your 3D printer with Implant Studio you will need to establish the integration through the “Formlabs 2” option.
Please follow the steps to integrate the Formlabs 2 to the Implant Studio workflow:
- Go to More > Settings > CAM > General and download the 3rd party software (Preform), click on Download 3rd party software and it will redirect you to the Formlabs page where the software can be downloaded.

- Go to More > Settings > CAM > General and click on Install Formlabs.
- A Pop-up window will appear indicating you to select the path where the preform.exe file is located, By default the path is C> Program Files*86 > Formlabs > Preform.

- Once the Path is specified the 3D printer will be ready to use.
Once these steps have been performed, the 3D printer will appear as an available option in the order form.
For further assistance or inquiries regarding “3shape Produce” or “Formlabs 2” contact 3Shape support.