Customize report types
In the Ortho Control Panel you can customize the report types according to their specifications.
To do so please follow the next steps:
Step 1: Open Ortho Control Panel on the desktop and go to the Custom Report Configuration section and select Report types.
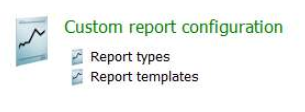
Step 2: To create a new report type click the Add icon, which you can find on the left of the screen.
![]()
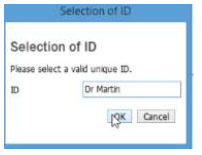
Step 3: The Selection of ID window will pop up. Enter the name of the report type and press OK.
NOTE: you can choose any desired ID.
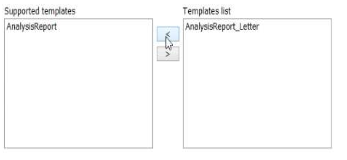
Step 4. Choose which template you wish to use from the Template list on the right of the window. Then, press the arrow and your report template will appear in the Supported templates window on the left.
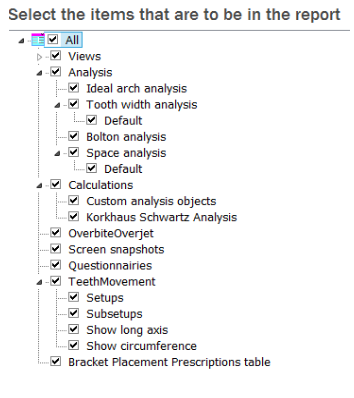
Step 9. Now, look at the list of tools and features you have in Ortho Analyzer. You can define which kind of information you want to include in each report type. Select the All option at the top if you want to include all features.
You can have as many different report types as you like. Please make sure to give each report a unique ID to avoid confusion.
You might also want to take a look at the following video here, which will walk you through the step-by-step mentioned above.