How to enable LiveDDM integration with 3Shape Unite
07/11/2023Prerequisites for the integration:
- 3Shape Unite 21.1.x or newer.
- LiveDDM v 6.0.1096.x or newer.
- 3Shape Unite client and LiveDDM should be installed on the same computer.
- Both standalone and client-server setups are supported, see Known Limitations.
3Shape Unite and LiveDDM (PMS) integration provides automation of Patient Management in 3Shape Unite from LiveDDM (Create, merge and update patient) for faster and easier managing of patient data. Read more about LiveDDM here.
How to enable the integration in Unite
Please follow the steps described in the related article: How to install "PMS integration" App from Unite Store
How to enable the integration in LiveDDM
Please consult LiveDDM documentation. The following steps are provided as an aid to set up and use the integration in LiveDDM software.
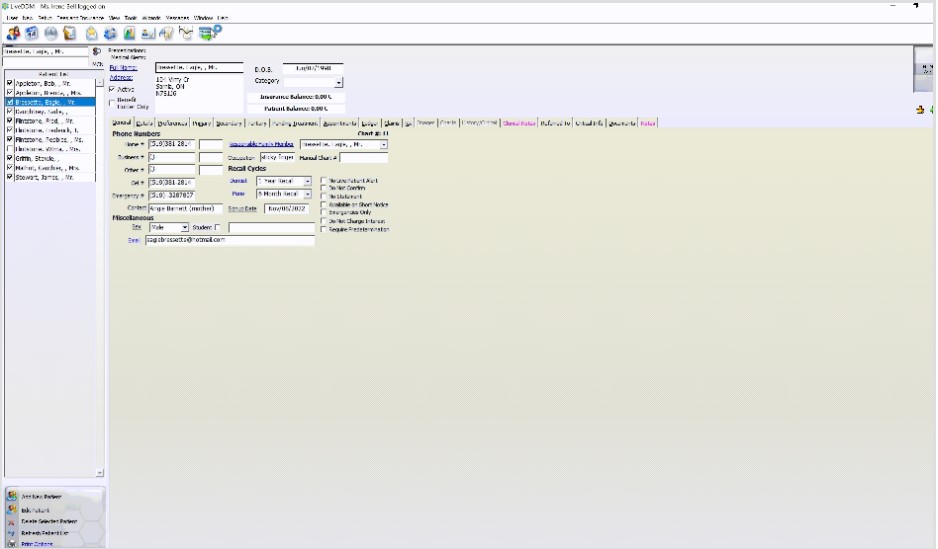
- Run LiveDDM and sign in.
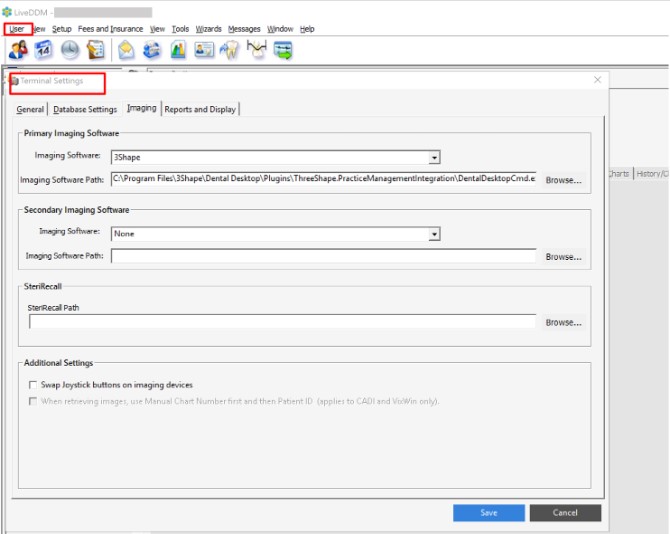
- Navigate to User > Terminal Settings.
- Select the Imaging tab. Either under Primary or Secondary do the following:
- Select 3Shape from the Imaging Software drop down
- Click Browse and navigate to the folder where DentalDesktopCmd.exe located.

NOTE: For default installation, use the following path: C:\Program Files\3Shape\Dental Desktop\Plugins\ThreeShape.PracticeManagementIntegration\DentalDesktopCmd.exe
If the default Dental Desktop installation path is changed, it can be found using this path template: {PathToDentalDesktopInstallation}\Dental Desktop\Plugins\ThreeShape.PracticeManagementIntegration\DentalDesktopCmd.exe
- Click Save button.
Now you have finished the setup and may use integration between LiveDDM and 3Shape Unite.

Known limitations:
- Regarding different PMS & Unite setup options and integration on Trios Move, check this article: Practice management system & Imaging system setup overview
- Patient updates are only propagated from LiveDDM to 3Shape Unite. Not the other way around.
Contact 3Shape Support if you have further questions.
For full information on correct usage please consult the official Safety and Setup Guide and the most current Manual.