TRIOS meets DS Core. Installation and user-guide
30/01/2024
The workflow is available now. Please review the list of currently supported countries.
Ensure the workflow is accessible in your region.
The list of country availability:
- Australia
- Austria
- Belgium
- Bulgaria
- Brazil
- Canada
- China
- Croatia
- Cyprus
- Czechia
- Denmark
- Estonia
- Finland
- France
- Germany
- Greece
- Hungary
- Iceland
- Ireland
- Italy
- Japan
- Korea, Republic of
- Latvia
- Lithuania
- Luxembourg
- Malta
- Netherlands
- New Zealand
- Norway
- Poland
- Romania
- Slovakia
- Slovenia
- Spain
- Sweden
- Switzerland
- United Kingdom
- United States of America
How to establish connection between 3Shape Unite & DS Core. Europe
Run Unite and Open Unite Store. Go to More > Store
In the search field, start typing DS Core 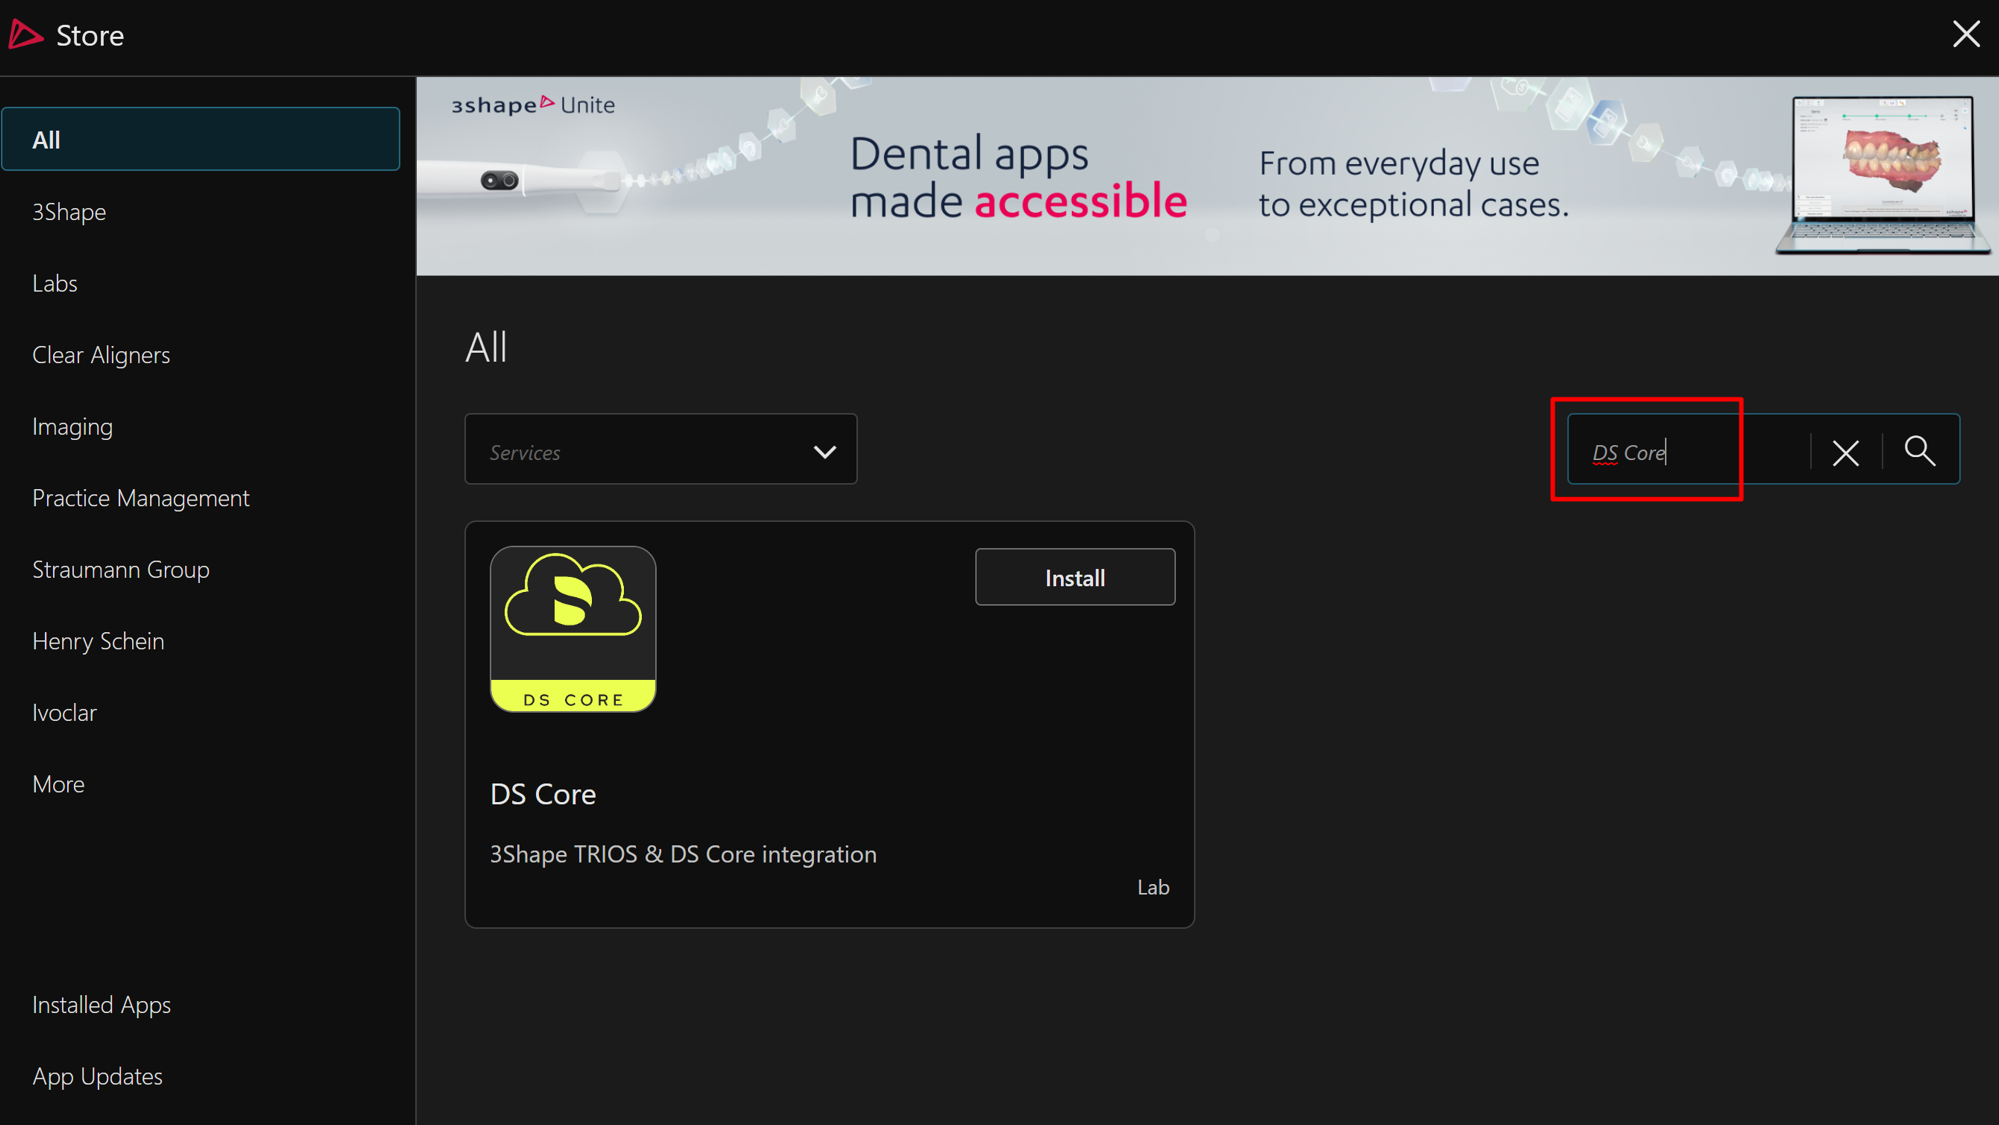 Click “Install” button.
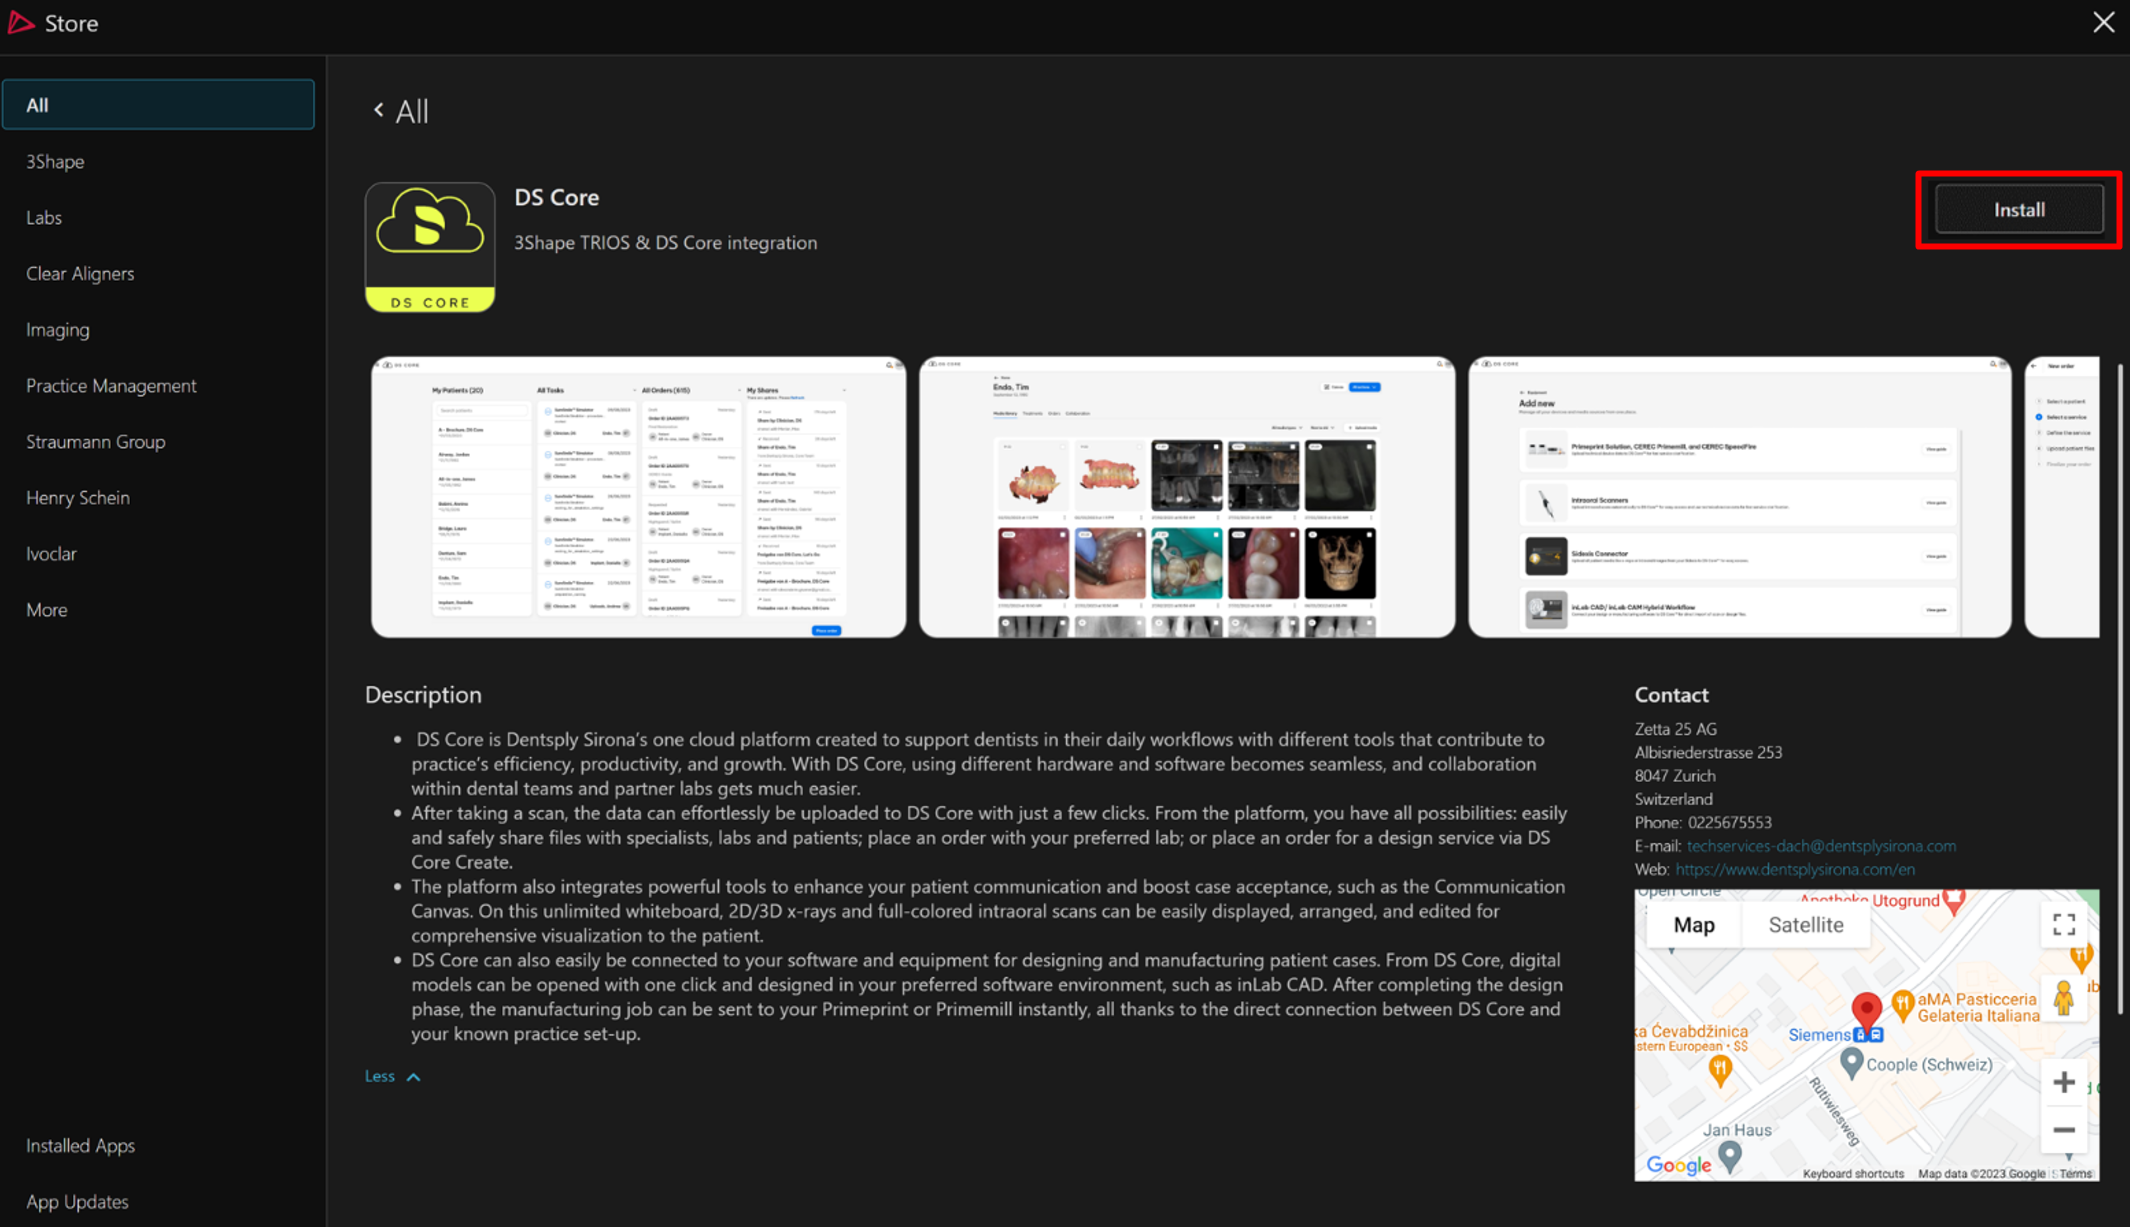
New pop-up window will appear, click “setup” and you will be redirected to DS Core site. 
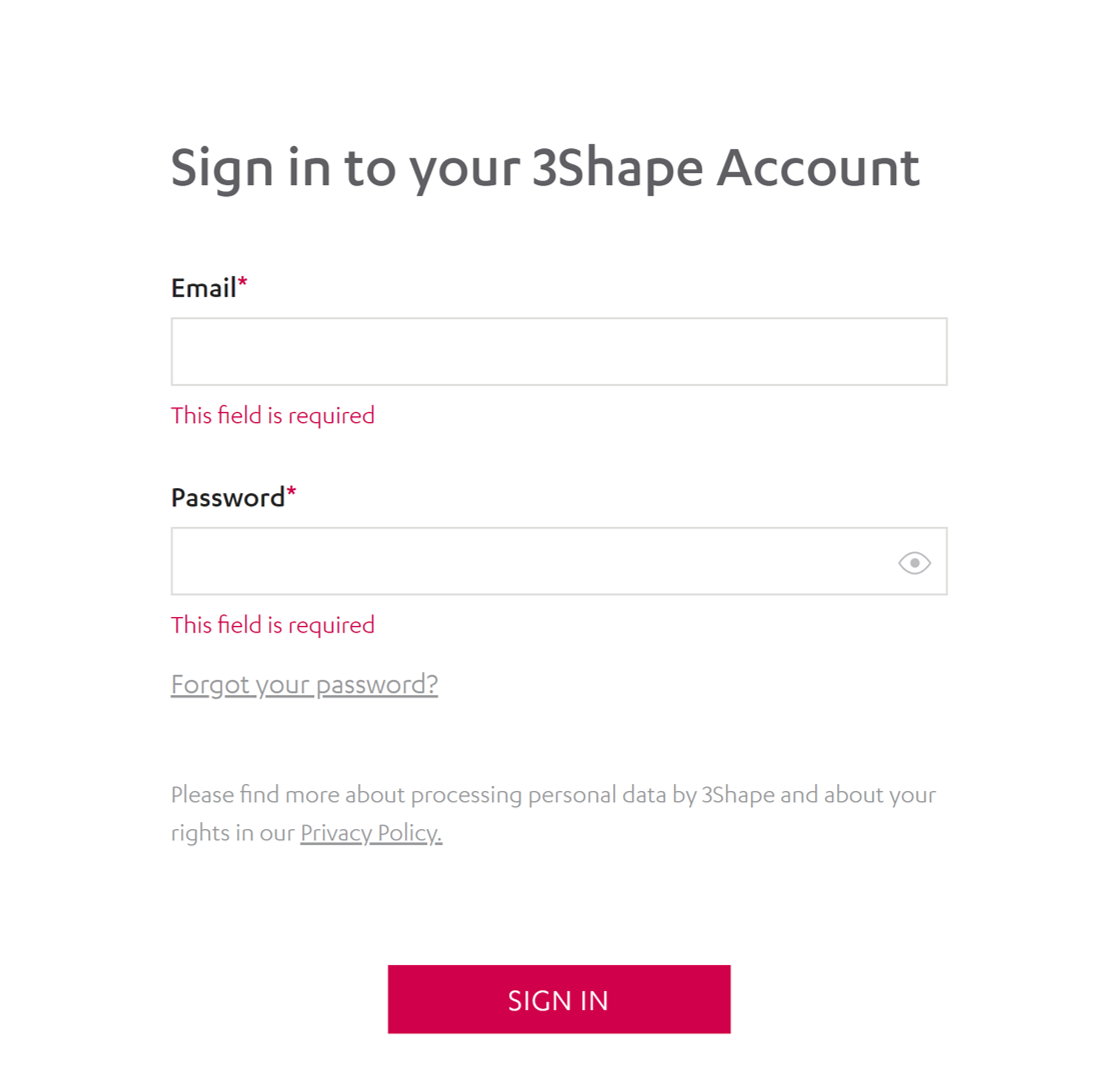
Log in with your DS Core Account or create new one: 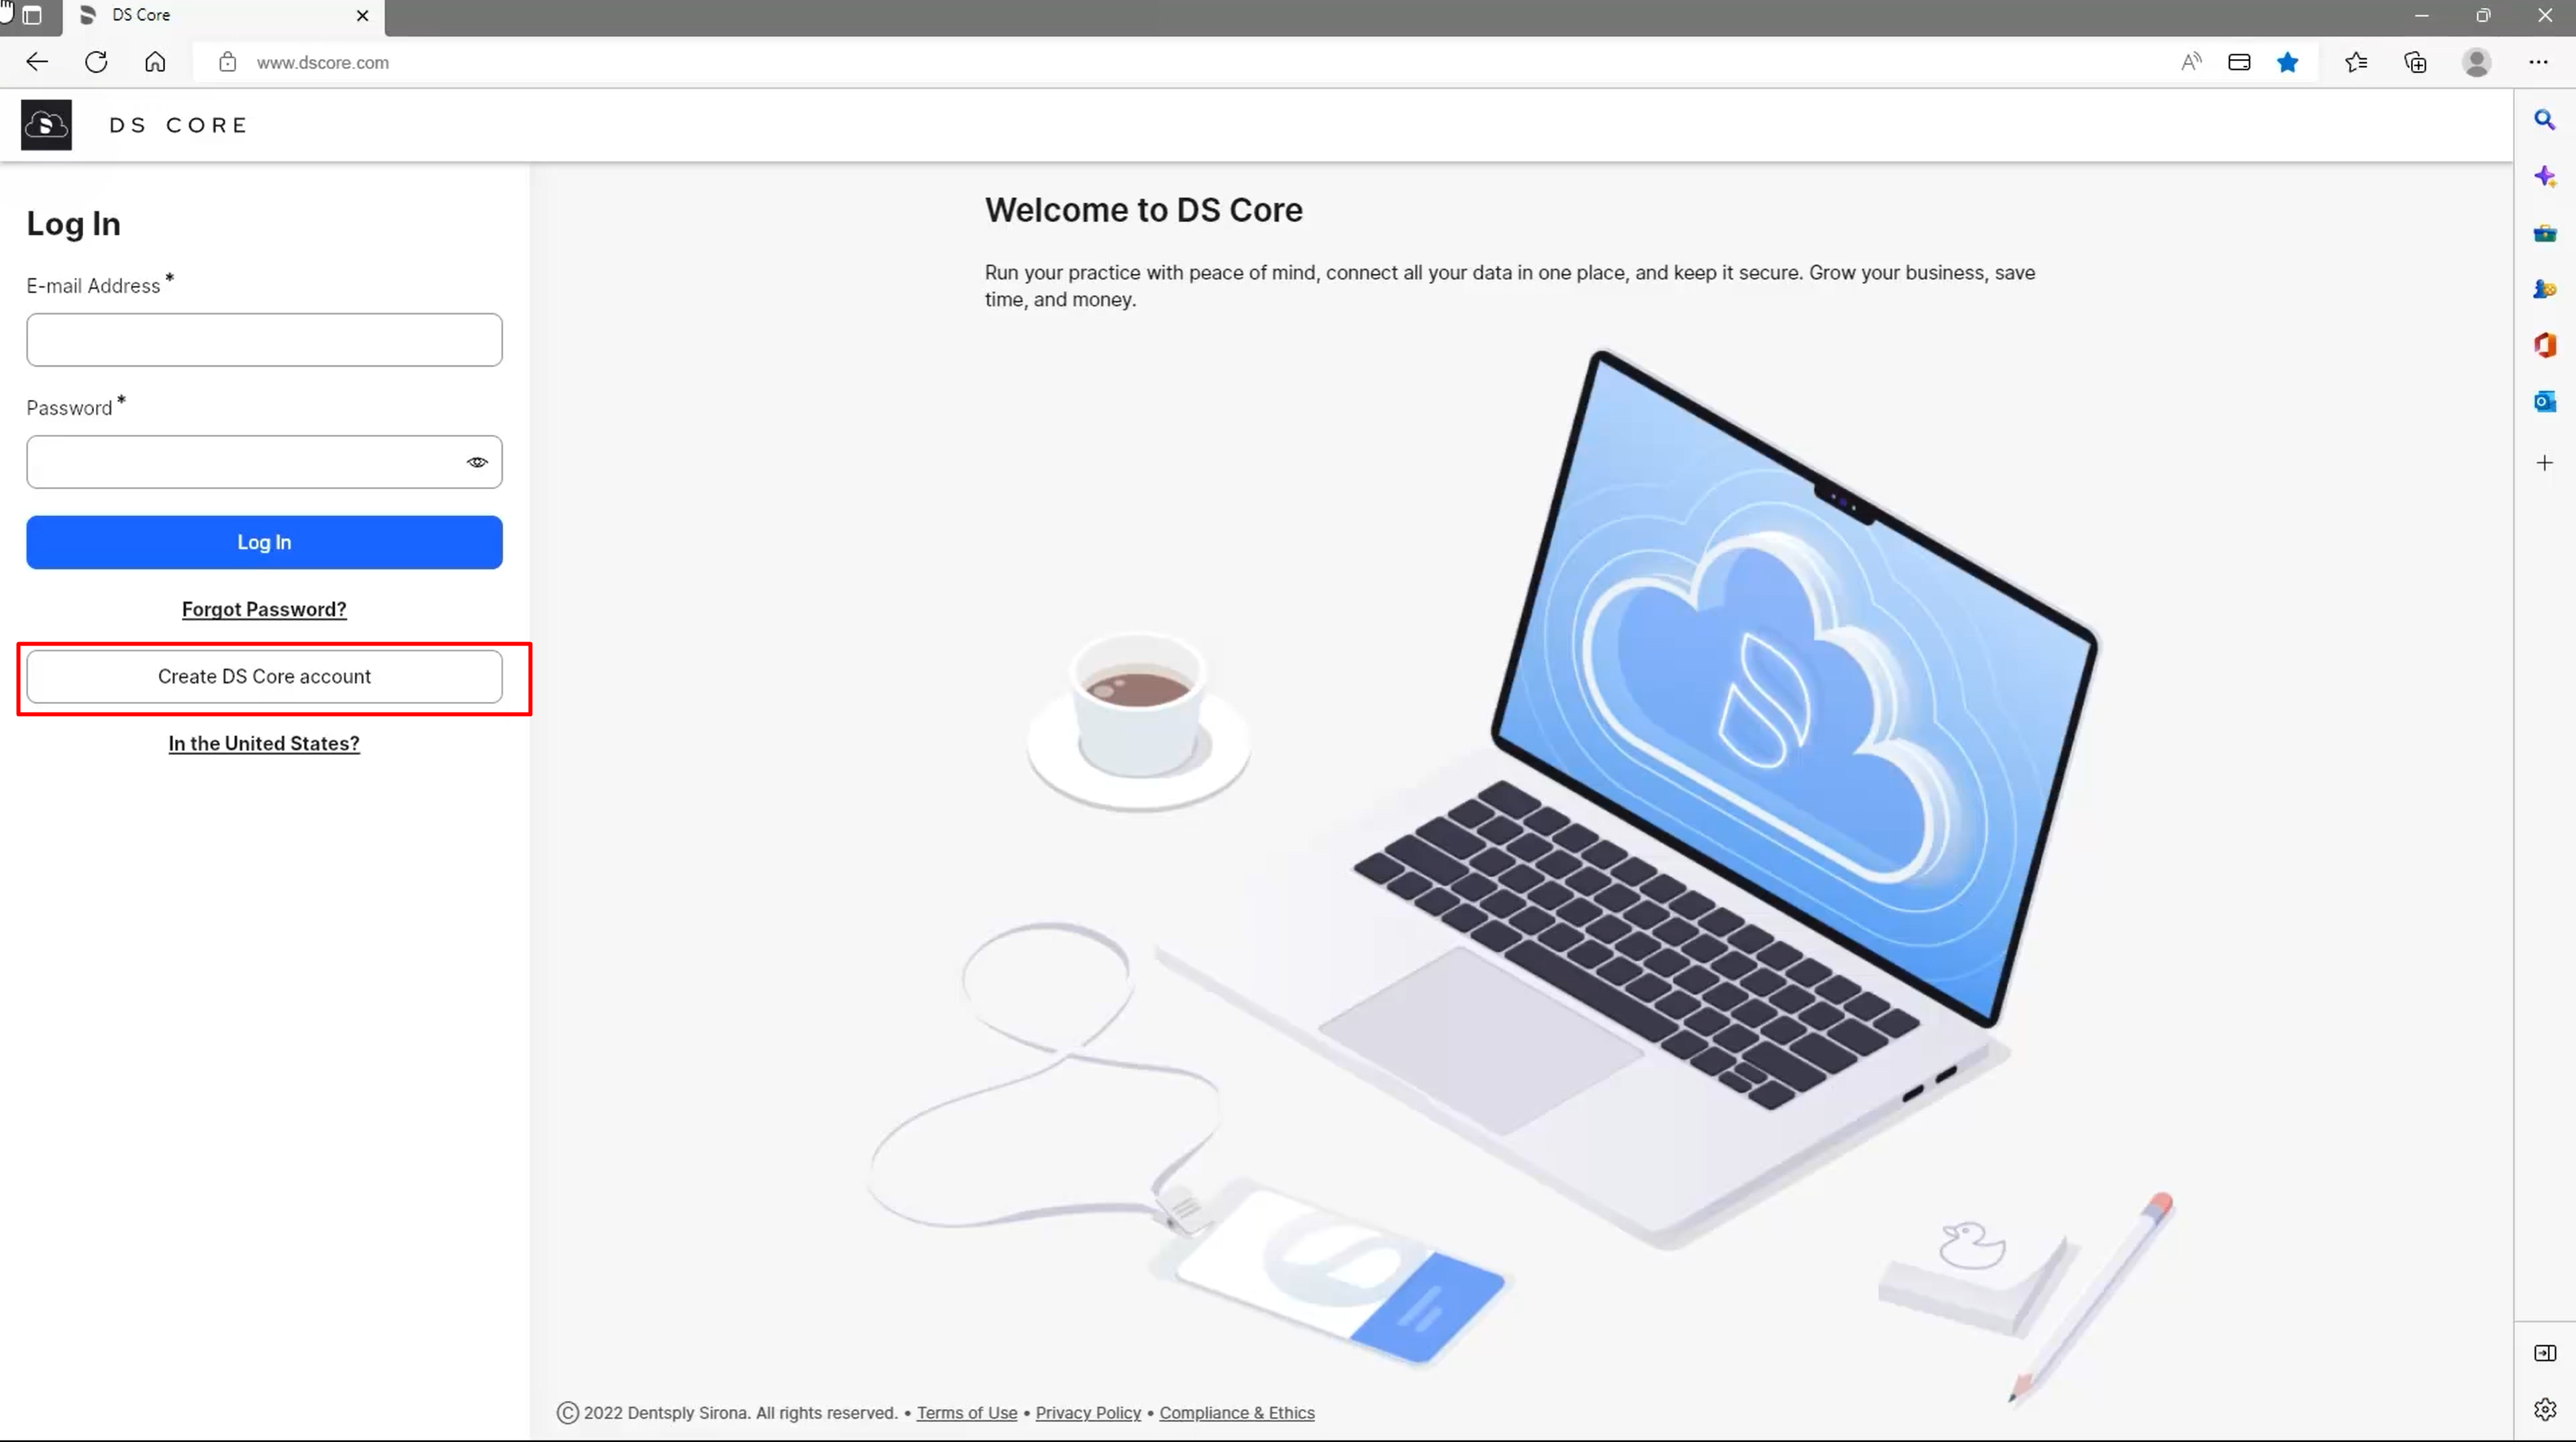
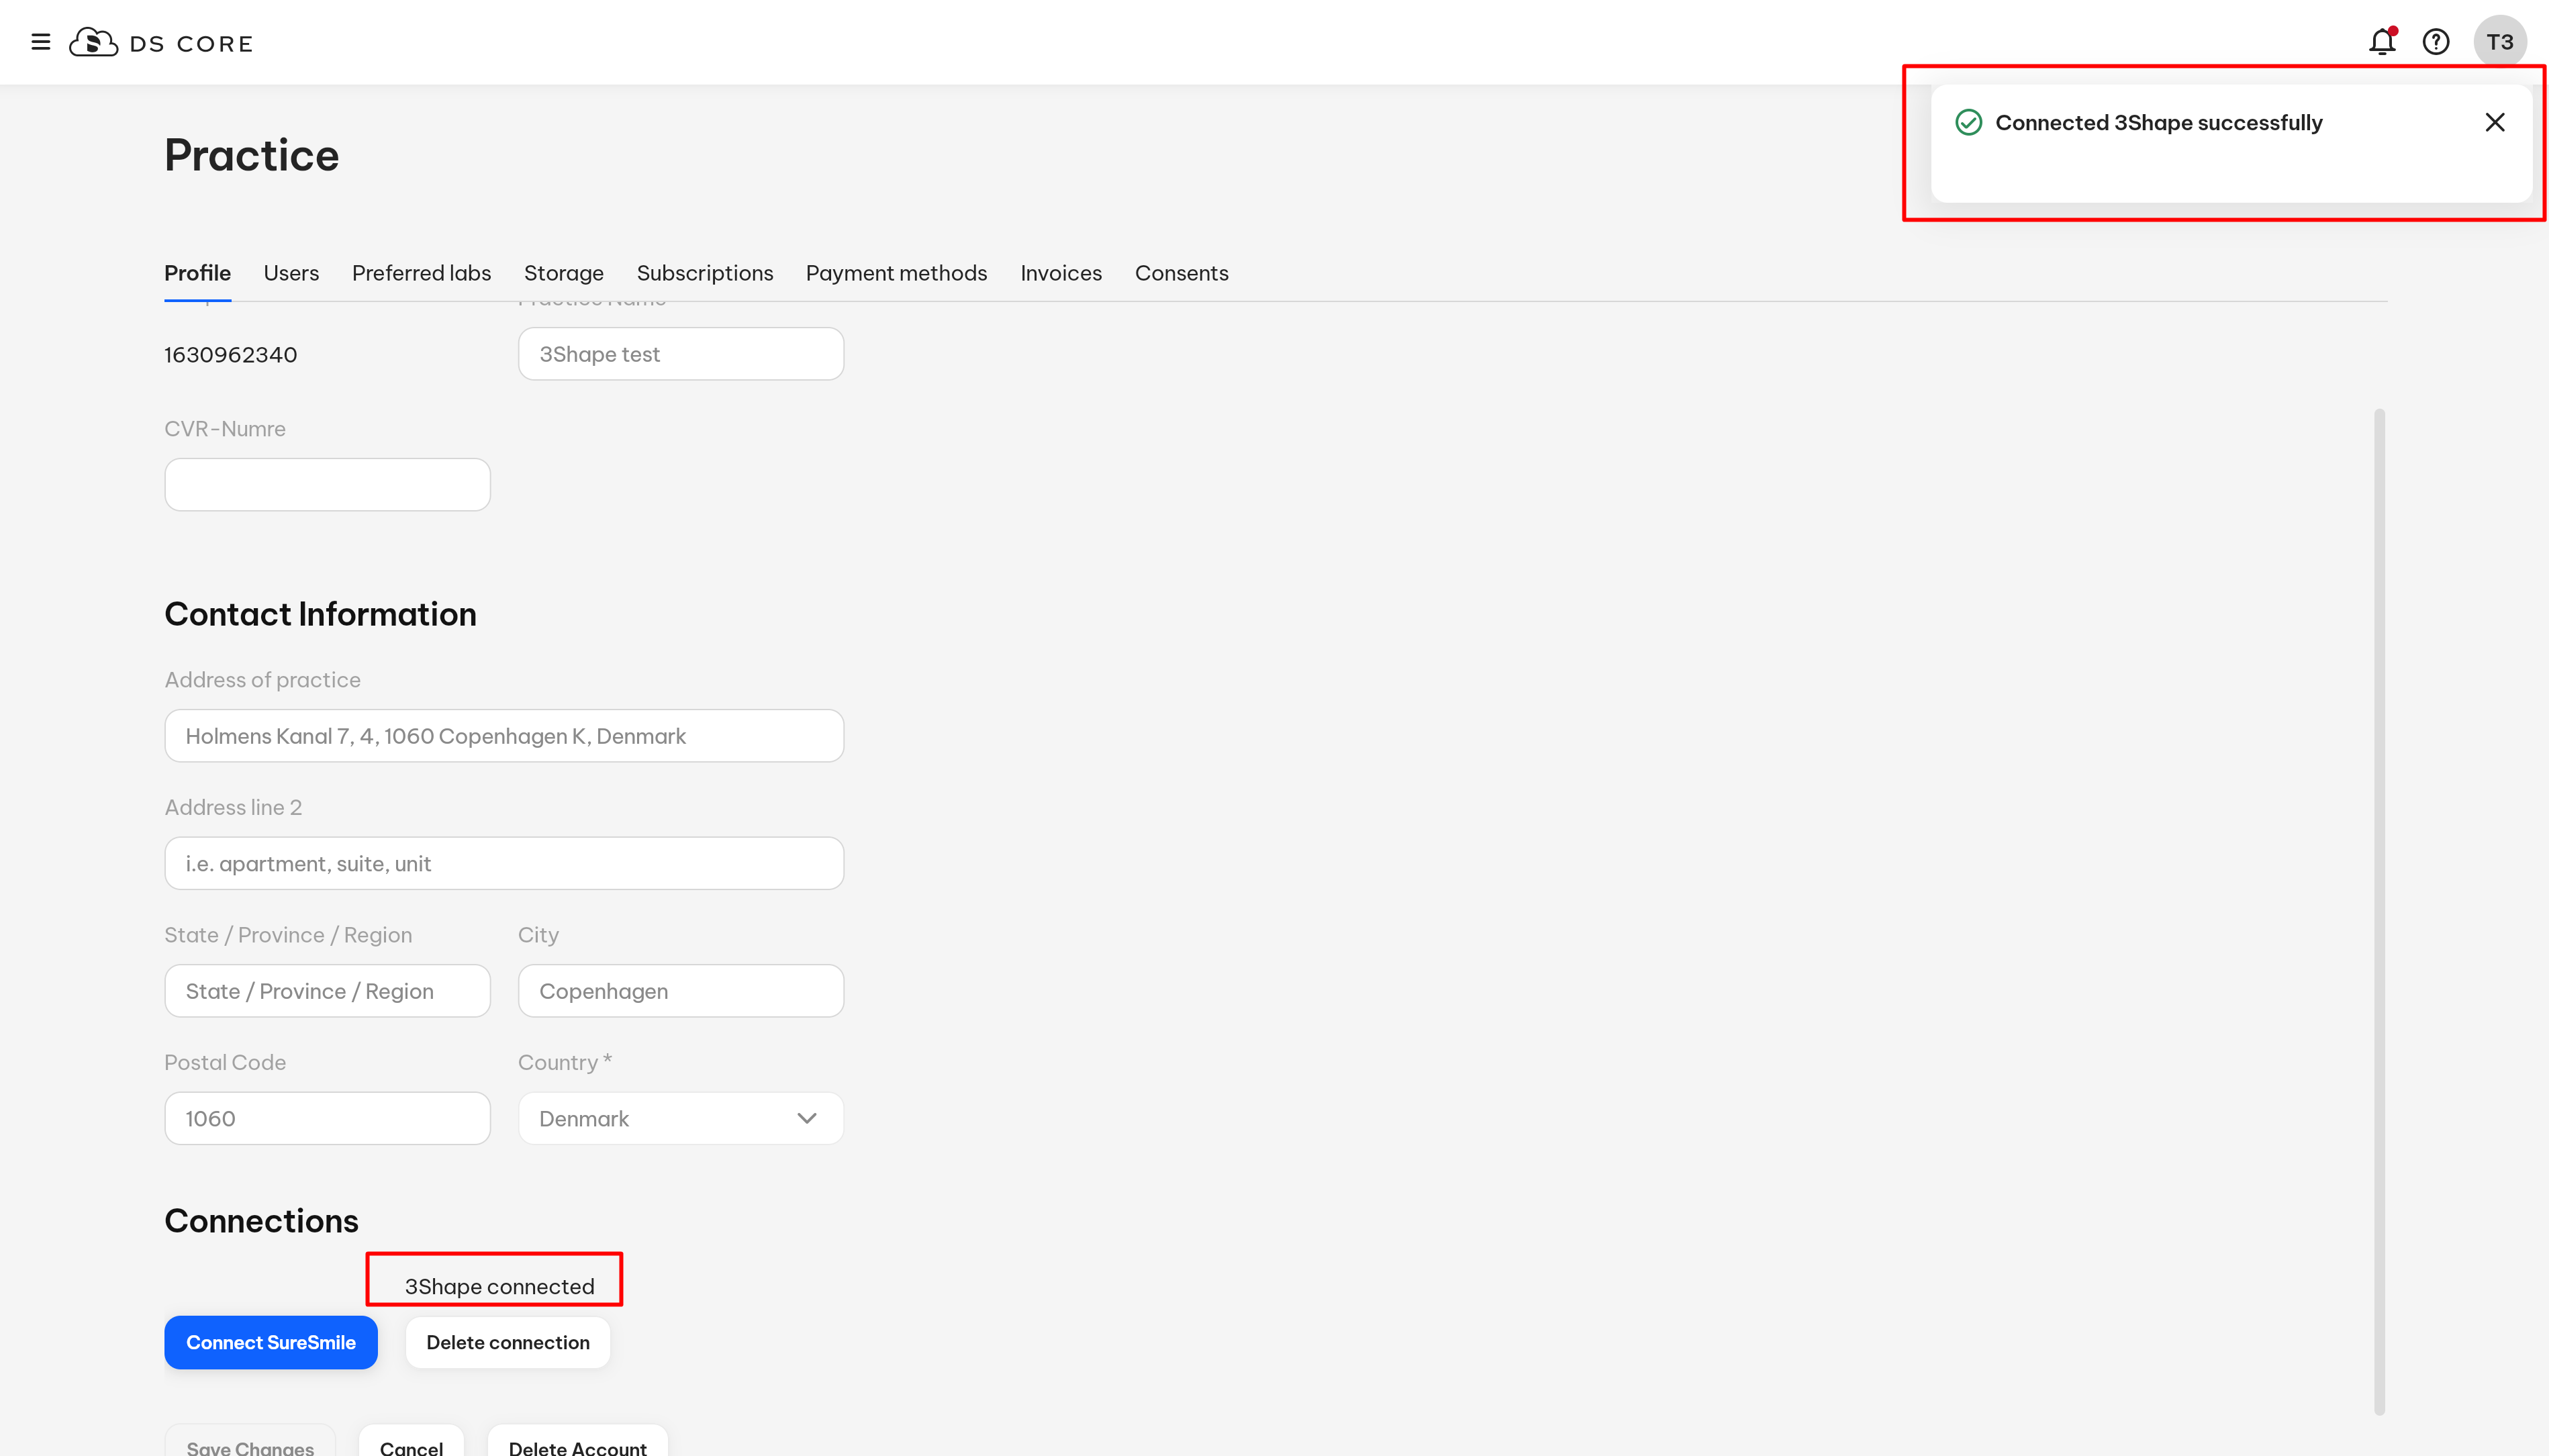
Once the integration is set up, you will see the connection in “My connections” tab and will be able to select it in “What are you doing today” dialogue.

How to establish connection between 3Shape Unite & DS Core. China
Run Unite and Open Unite Store. Go to More > Store
In the search field, start typing DS Core CN

Click “Install” button.

New pop-up window will appear, click “setup” and you will be redirected to DS Core site.

Log in with your DS Core Account or create new one:
Once the integration is set up, you will see the connection in “My connections” tab and will be able to select it in “What are you doing today” dialogue.
How to finish Pairing process on DS Core
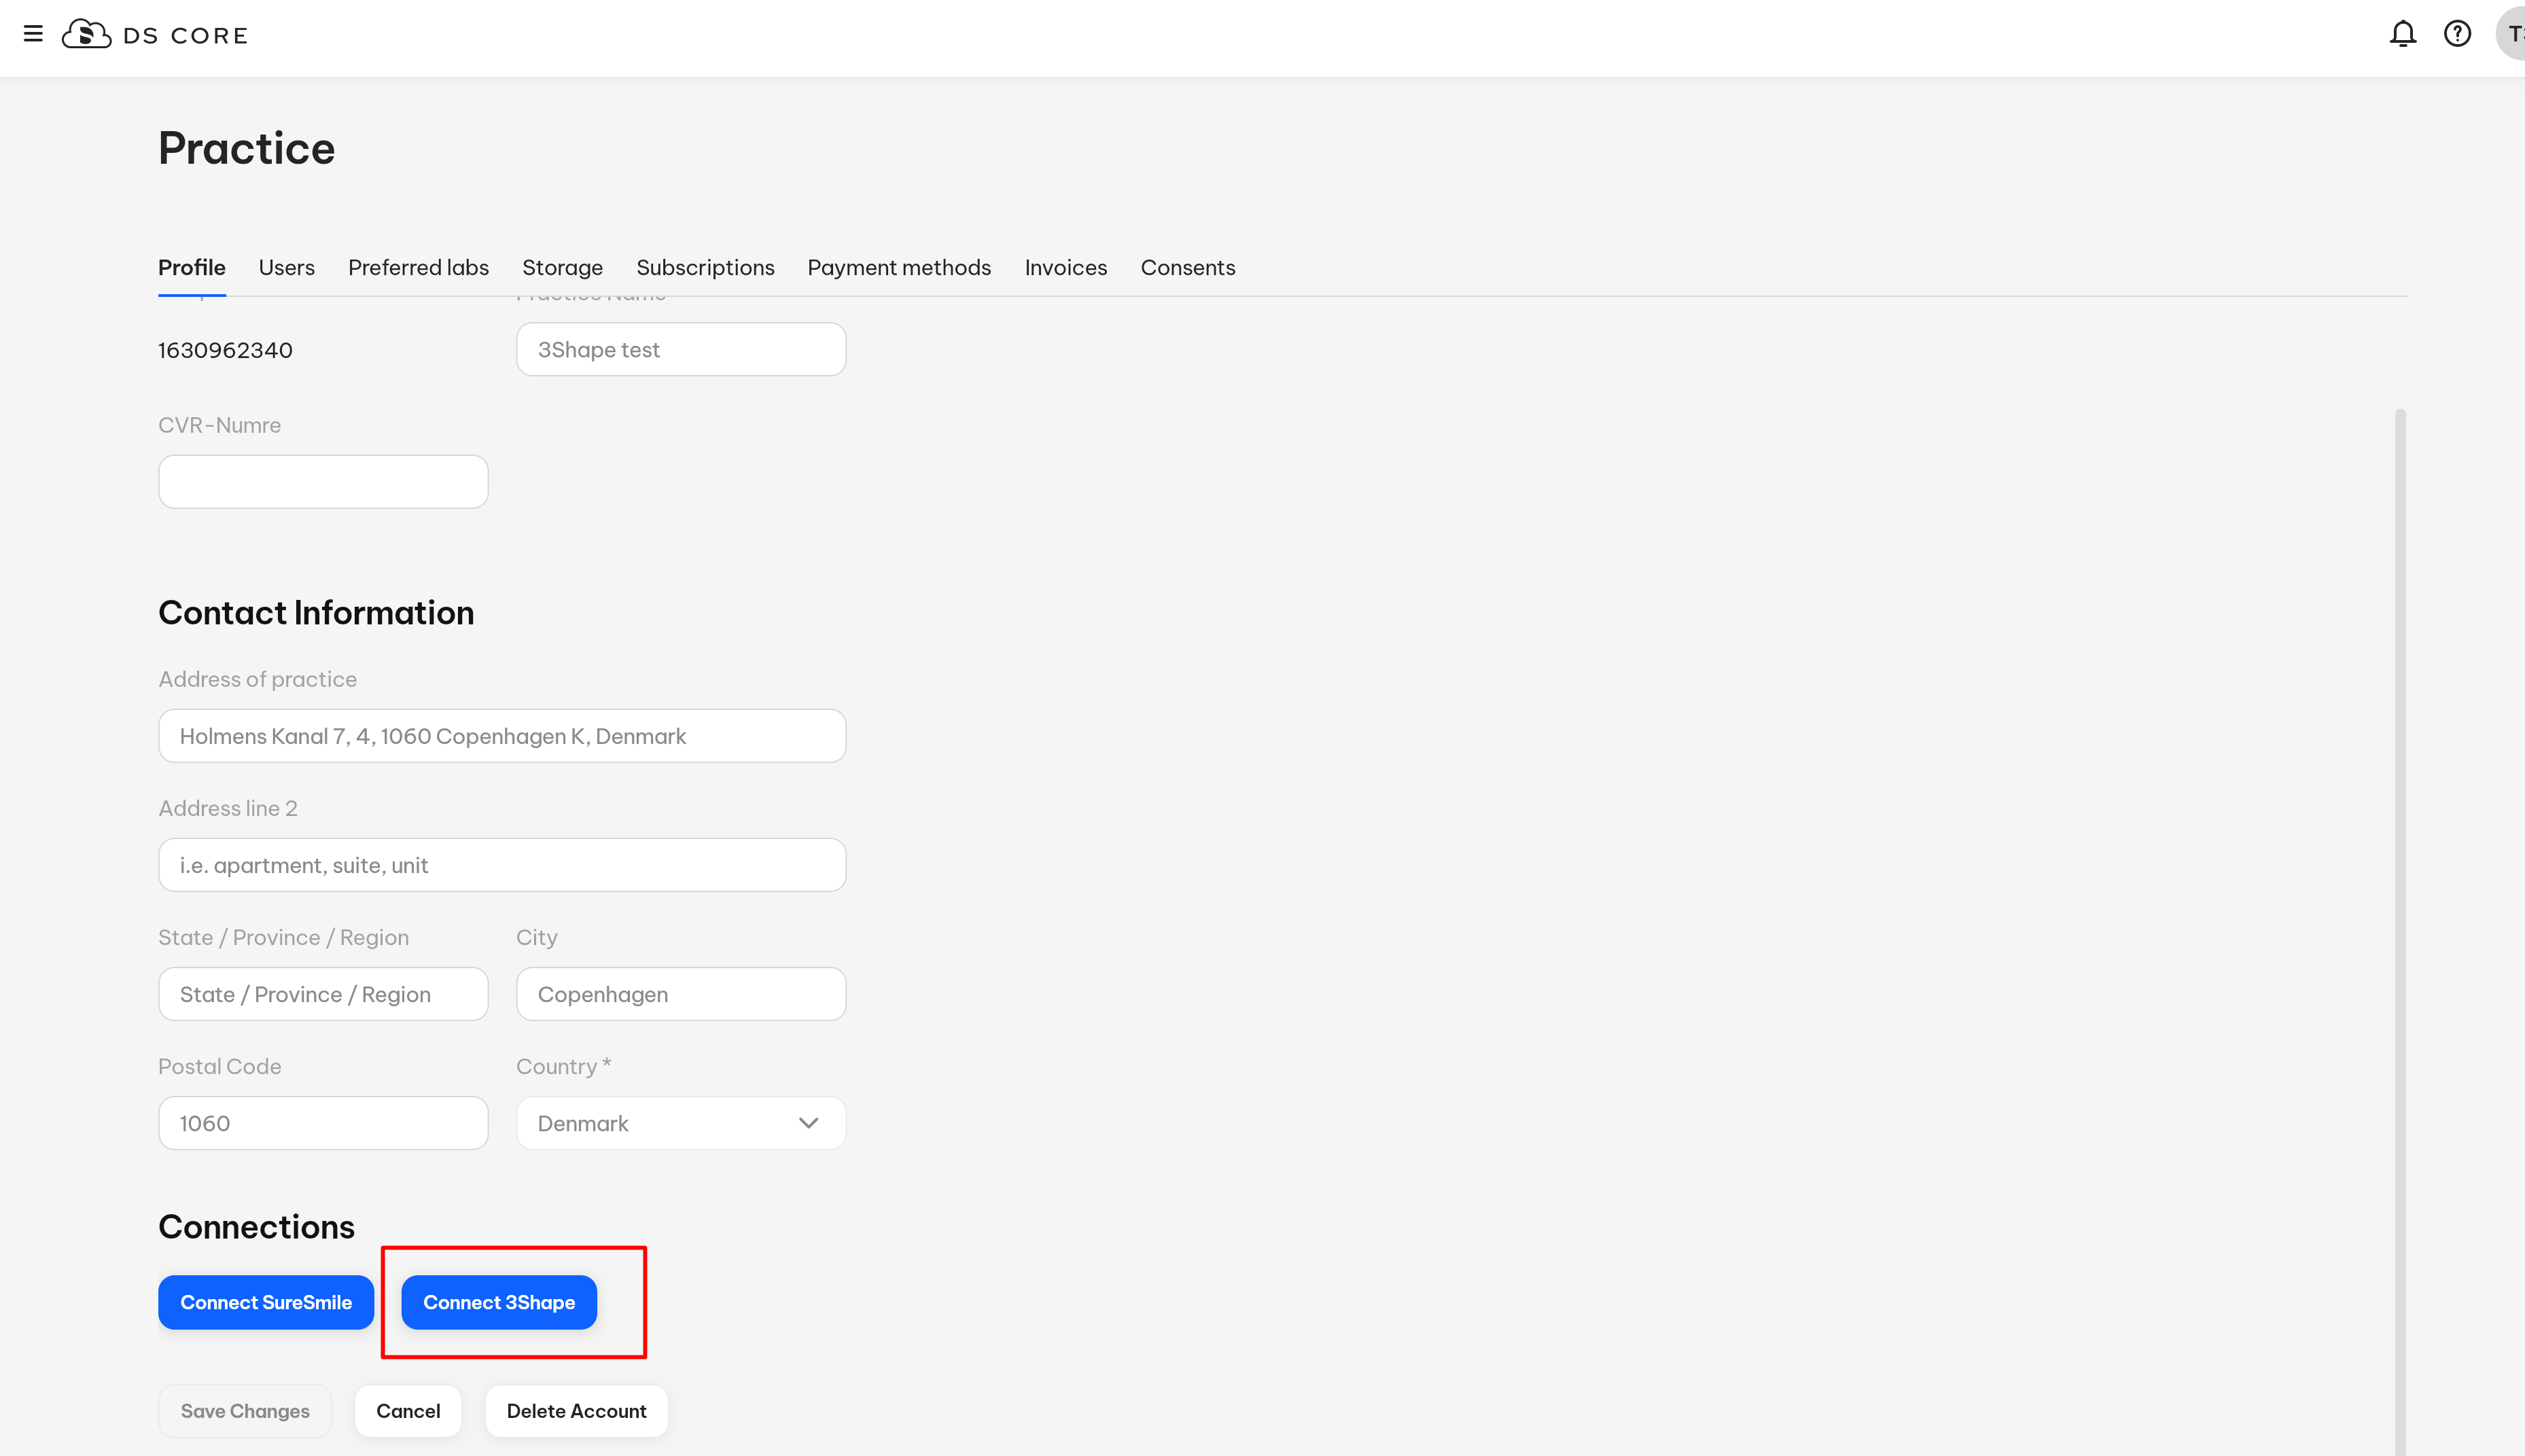
Your account pairing between DS Core and 3Shape is now complete.
IMPORTANT: Please remember to log in with the same account and company as how you started to finish the integration successfully.
Create and Send Case to DS Core
Before starting the workflow, check the settings in Unite and make sure the dme file is configured for DS Core.
Go to More > Settings :

Select Import and export tab, and click Refresh button. To check the settings, find DS Core order template. Make sure that in “Used by” section, DS Core is selected :

Click on Patients tab in the upper left corner, to save changes and proceed with the workflow.
Create New patient or select an existing patient.

Once the patient is created, a new window appears.
Under the Scan & Send menu, select DS Core.


Choose restauration type in the Order Form and click Save.
Proceed with TRIOS scanning for the Lower, Upper jaws and a Bite scan.

Choose same-day delivery date and click “Send” button.

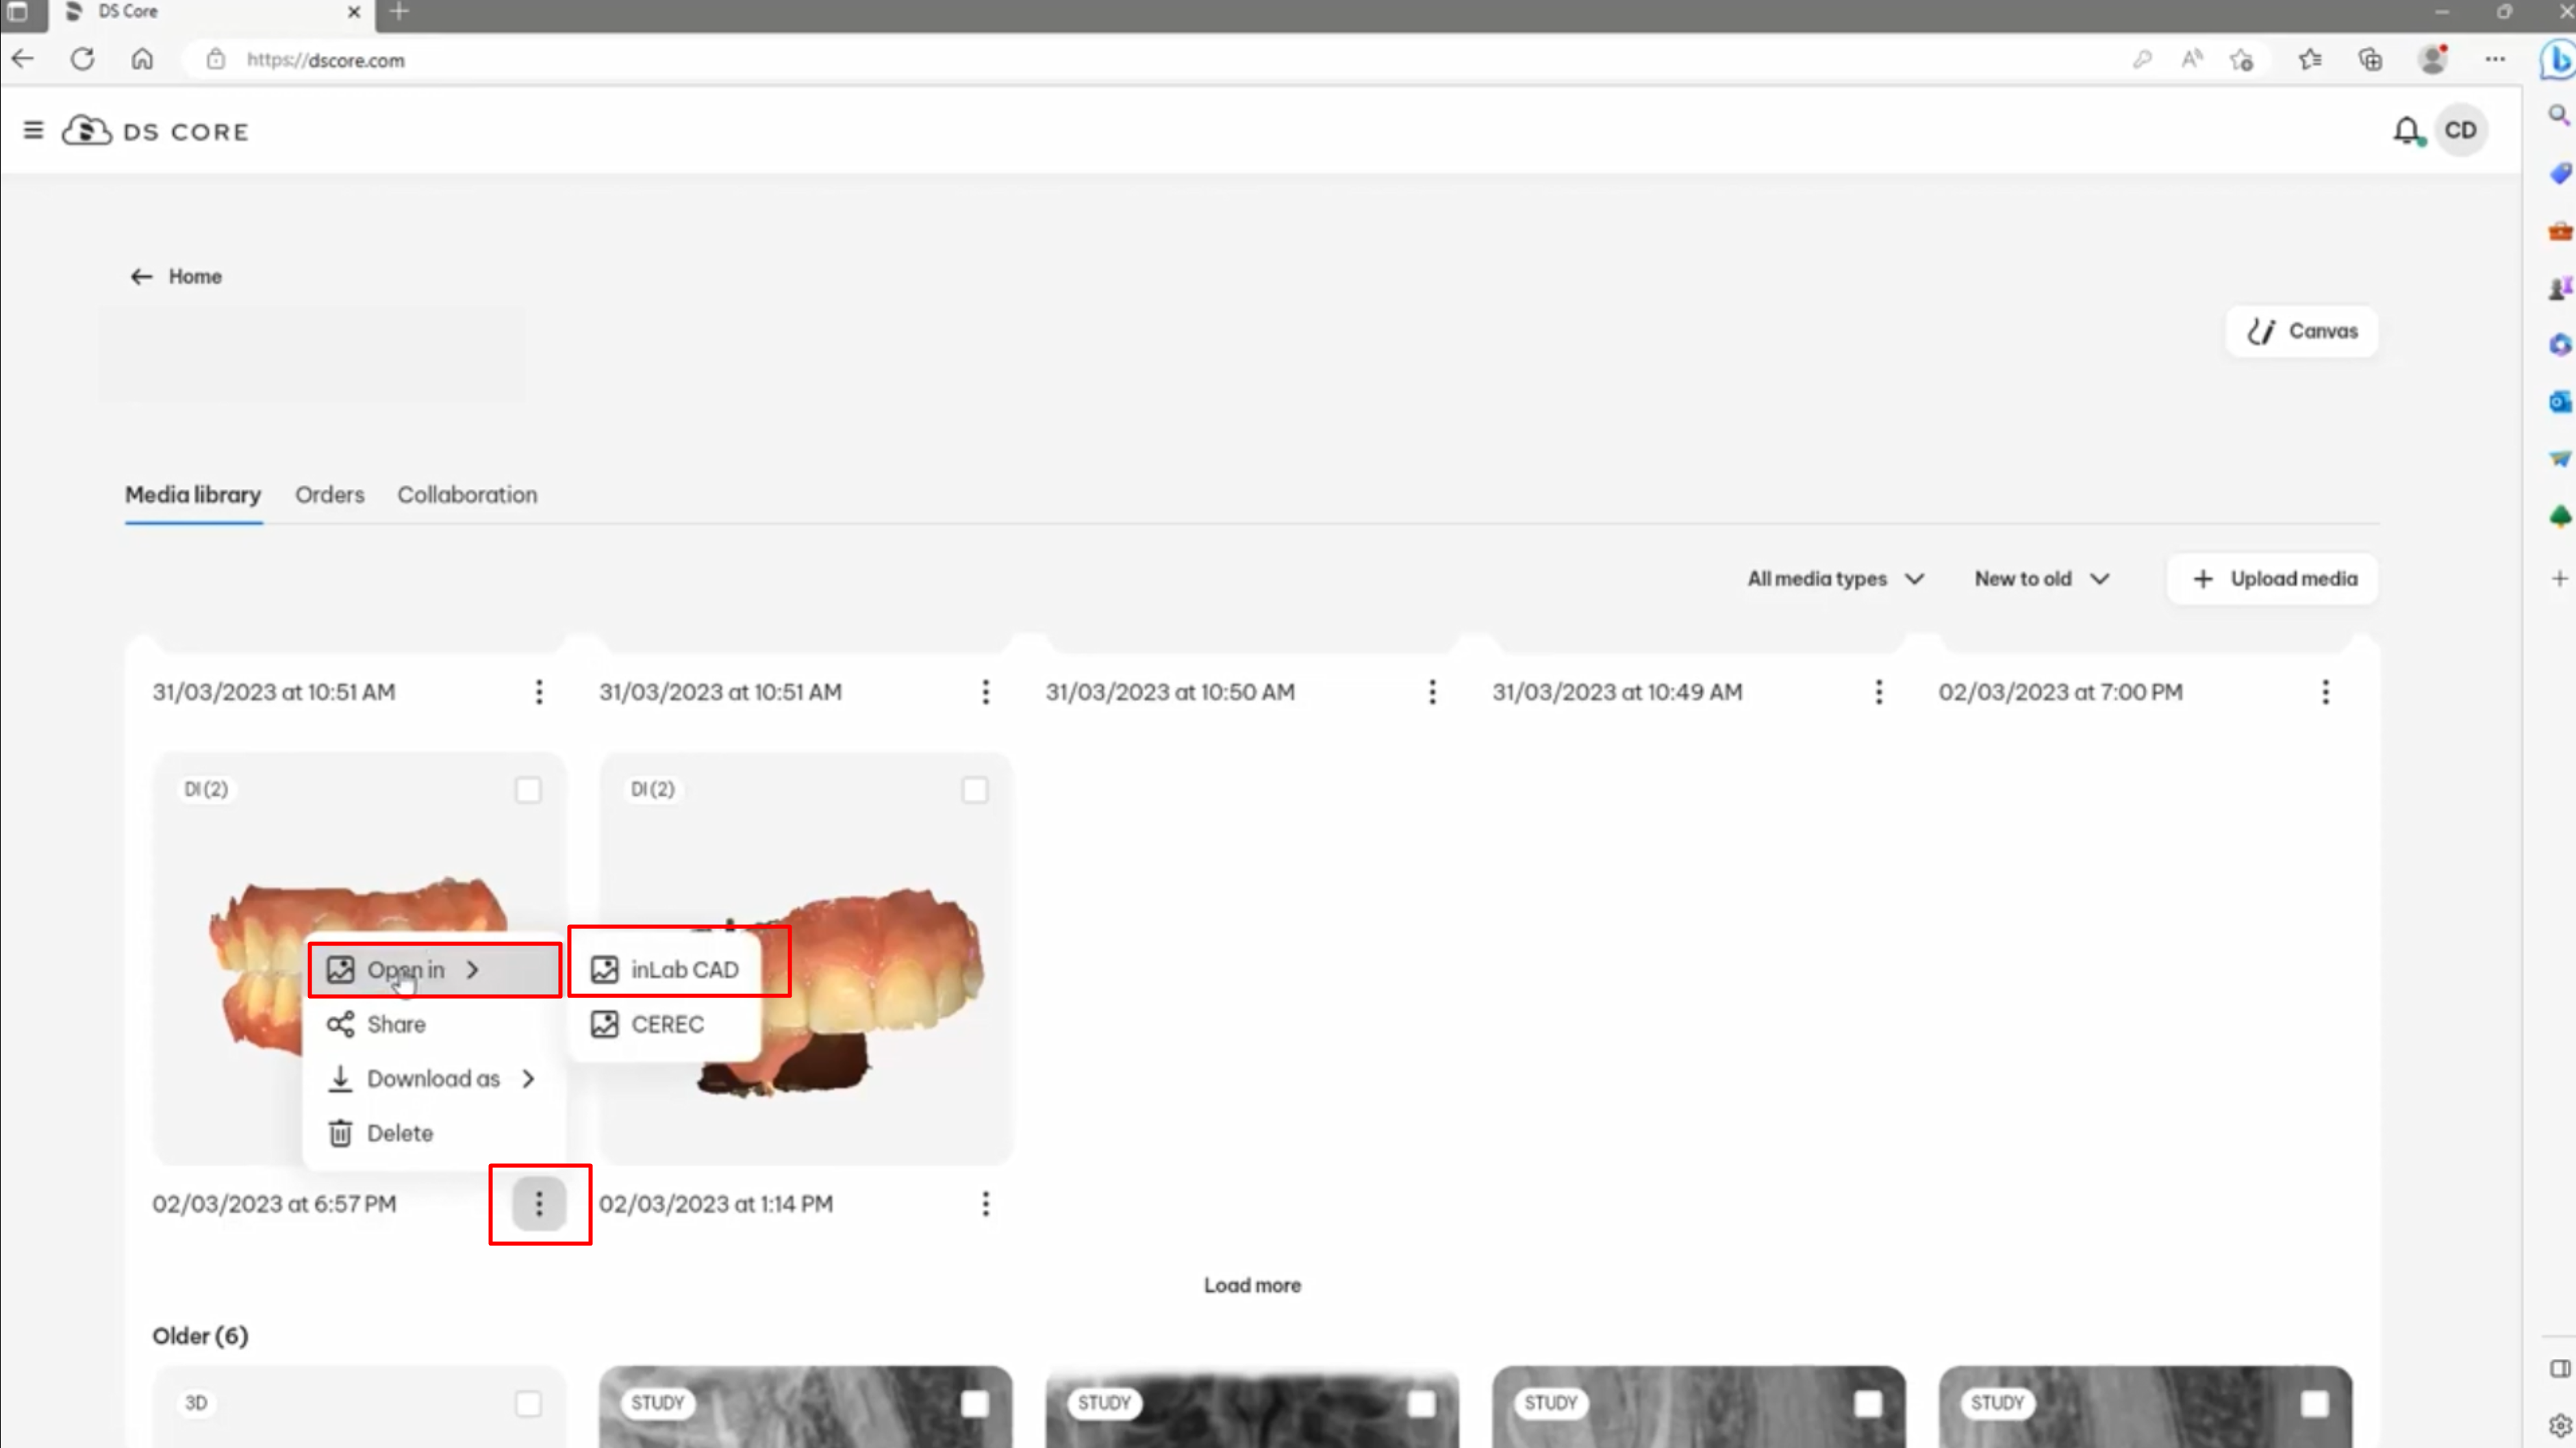
Start the design from DS Core
Navigate to Patient’s media library and click 3dots > Open in > inLabCAD
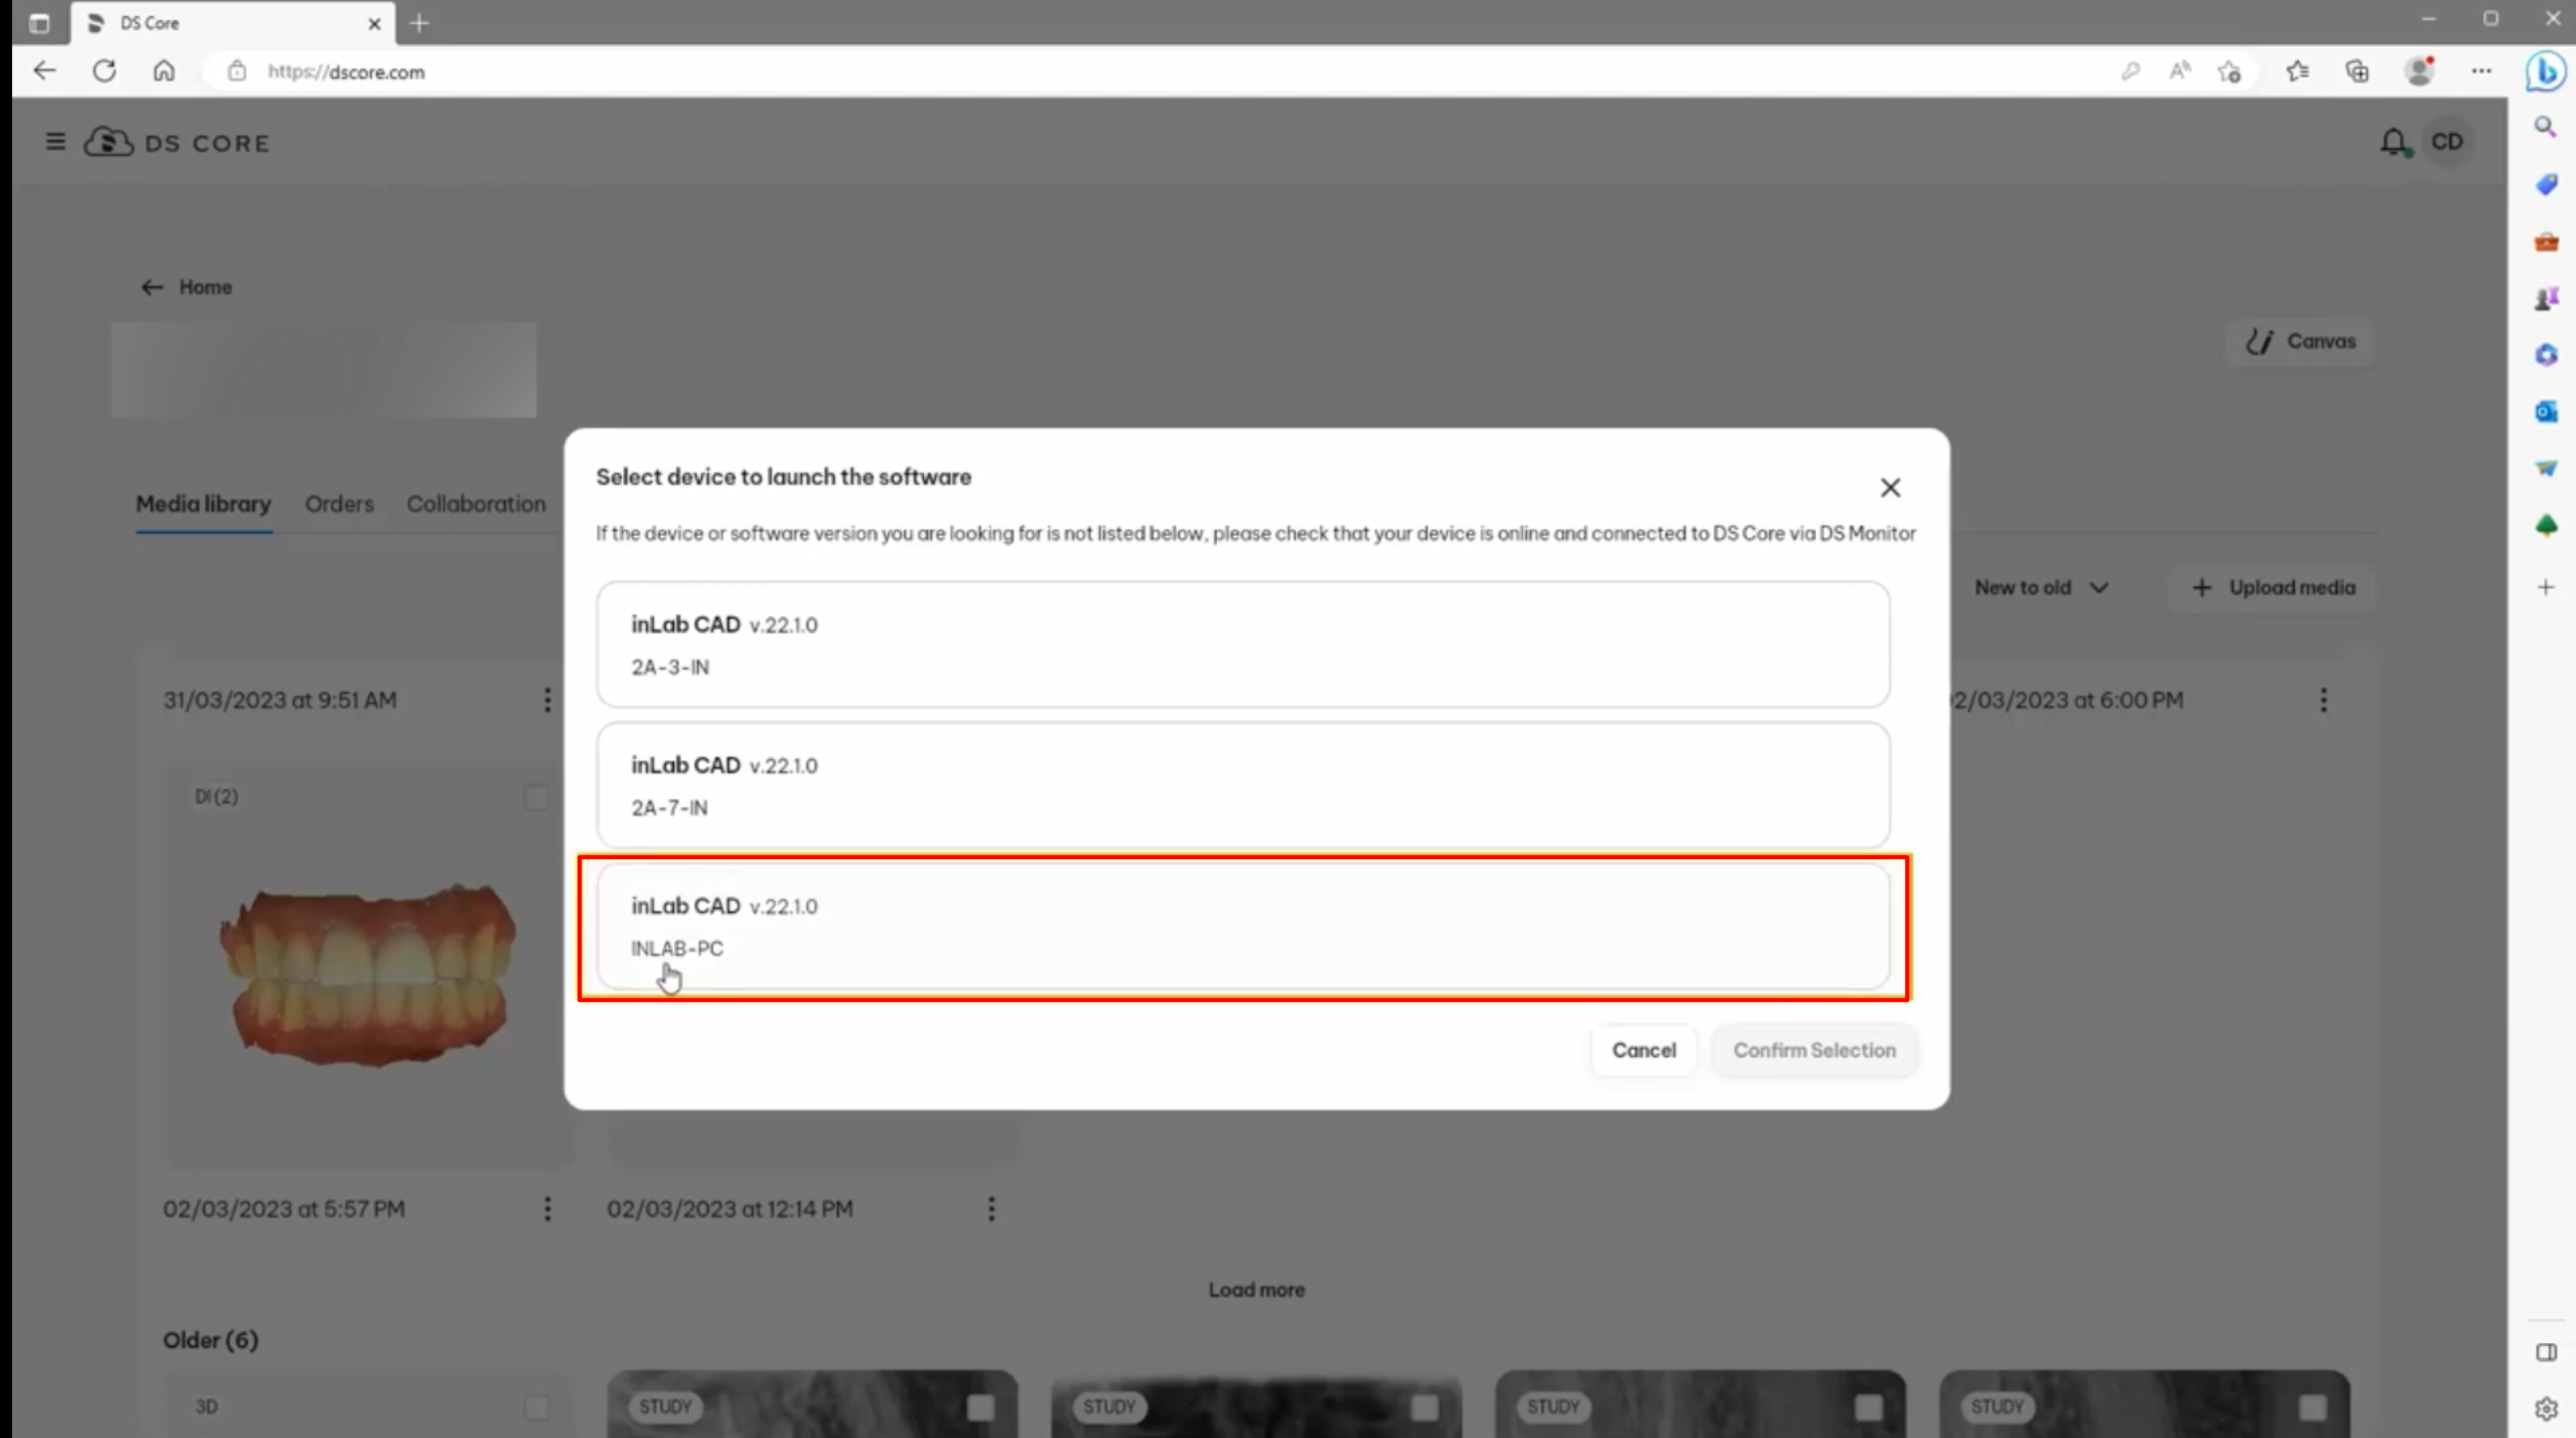
In new pop-up window select device to launch the software and click “Confirm Selection”.
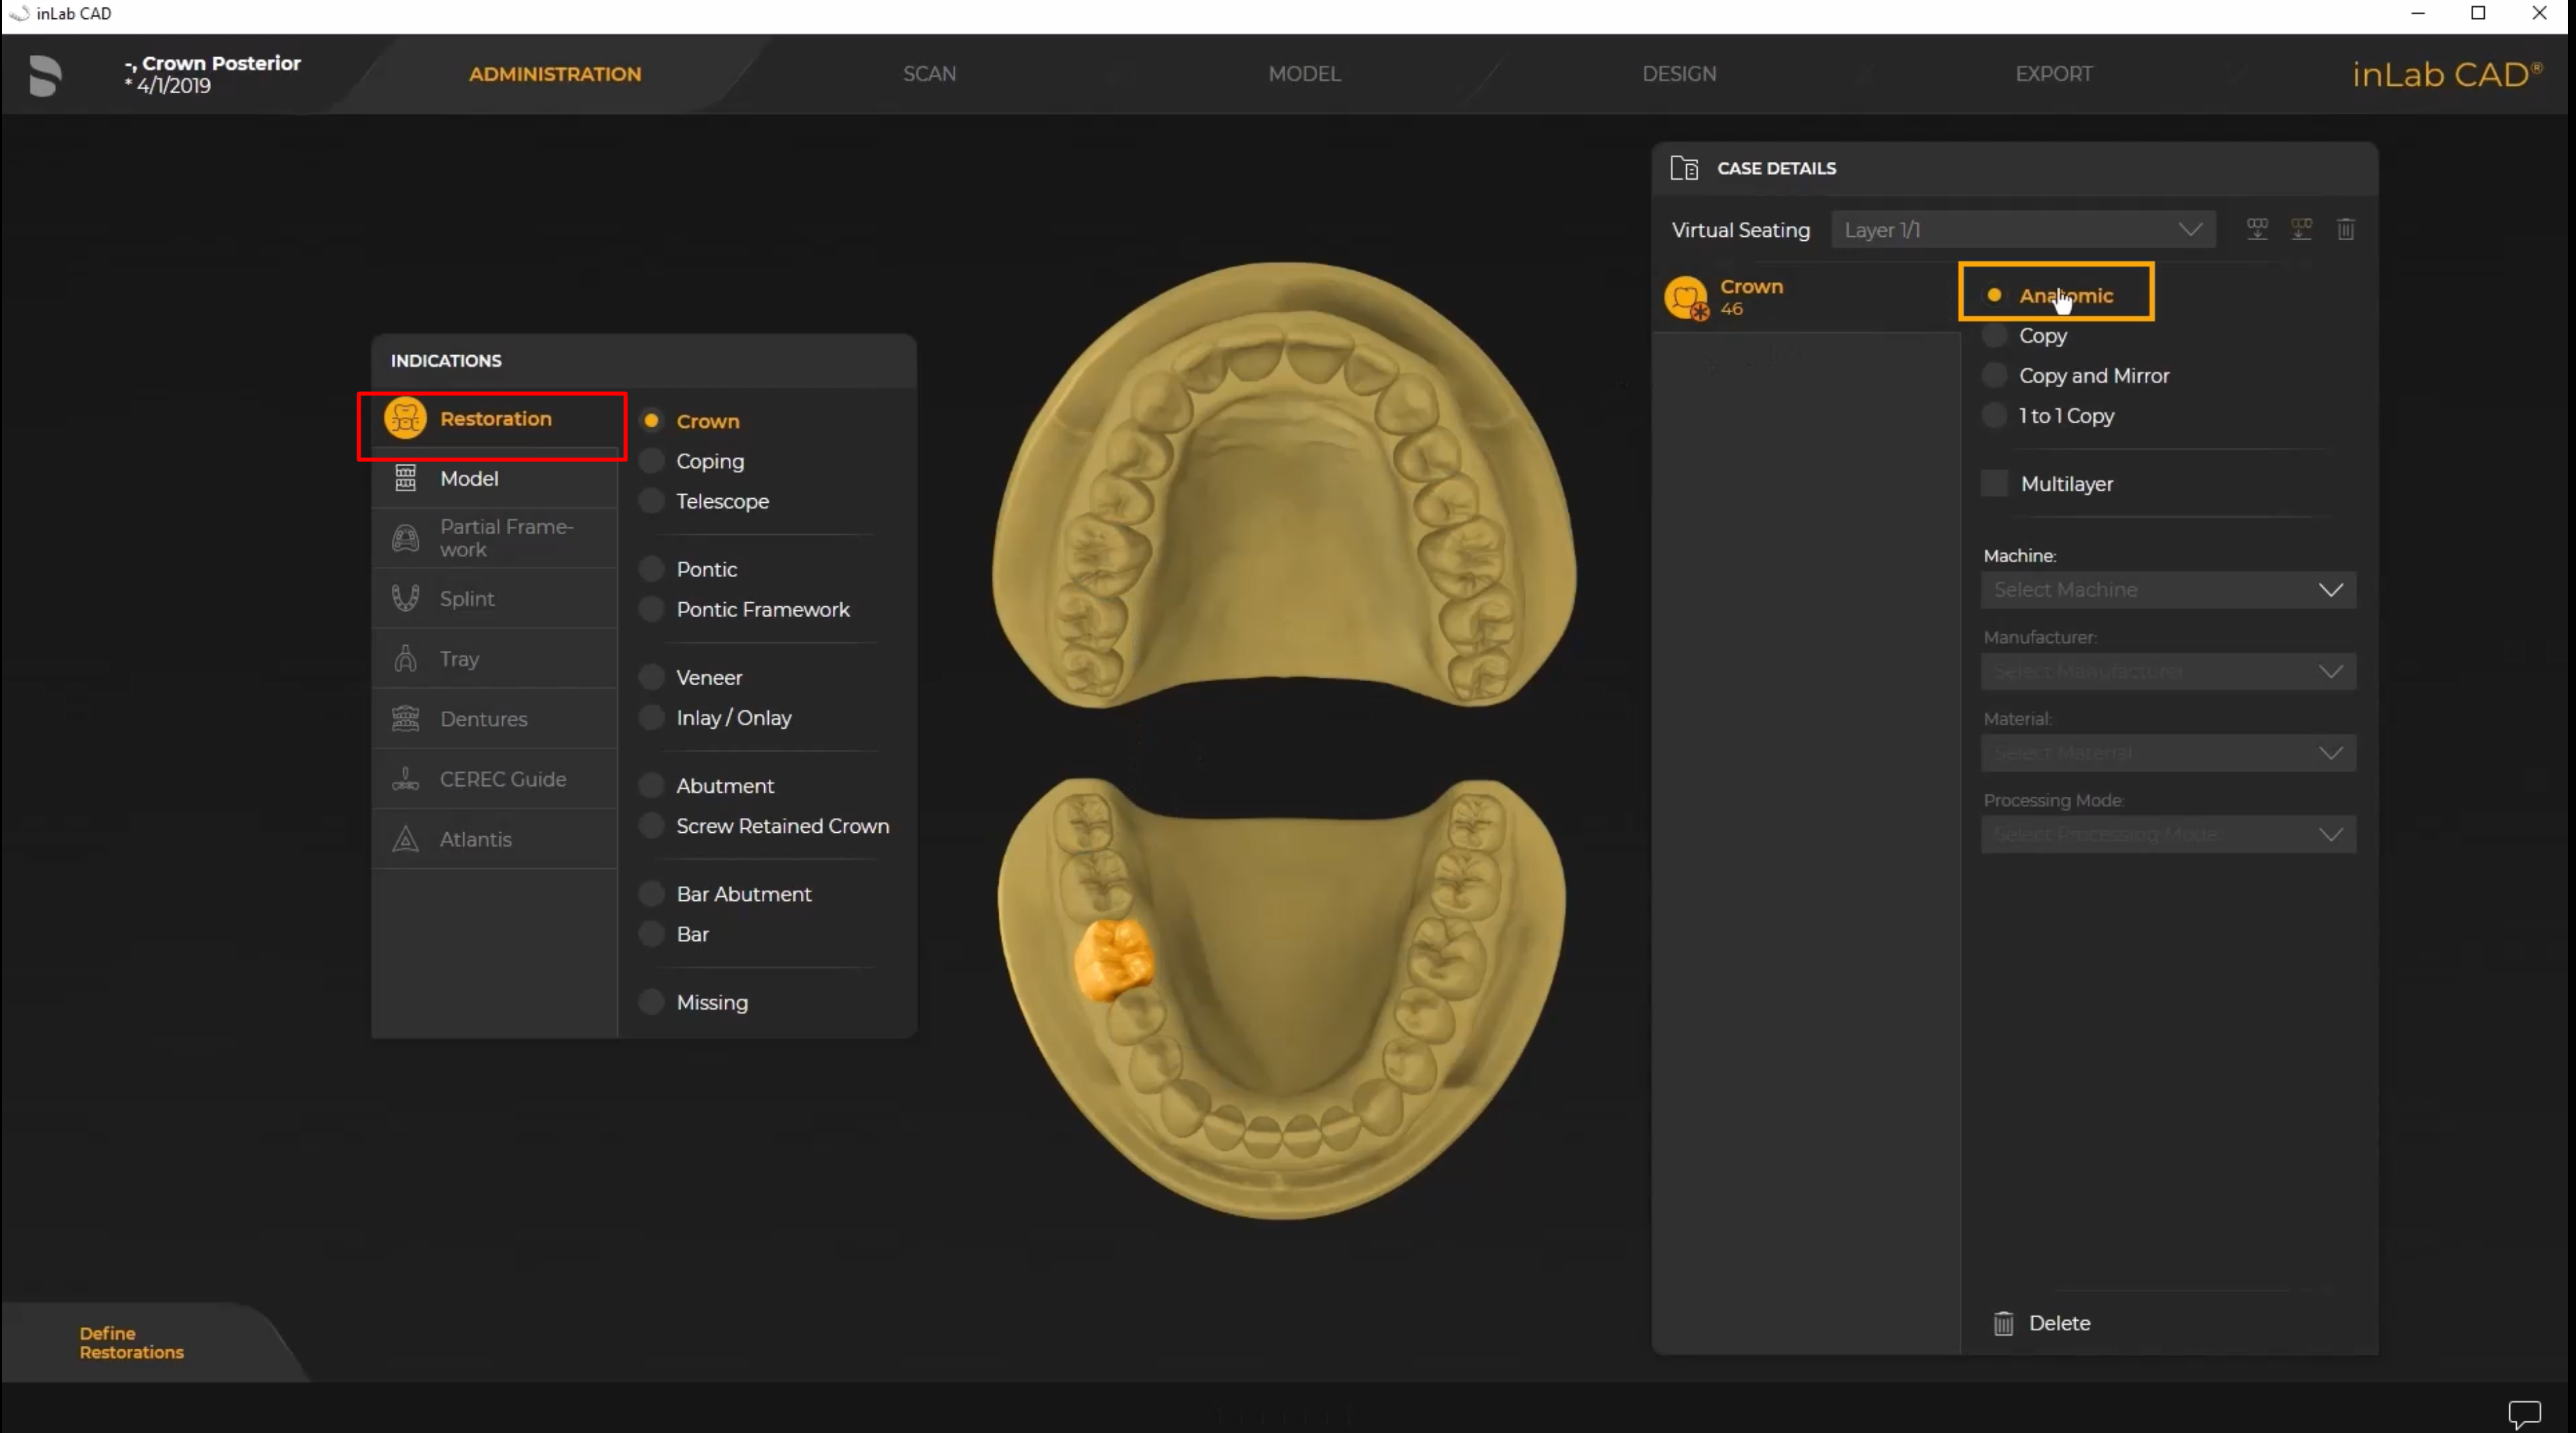
Select indications, 3Shape scans will be pre-loaded automatically.
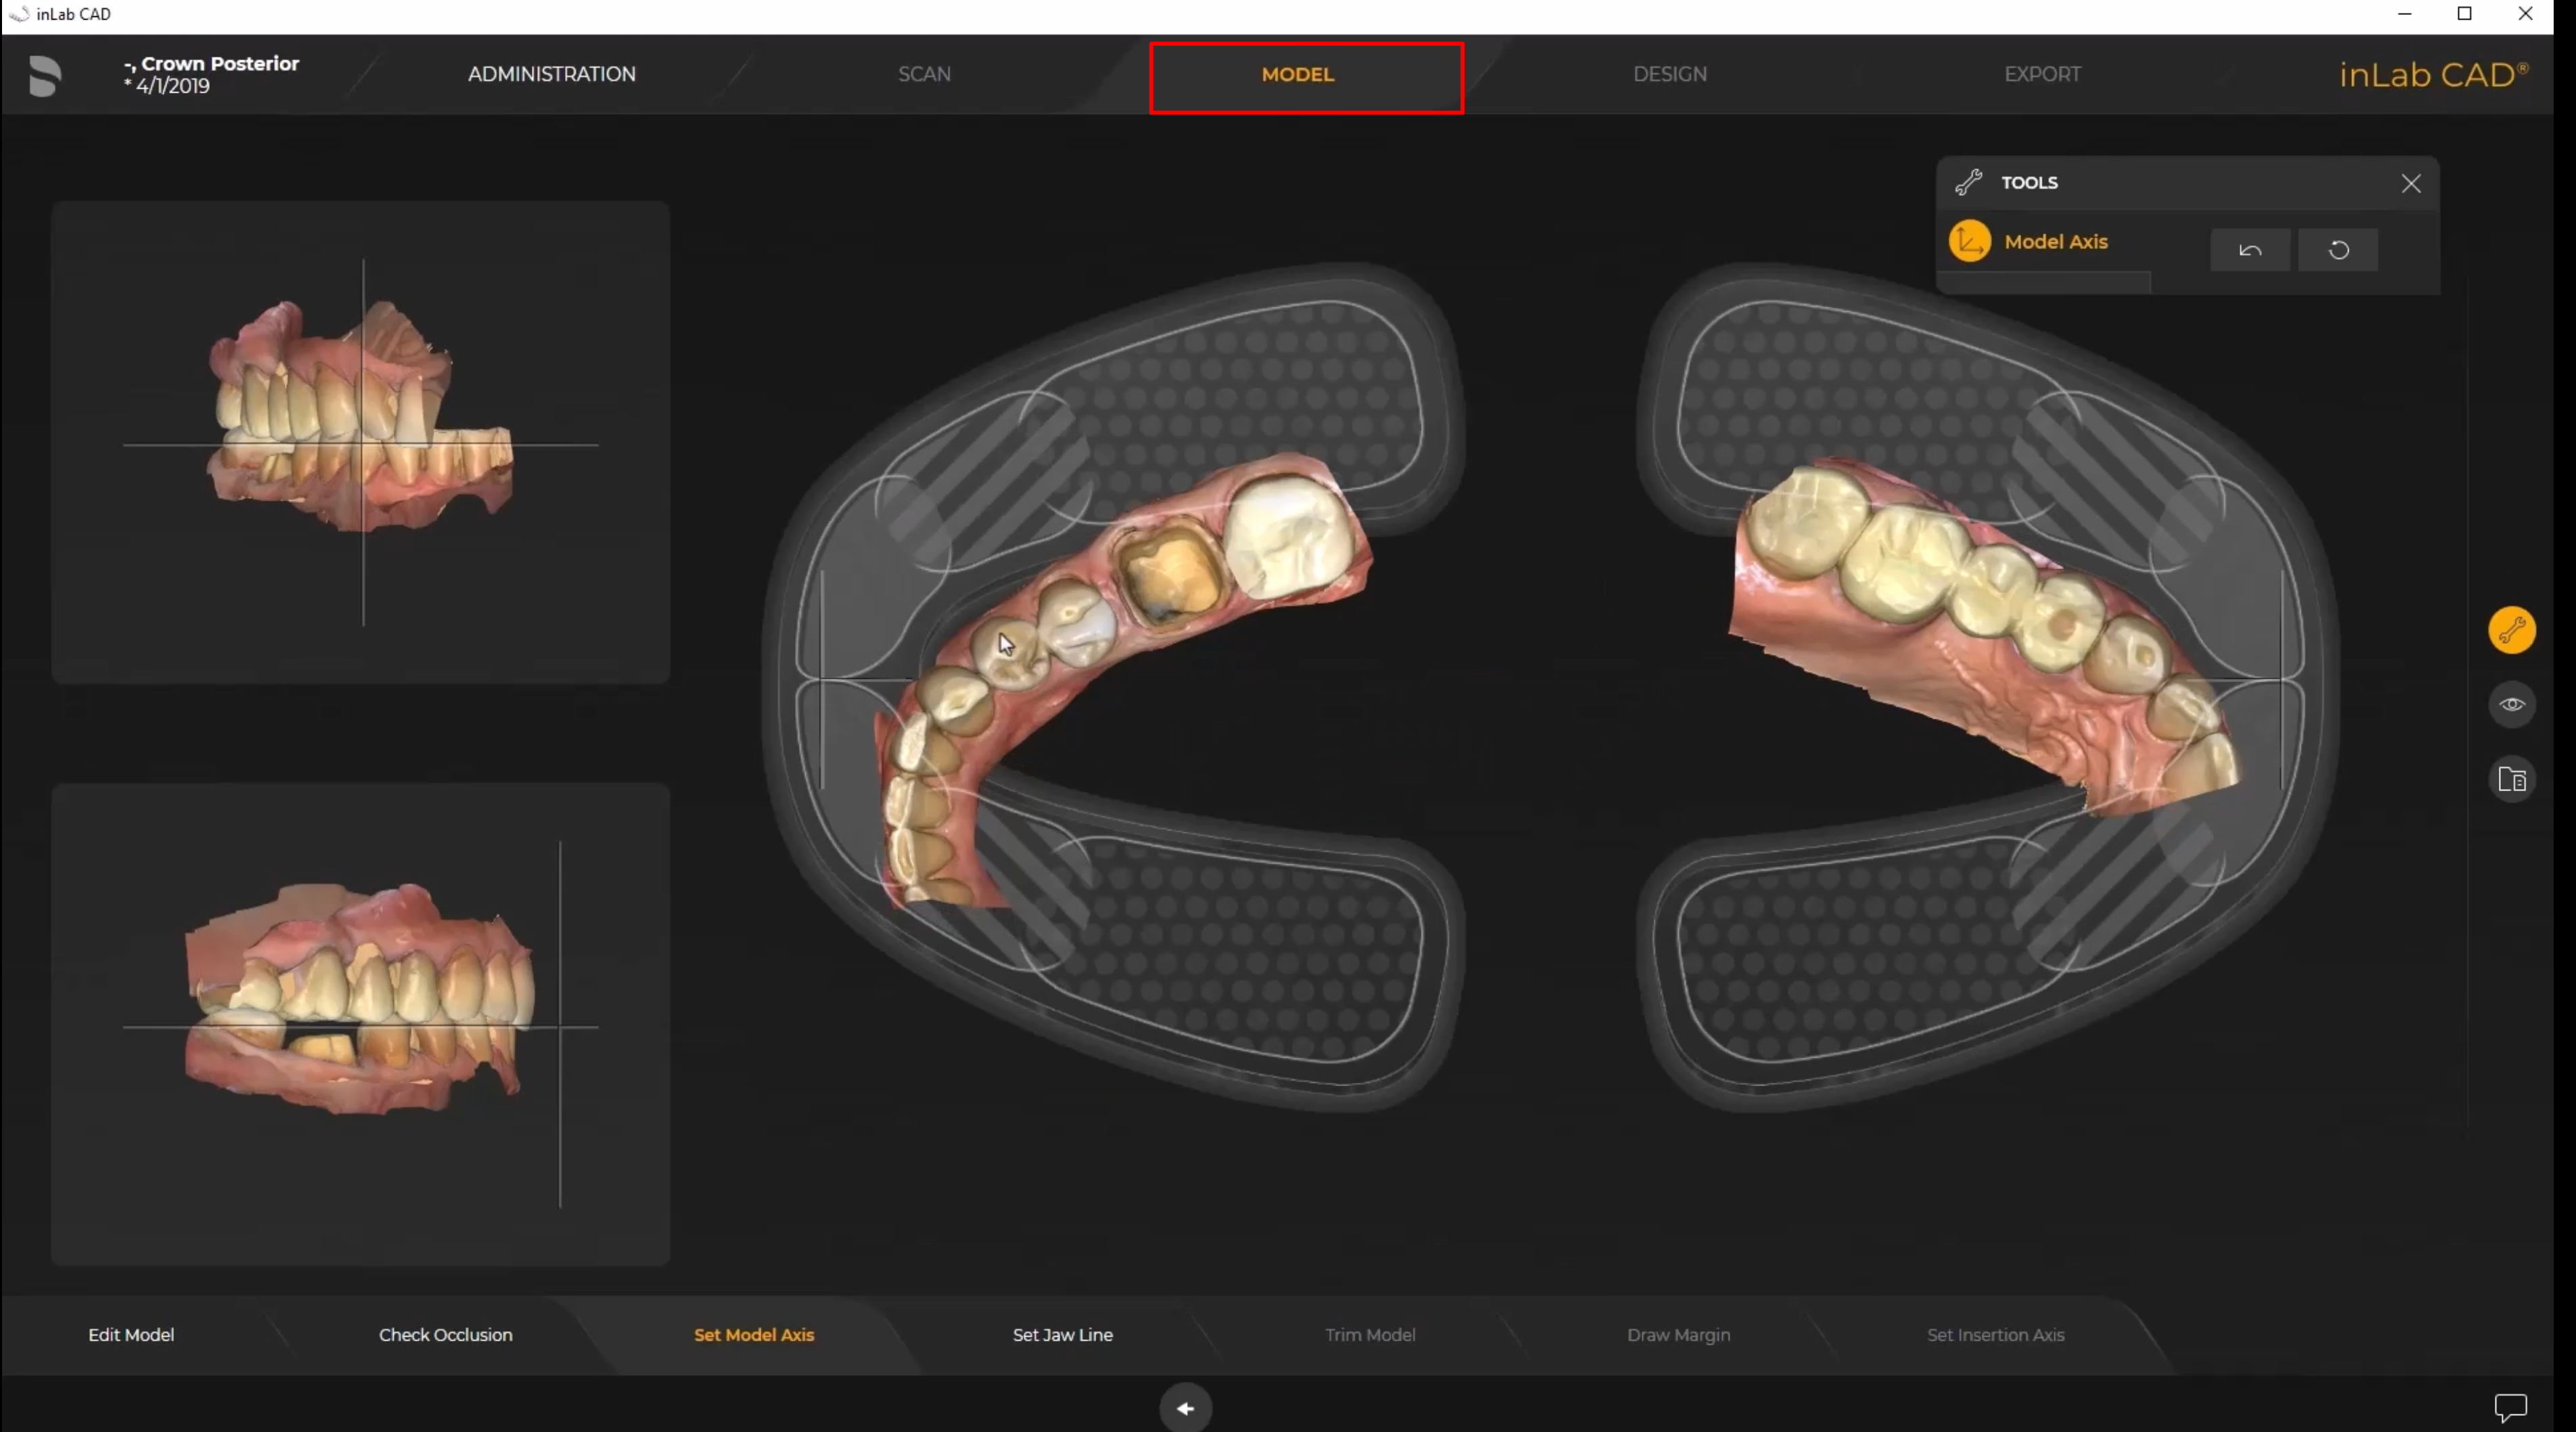
Go to the “Model” step.
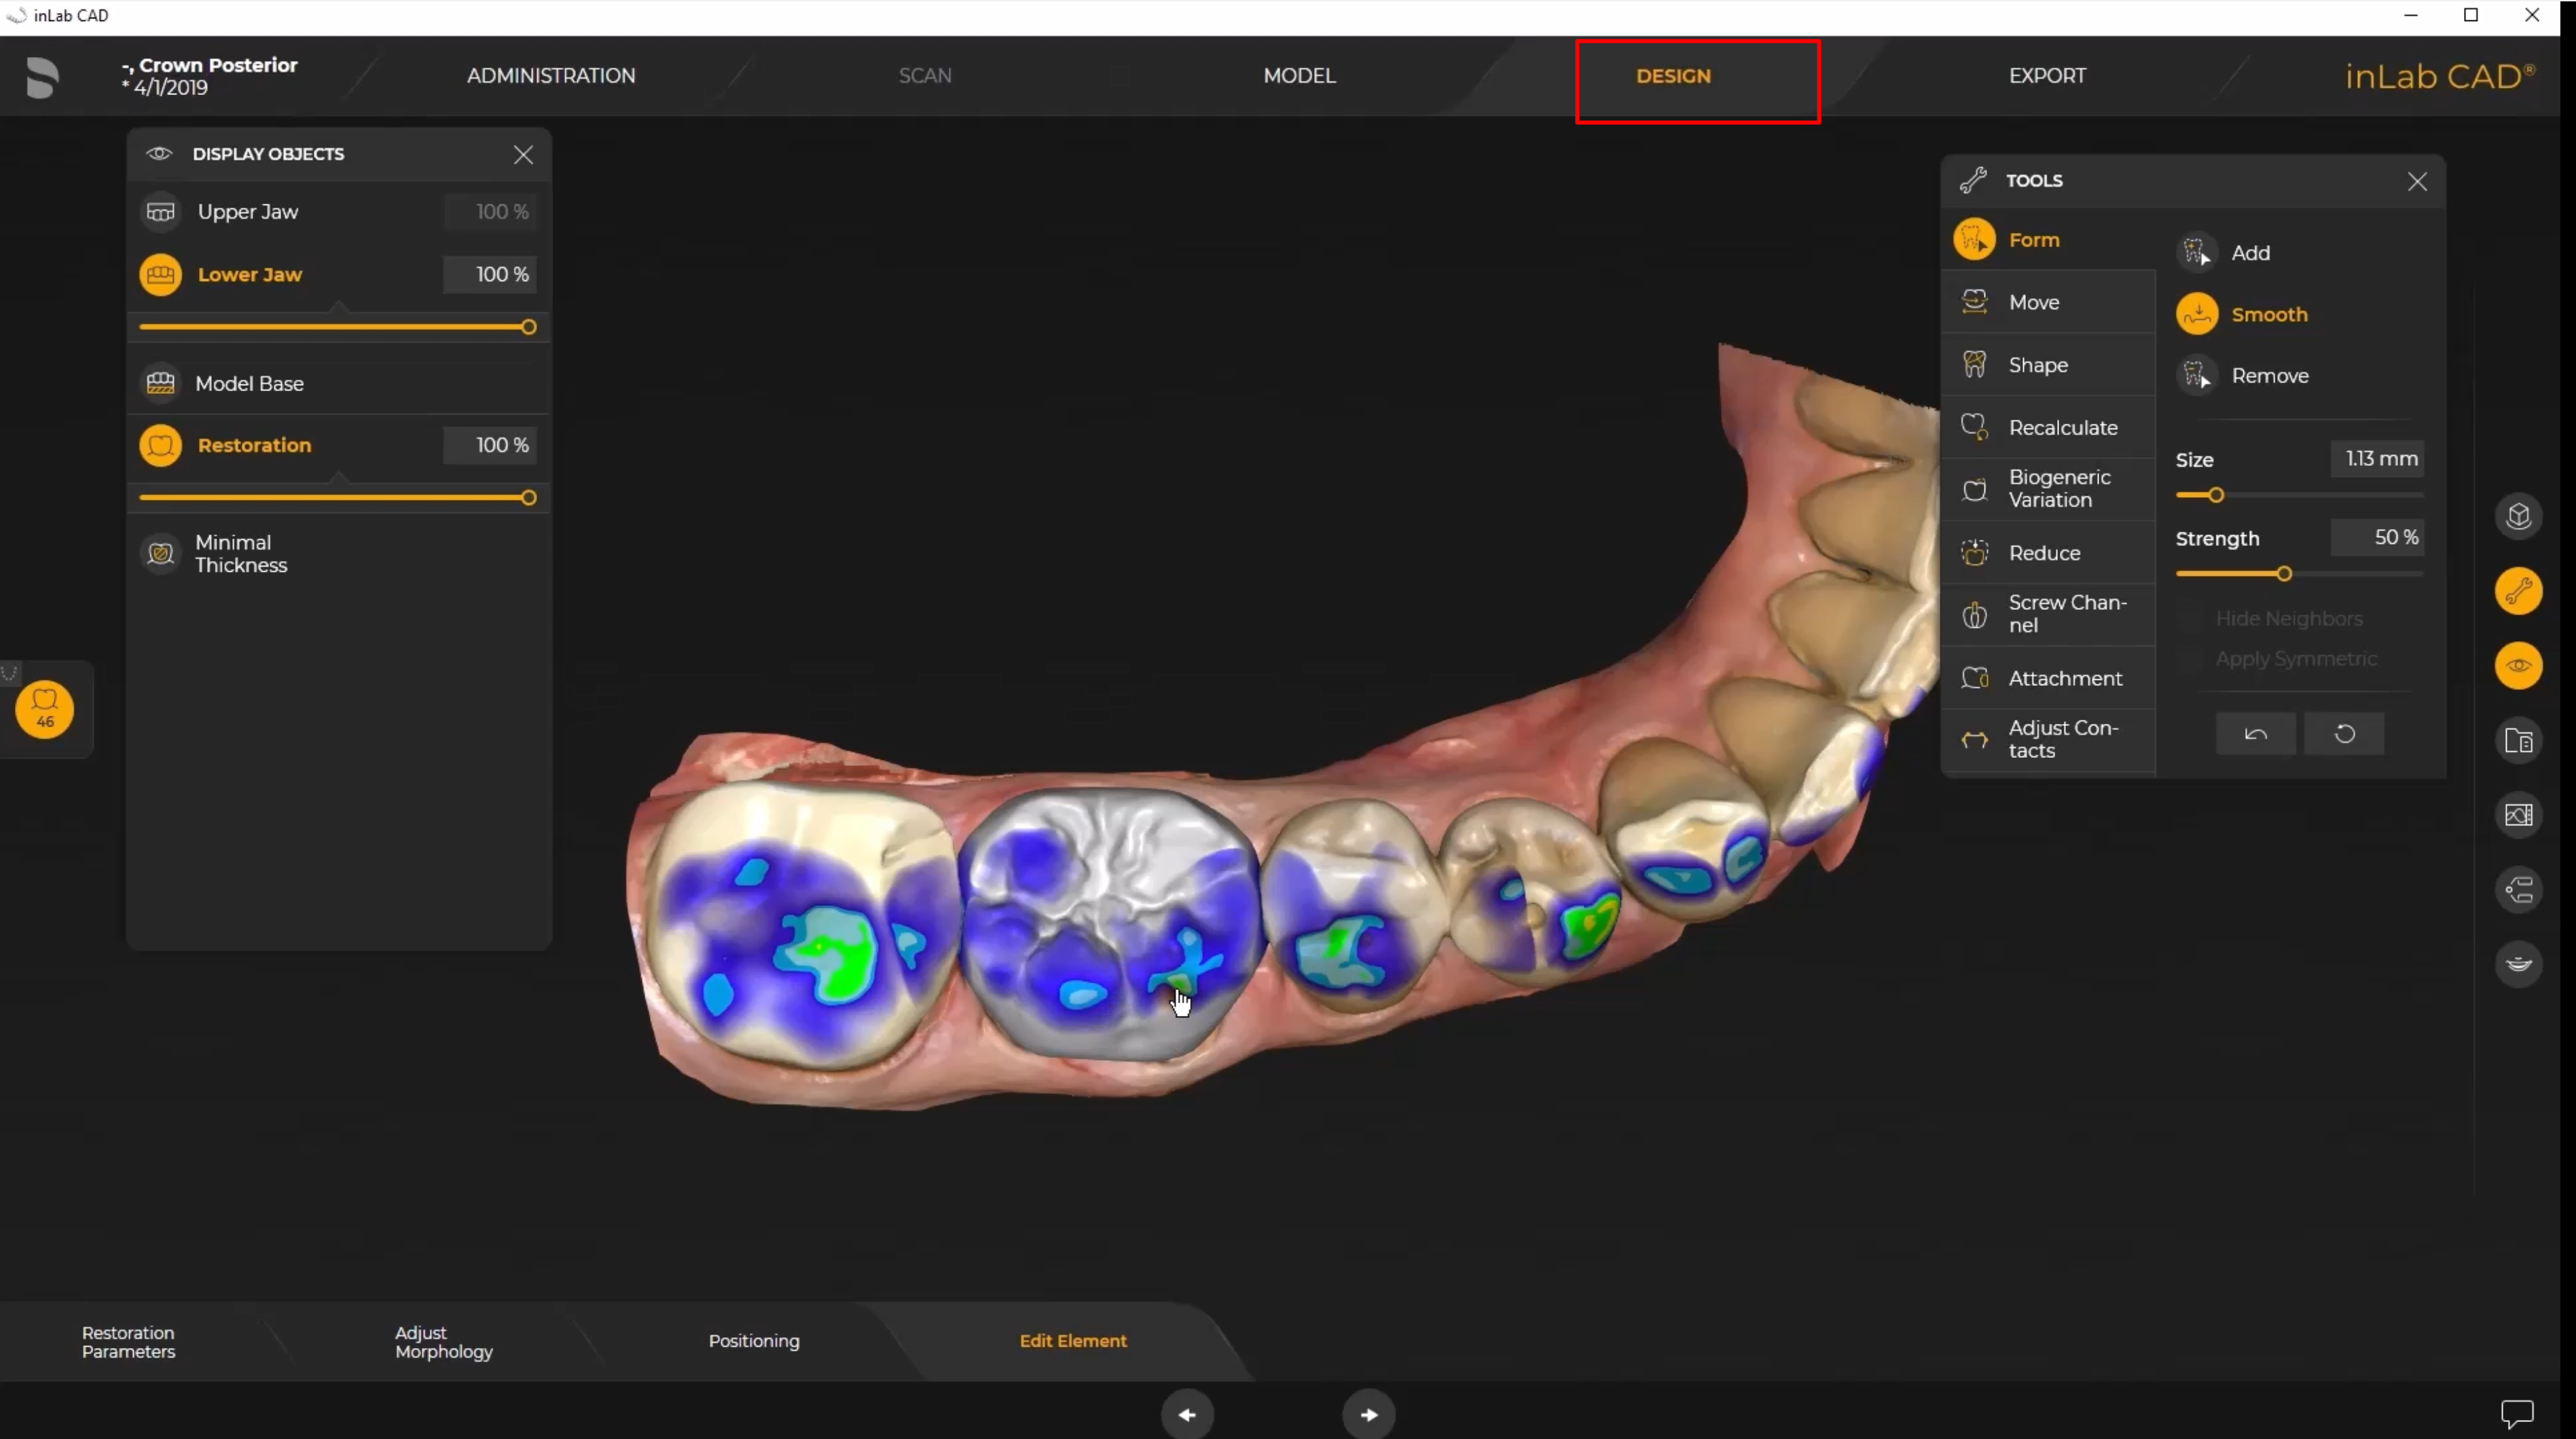
Proceed with Design.
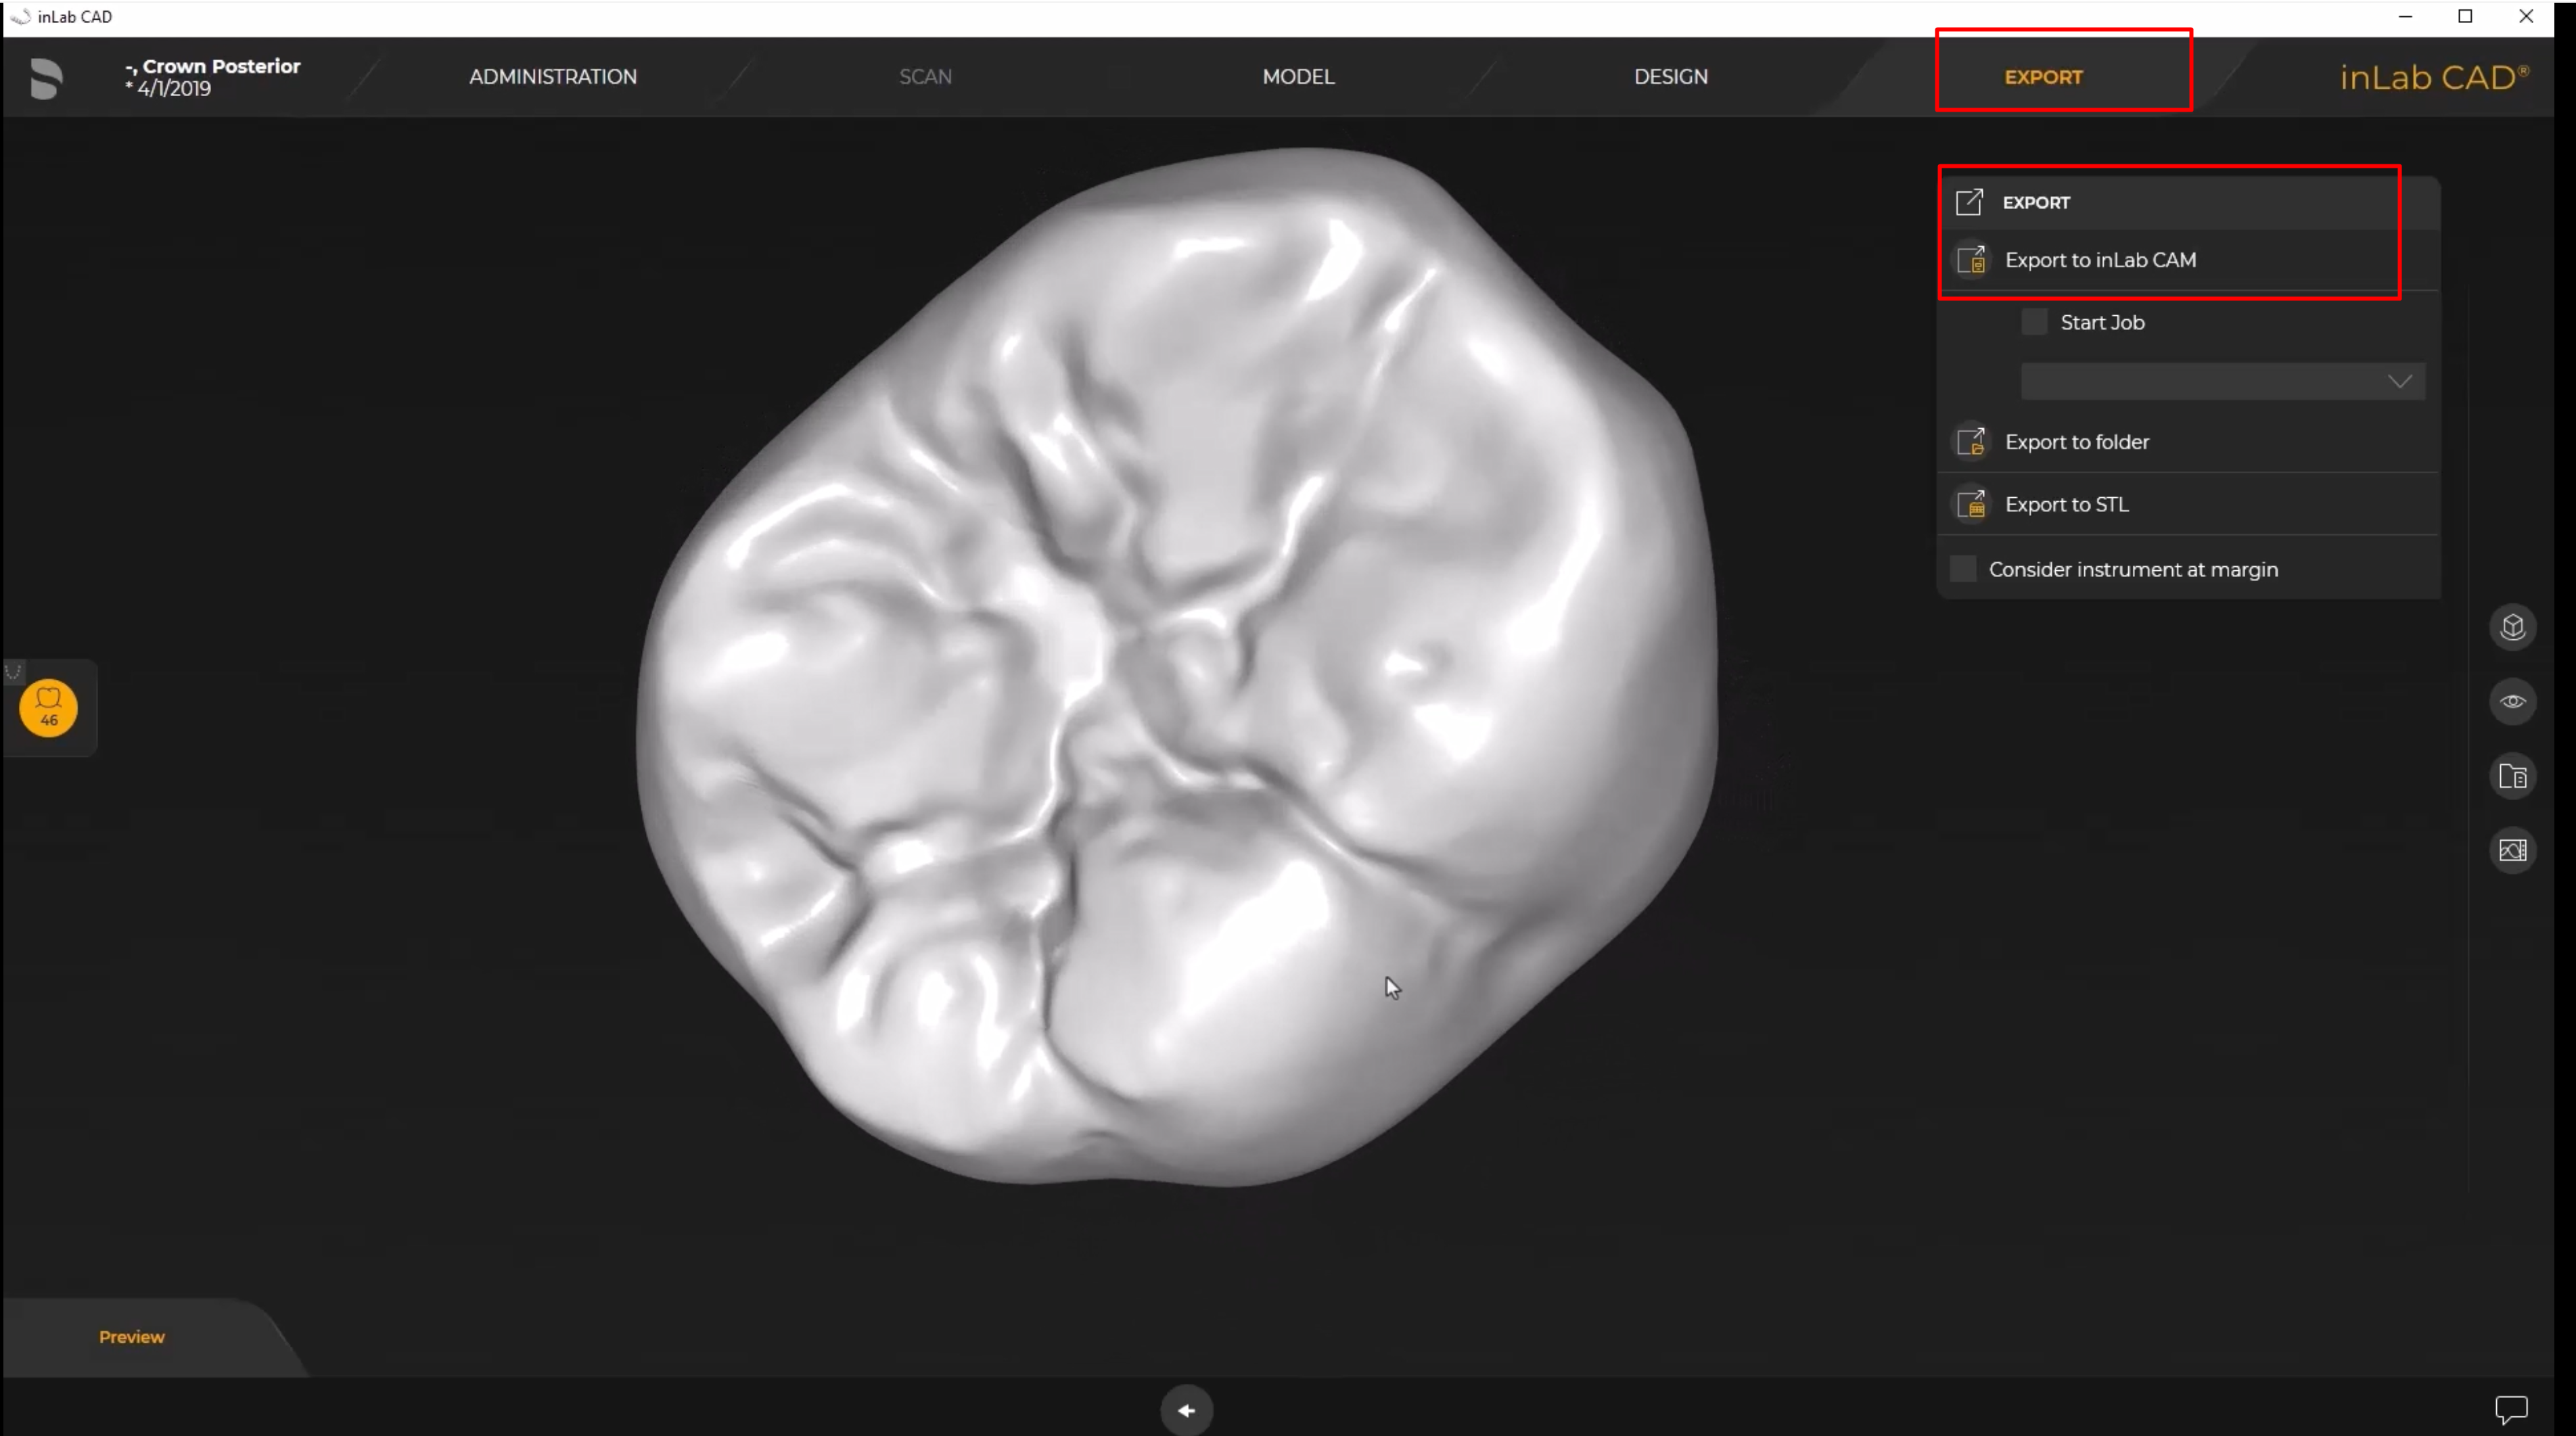
Once design finished, proceed to the “Export” step.
CEREC on DS Core Workflow (optional same‑day workflow for TRIOS Cases)
1. Send TRIOS Scan to DS Core
- In Unite, select Scan & Send → DS Core and send the case as usual. Follow standard TRIOS → DS Core flow.
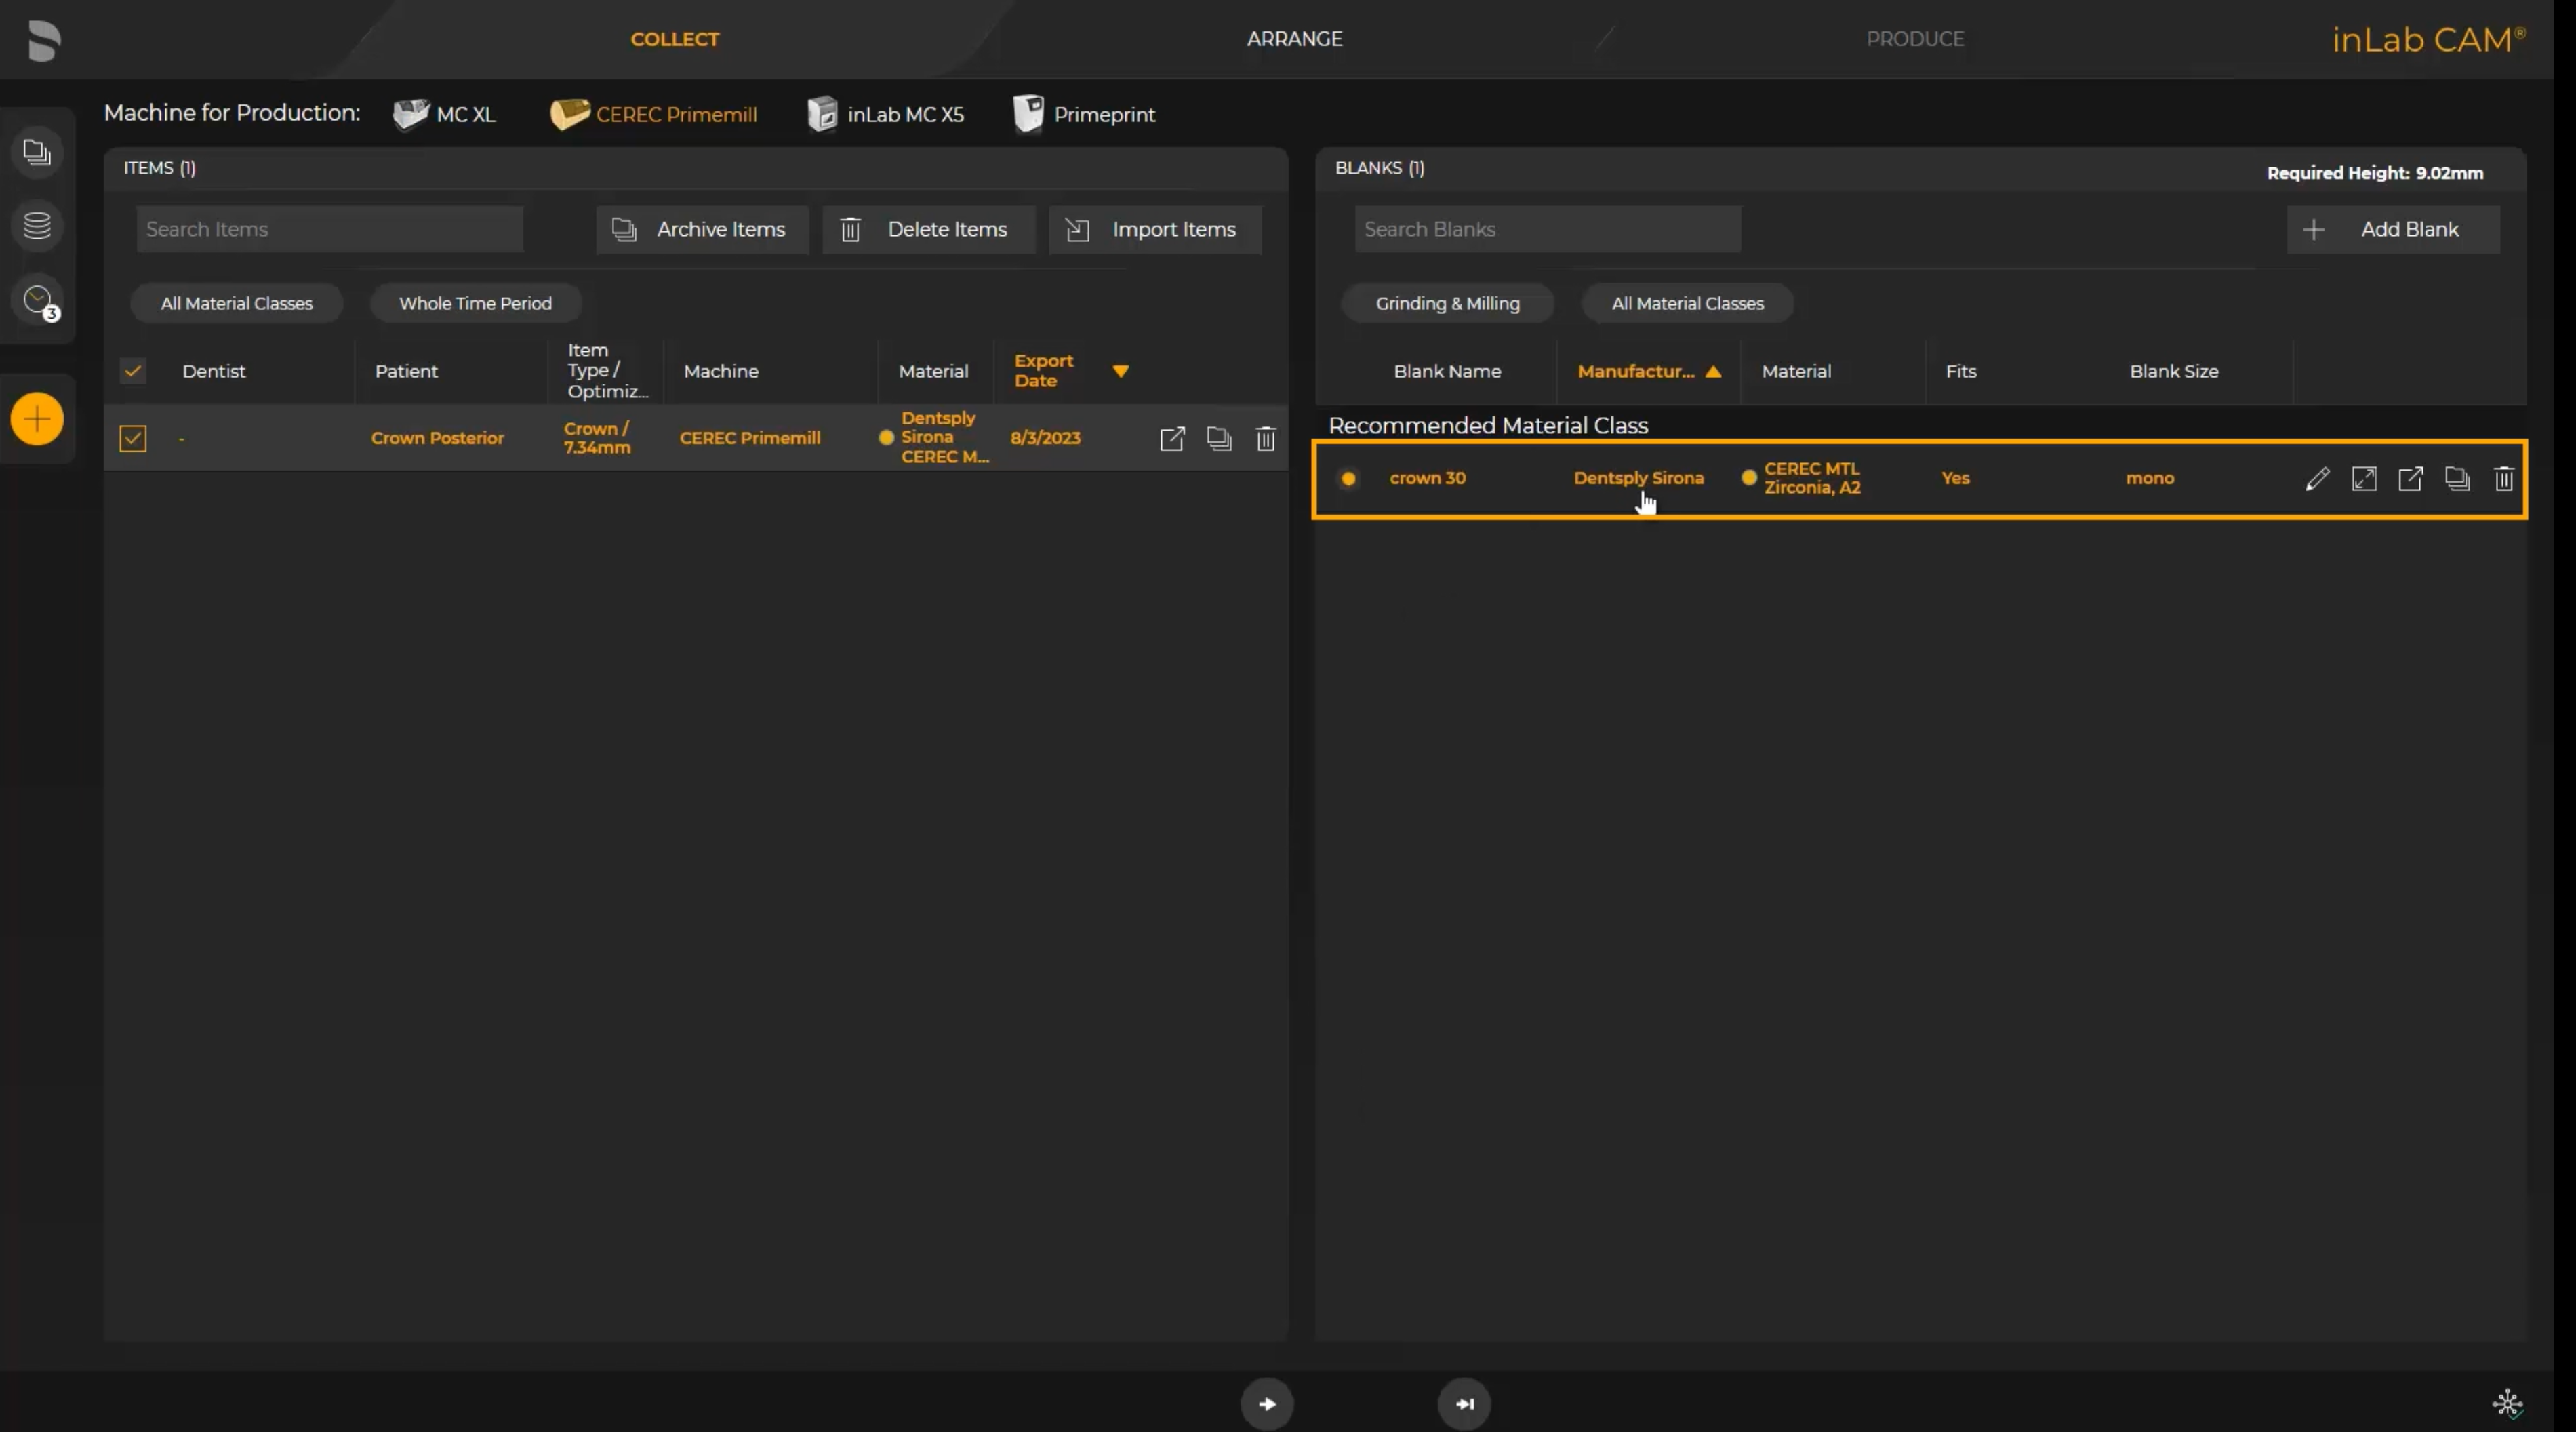
2. Open the Case in CEREC
- In DS Core, go to the patient’s media library.
- Click 3 dots > Open in > CEREC.
- Select the CEREC unit you want to use.
DS Core supports opening TRIOS cases directly in CEREC software.

3. Design in CEREC Software
- Choose restoration type.
- Adjust margin & contacts as needed.

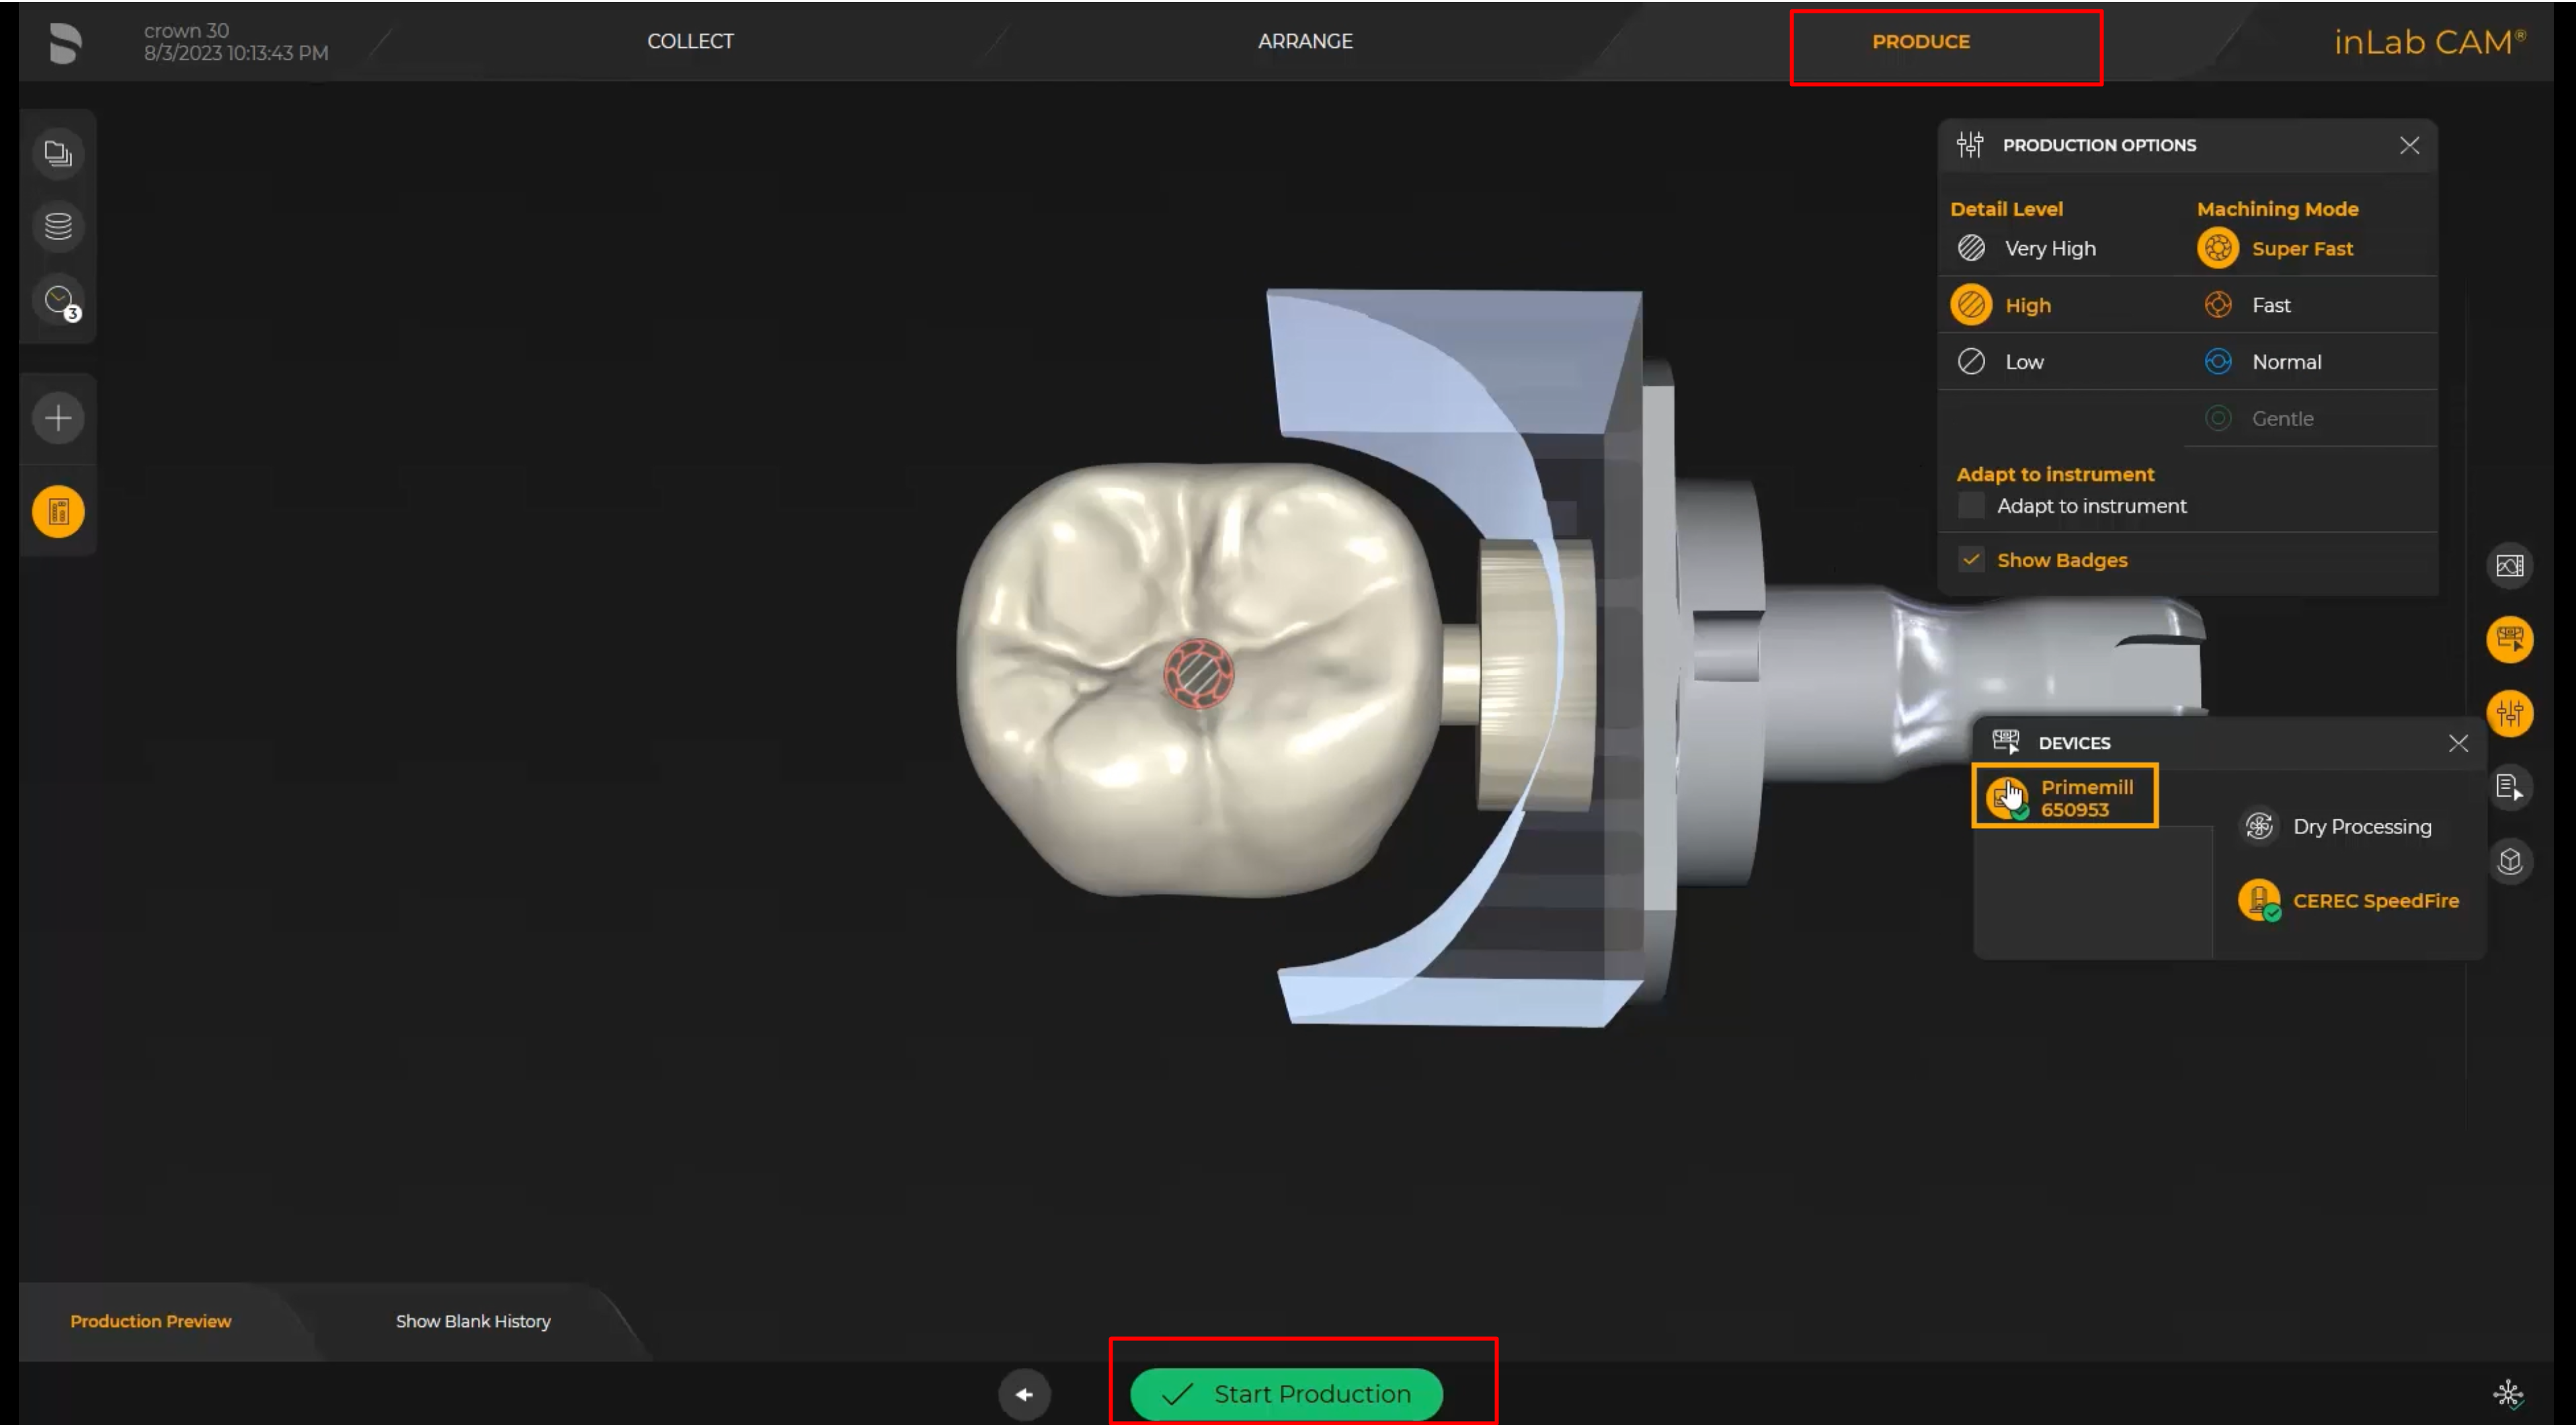
4. Manufacture in CEREC
- Set milling mode
- Start the milling job in CEREC.

5. Deliver Same‑Day Restoration
- Finish, polish, and place the restoration chairside.
Lear more about the CEREC on DS Core workflow : CEREC workflow on DS Core
Manufacture with Primemill or Primeprint directly in your practice.
Once settings configured, click “Start Production” button.
You have now finished the full TRIOS meets Prime process.
Need Help?
If you experience issues pairing your scanner, accessing scans, or submitting a case, your support channels include:
- 3Shape Support - for scanner connectivity, Communicate account issues, or TRIOS troubleshooting.
- DS Core Support - for order submission, manufacturing and design, or account configuration.
We're committed to ensuring your digital workflow is fast, intuitive, and reliable.