How to import STL's in Ortho System
07/11/2023Import STL files into the dongle
In order to import STLs into the Ortho system the customer's dongle must-have module: Ortho 3rd Party Scanner Import active on the dongle.
After verifying the required module please follow the next steps in order to Import the STL:
Step 1: Open the Ortho Analyzer software
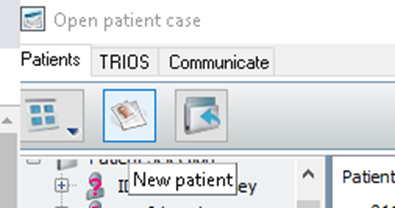
Step 2: Create the patient within the software
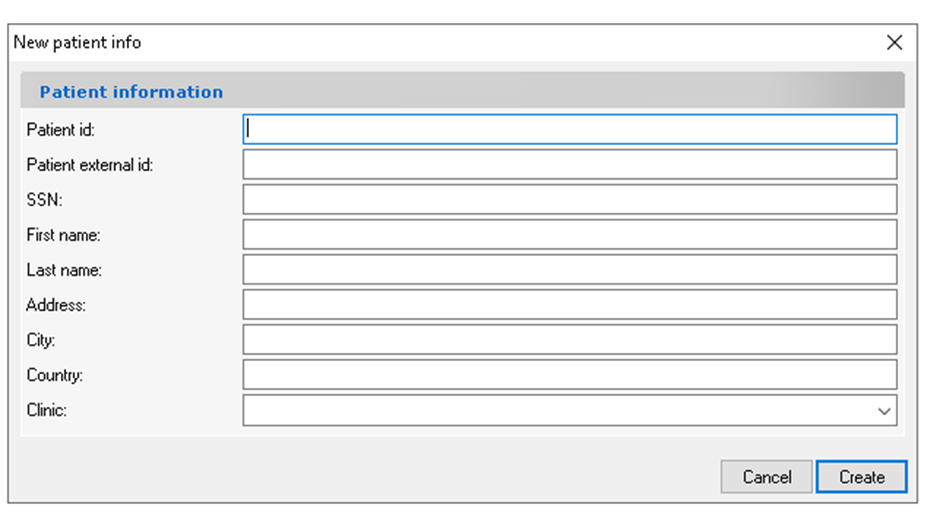
Step 2.1: Fill out all relevant information regarding the patient, the Patient ID is a field that always has to be filled out.
Step 3: After the patient has been created, please proceed to create a new model set.
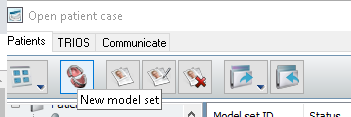
Step 3:1. The information below needs to be filled out, the most required field is the model set ID.
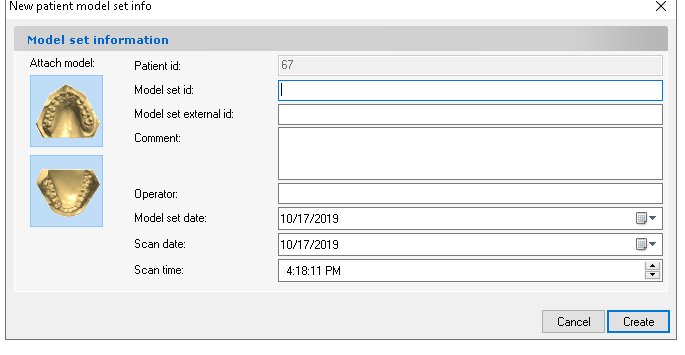
Step 4: Once the information above has been completed a window will appear in order to open the models.
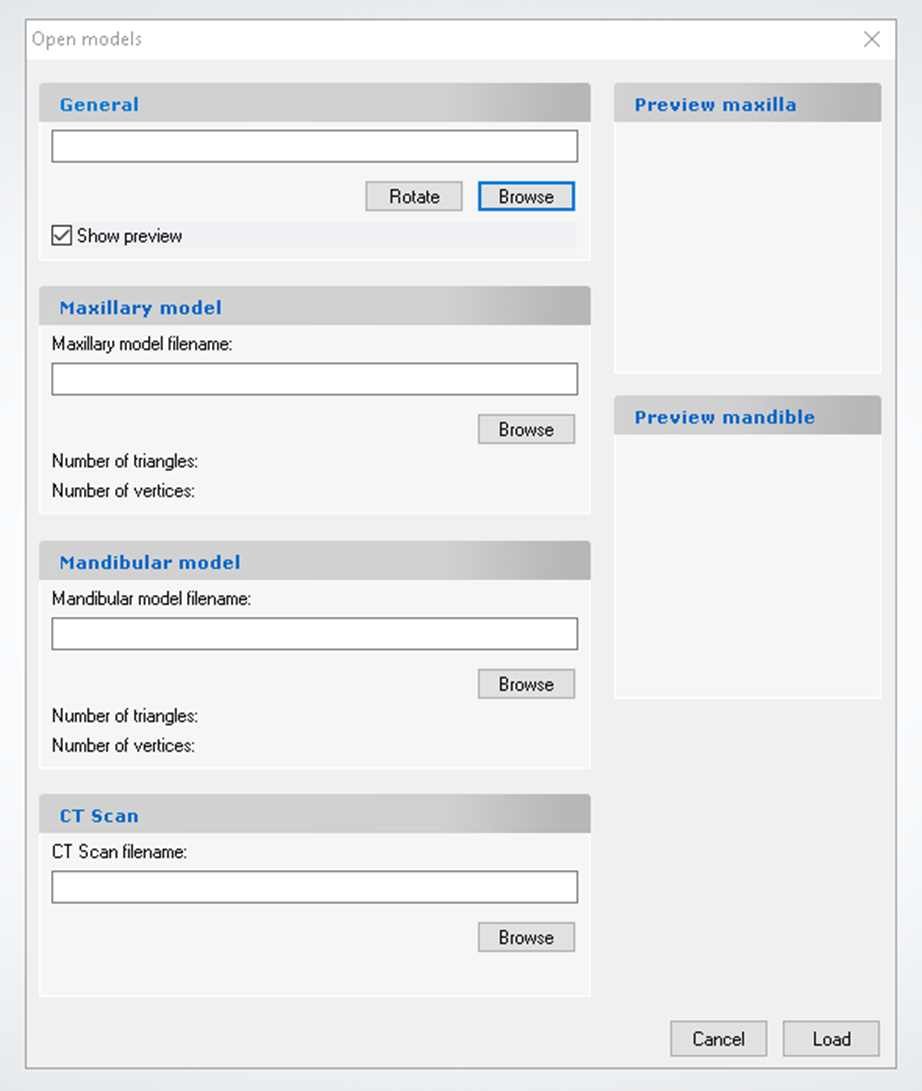
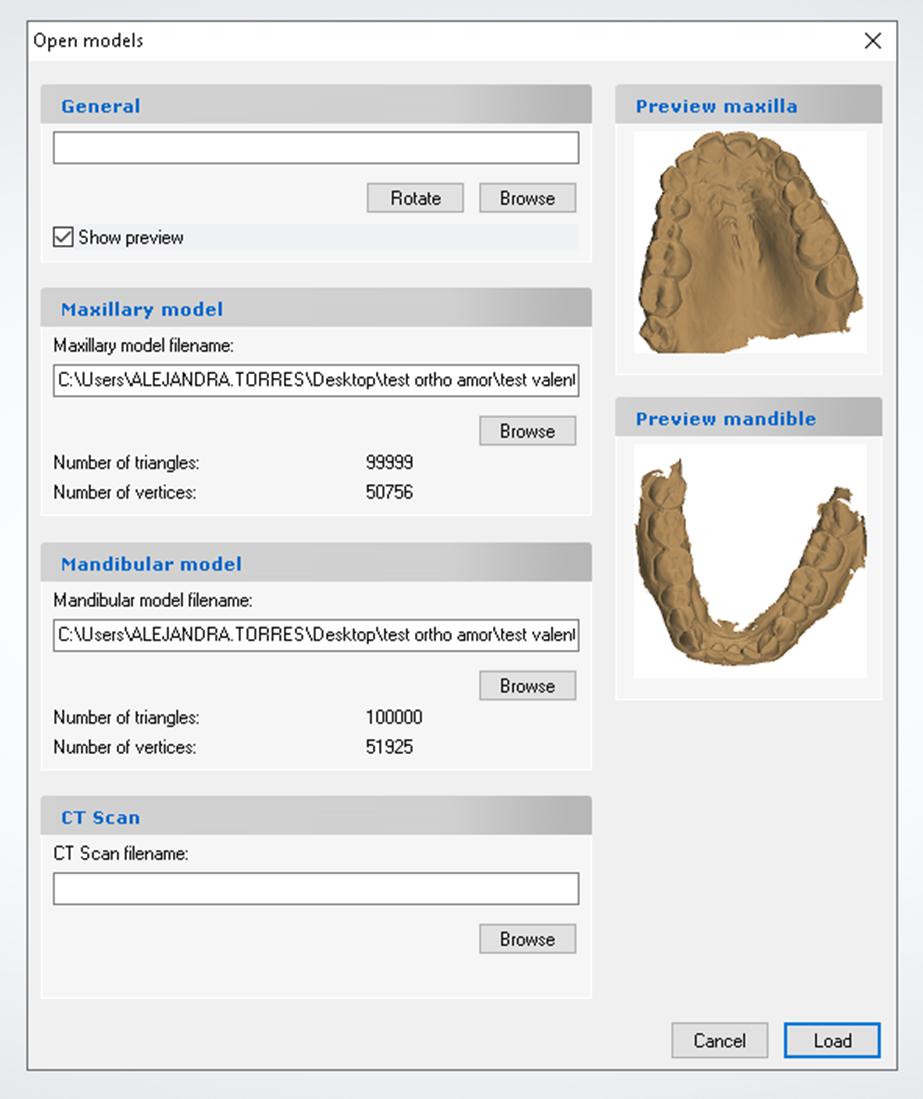
Load Maxillary and Mandibular Models
The browse options can be used in order to search for the path where the models have been saved and be able to select them, once both the Maxillary and Mandibular have been uploaded please click load.
Orienting Models in the software
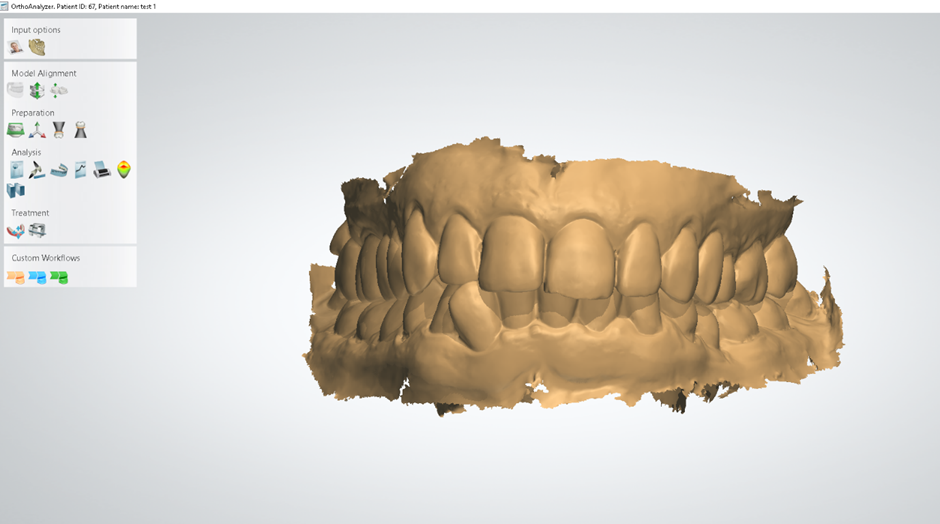
Once the case has been loaded it will appear on the screen as shown below:
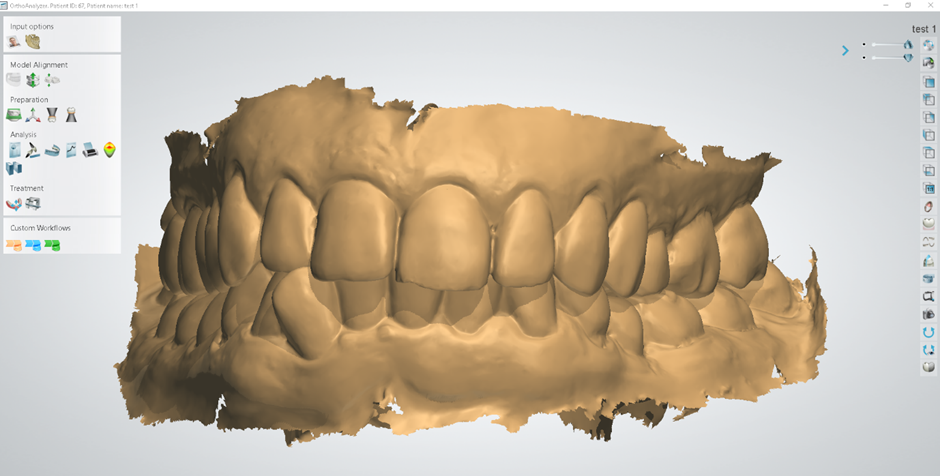
It is normal that the scan looks a little tilted to one side or that the orientation does not look perfect this is because the STL does not carry orientation within its data.
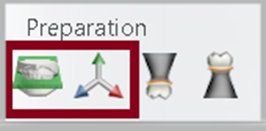
In order to orientate it within the software and be able to use the left side menu appropriately the planes must be performed.
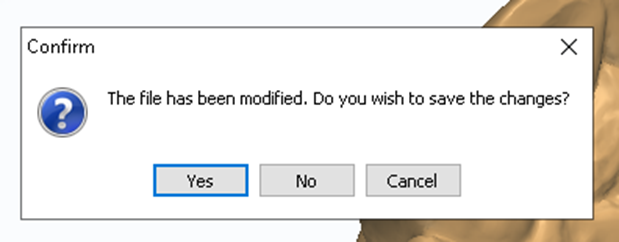
After making all necessary changes please remember to save the changes either by clicking on the tab on the left side menu or with the pop-up message that appears when attempting to close the system without saving first.

