How to overlay 2D image using Cross-Section tool
07/11/2023Add 2D Image Overlay
It is possible to add 2D image to the patient's case and overlay it with the model.
Here are the steps:
- Open Ortho Analyzer, load the model set.
- Make sure that Standard Planes are defined. Check how to define Standard Planes in the User Manual: Home > 4 Ortho Analyzer and Ortho Planner > 4.1 Function Panel > 4.1.3 Preparation > 4.1.3.2 Standard Planes.
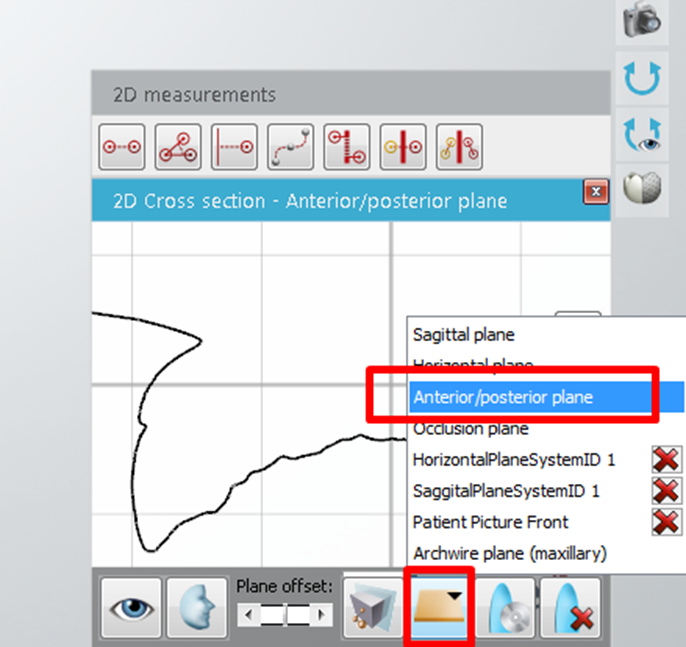
- Open the Cross-Section tool. Select the Anterior/Posterior plane (the one created using Standard Planes).
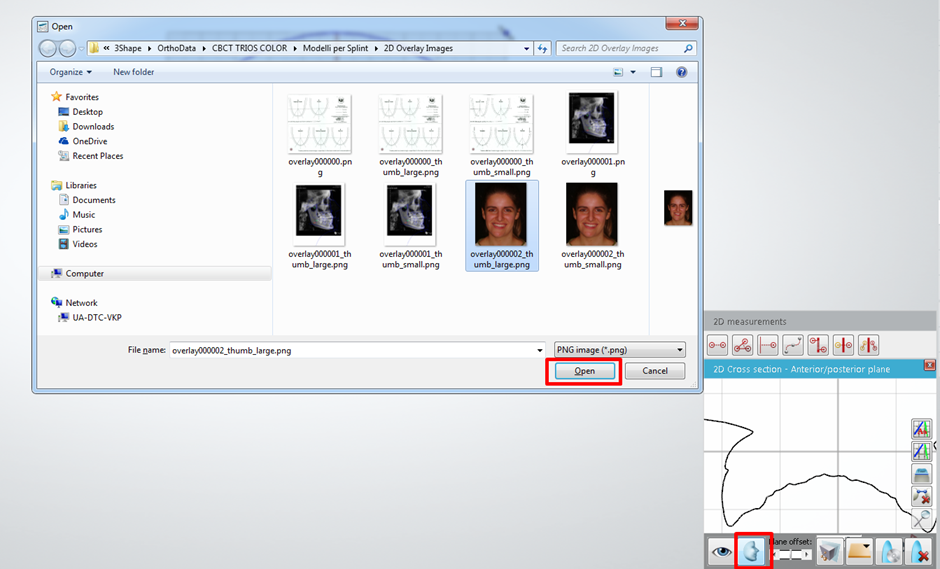
- Click on 2D Overlay and select picture to overlay with the scan model (image should be in .PNG format). Click Open.
- Select Align 2D Overlay Image.
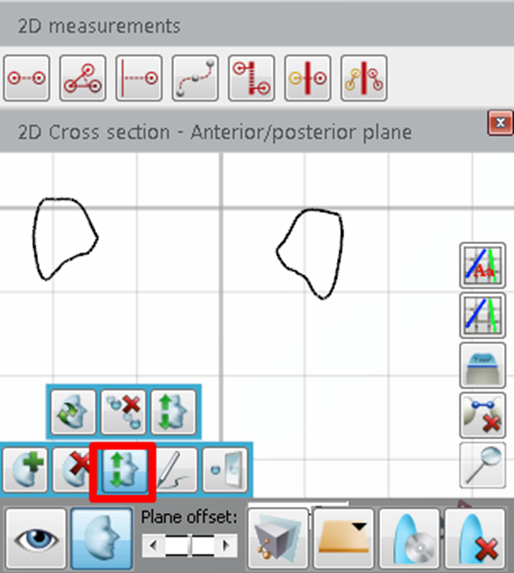
- Put the first reference point (green) on the image, then (red) on the model. Put the second reference point (green) on the image, then on the model (red). Click Align.

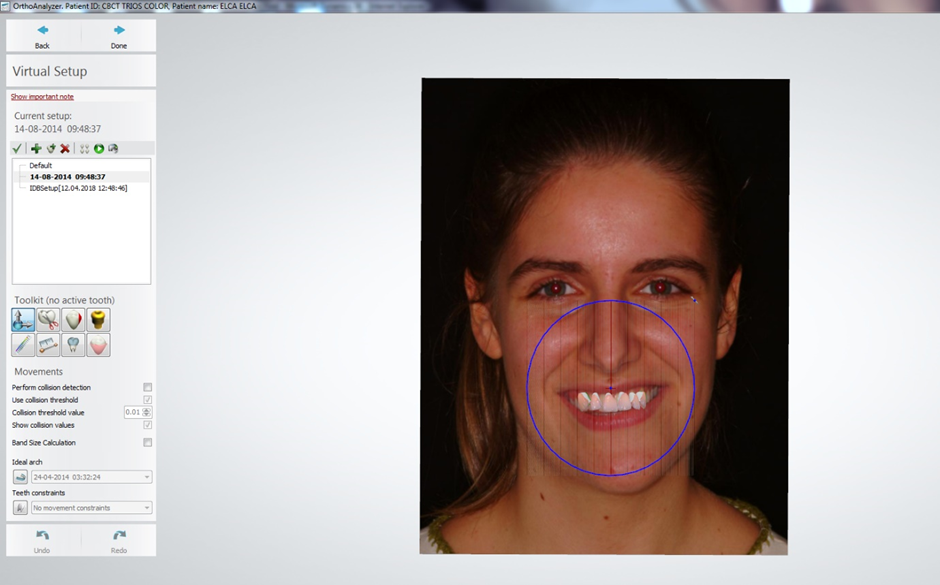
- It is useful to use 2D Image Overlay in the Virtual Setup for visualization and treatment planning purposes.