Bracket movement algorithms in Ortho Analyzer
07/11/2023Bracket adjustment in Ortho Analyzer
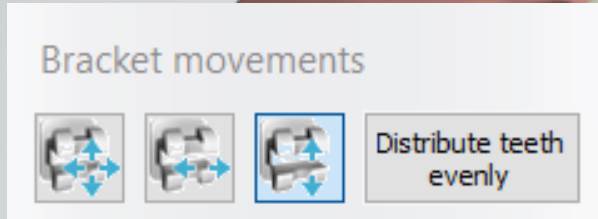
During the Bracket Placement workflow in Ortho Analyzer it is possible to adjust the position of the bracket on the tooth during Bracket and teeth adjustment step. There are 3 different ways, the bracket position can be adjusted: using mouse; key combinations on the keyboard and small arrows in the teeth movement table.
Bracket movement rules
By default there are several rules that are applied by the software when positioning the bracket on the tooth:
- There should not be any intersections between the bracket and the tooth.
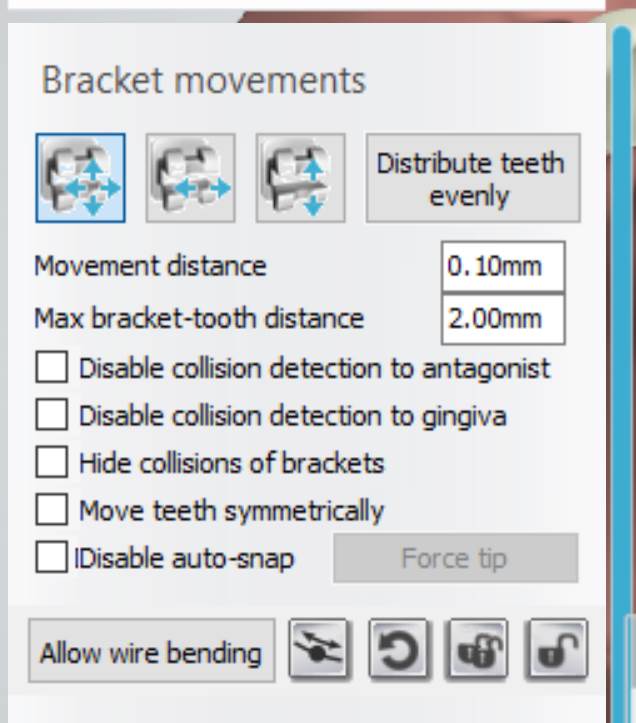
- The bracket should "snap" to the surface of the tooth. This rule can be disabled by using "Disable auto-snap" checkbox that will allow bracket to detach from the surface of the tooth.
- The bracket should not intersect with antagonist tooth. This rule can be disabled by using checkmark "Disable collision detection to antagonist".
- The bracket should not intersect with gingiva. This rule can be disabled by using checkmark "Disable collision detection to gingiva".
This rules are applied every time the bracket is moved on the surface of the tooth. Software checks if new position of the bracket meets all the enabled rules and performs additional re-adjustment of the bracket if the rule is not met or does not perform the movement at all. This can result in differences of movement intervals and "jumps" of the bracket on the surface of the tooth that is especially visible when surface of the tooth is curved.
Movement with keyboard
When the movement is performed using the key combinations on the keyboard - this affect 6 total movement parameters 3 translations and 3 rotations from the movement table.
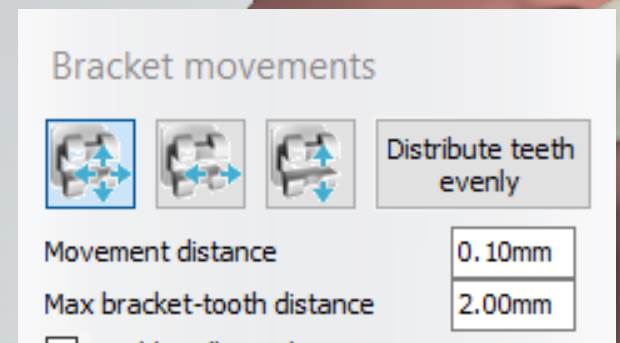
The interval for the movement with the keyboard is defined under the "Movement distance" value.
When “Move bracket on tooth without constraints” option is used, the bracket will move depending on the model position on the screen.
If the model position is not straight, the keyboard up & down arrow keys will move bracket to the different direction instead of vertical, depending on the viewpoint. 
"Move bracket on tooth surface along vertical axis" option can be used to perform bracket movement on tooth surface along vertical axis without dependence on the model position on the screen.
Keyboard shortcuts that are used to perform teeth and bracket movements in the Bracket Placement workflow are as follows:
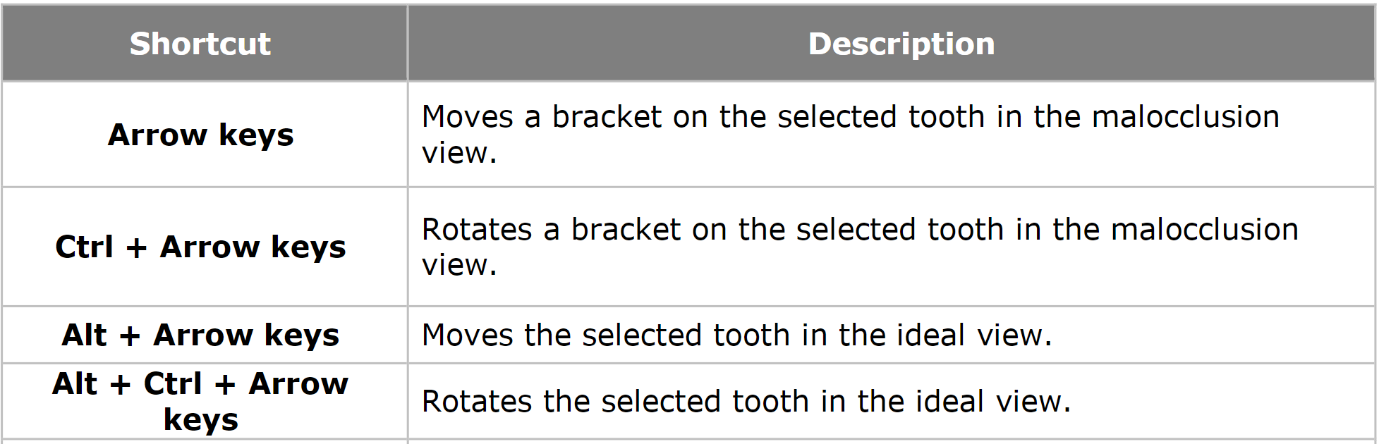
Additionally, in the table below there are keyboard shortcuts that can be used to change each of the 6 movement parameters (3 translations and 3 rotations) in the movement table.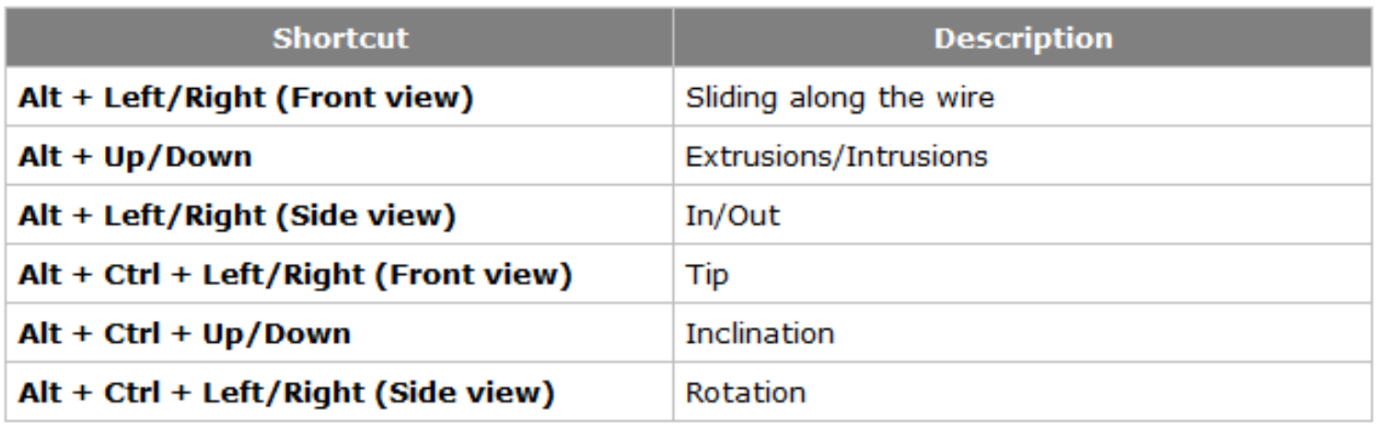
Movement with small arrow buttons
All movement parameters can be changed using small arrow buttons in the movement table. But “Distance to incisal edge” and “Distance to gingival contour” parameters can be adjusted only by changing values in the corresponding fields using small arrow buttons from the movement table. There is no other way to directly modify these types of movements.
![]()
Interval for the movement with small arrow buttons in the movement table are defined in the corresponding fields in the movement table.
