
How to achieve the best occlusion alignment results
07/11/2023Before scanning for the occlusion, you will need to complete a full arch scan. Follow these video guides to learn how.
Bite Alignment Scanning
Step 1: Once you've reached the bite scanning step, you will see a window showing how to scan it correctly. Before scanning, ensure that the patient maintains a correct head and jaw position either by themselves or with the help of bite registration material.

Step 2: Start the scanning on the most posterior molar on the buccal side and slowly move the scanner tip in the mesial direction with equal coverage of the upper and lower teeth, scanning 4 teeth. When you have scanned correctly, the upper and lower jaw scans will snap into place to show you the bite.
If the bite fails to automatically align, follow the manual bite alignment instructions below.
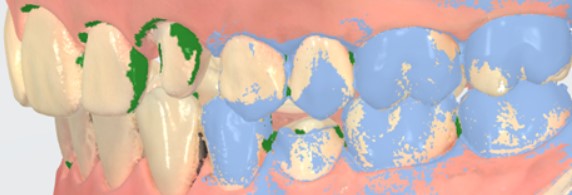
Step 3: If the the bite has successfully aligned, trim any artifacts and gingiva after the last molars.
Manual Bite Alignment
Option 1: One-Point Alignment
Step 1: Follow the instructions on the screen to place marker points on the lower jaw and occlusion scan. Alignment is processed after placing the last marker point.

Step 2: Place a point on the lower jaw, and when the jaw is aligned on the Bite view, press Continue.
Step 3: Place points on the upper jaw, and when the jaw is aligned in the bite view, press Accept Manual Alignment.
Step 4: Bite 1 is now aligned, and you may proceed to bite 2 if needed. If you would like to re-align the bite, press Re-Align Manually and repeat the process.
Option 2: Three-Point Alignment
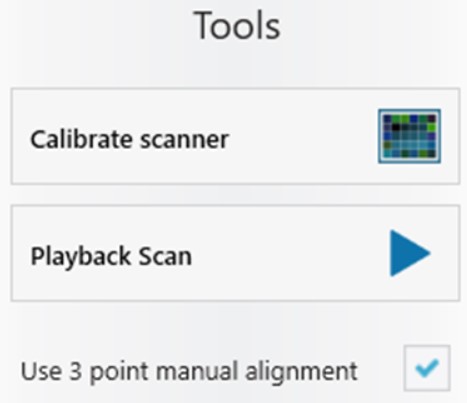
Step 1: If the one-point alignment, simply press the Tools option and then check the box next to “Use 3-point manual alignment”. See how to do a manual alignment in this video instead (NOTE: requires login with your 3Shape Account).
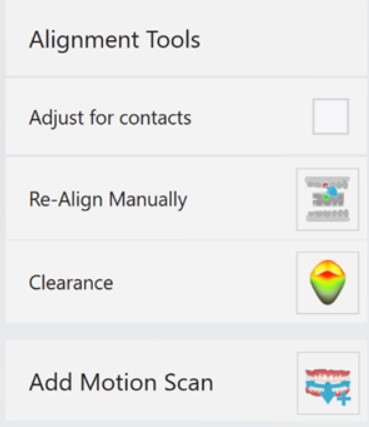
Step 4: If needed, you can re-align the scans. At this point, you can also use the Clearance tool to double-check if any further steps are required. You can also add another scan reflecting the patient’s jaw movement, by pressing Add Motion Scan.
Step 5: After going through the steps of scanning the occlusion, you can move on to the “Send” stage of your dental restoration.
Contact 3Shape Support if you have further questions.
For full information on correct usage, please consult the official Safety and Setup Guide and the most current Manual.